How to Authenticate Loops.so Email Domain with SPF, DKIM, and DMARC Records?
Check your domain for DMARC, DKIM, SPF and MX records. Get a free report.
Loops.so SPF, DKIM, DMARC Setup - Domain Authentication Guide
Email Authentication is a set of security protocols that verify the identity of an email sender and ensure that the message is safe to open. These security standards help protect recipients from email scams and improve deliverability.
Authentication is usually accomplished by adding the SPF, DKIM, and DMARC records to the domain management dashboard.
SPF (Sender Policy Framework) allows the domain owners to specify which server IPs are allowed to send messages on behalf of their domain.
DKIM (DomainKeys Identified Mail) protects emails from being altered along their transit. It uses a private key and a public key to check the integrity of the messages.
DMARC (Domain-based Message Authentication, Reporting & Conformance) tells the receiving server what to do with emails that fail the SPF and DKIM checks (e.g., reject, quarantine, or take no action).
In this article, you will learn how to setup Loops.so SPF, DKIM, DMARC, and MX records for authentication of the sender domain.
Configure Loops DNS Records:
On the dashboard, click on the gear icon to open Loops Settings.
-
Go to the Domains tab, and setup your company name and domain name.

-
Click View Records to get the Loops SPF, DKIM, MX, and DMARC records.

Setup Loops MX Records:
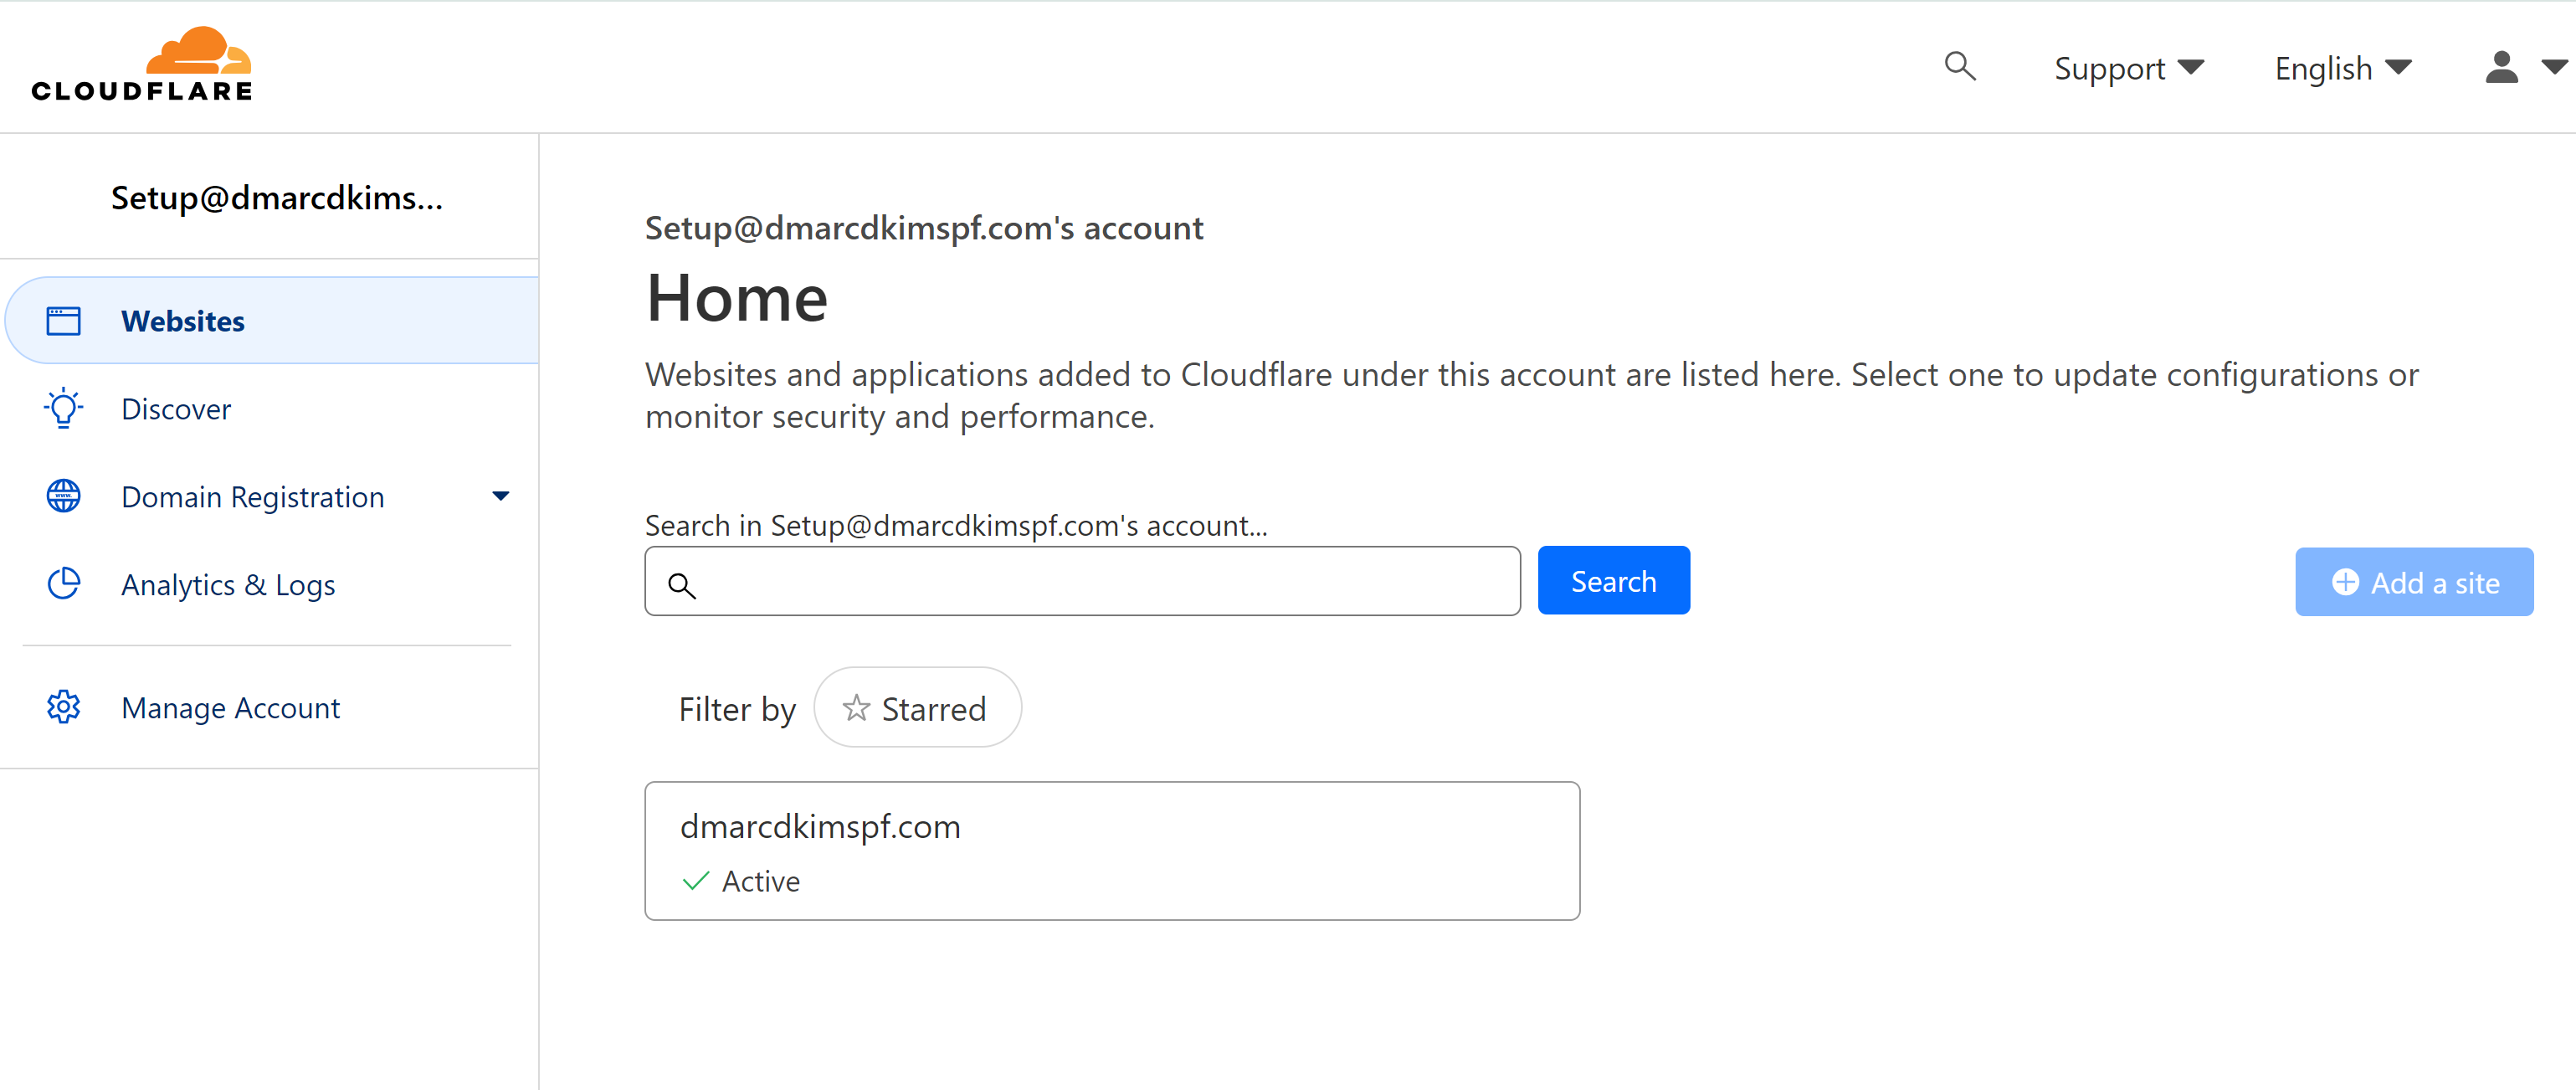
Login to your DNS provider. We are taking Cloudflare for this tutorial.
-
Click your domain and go to the DNS tab.
-
In the Records tab, click Add Record.
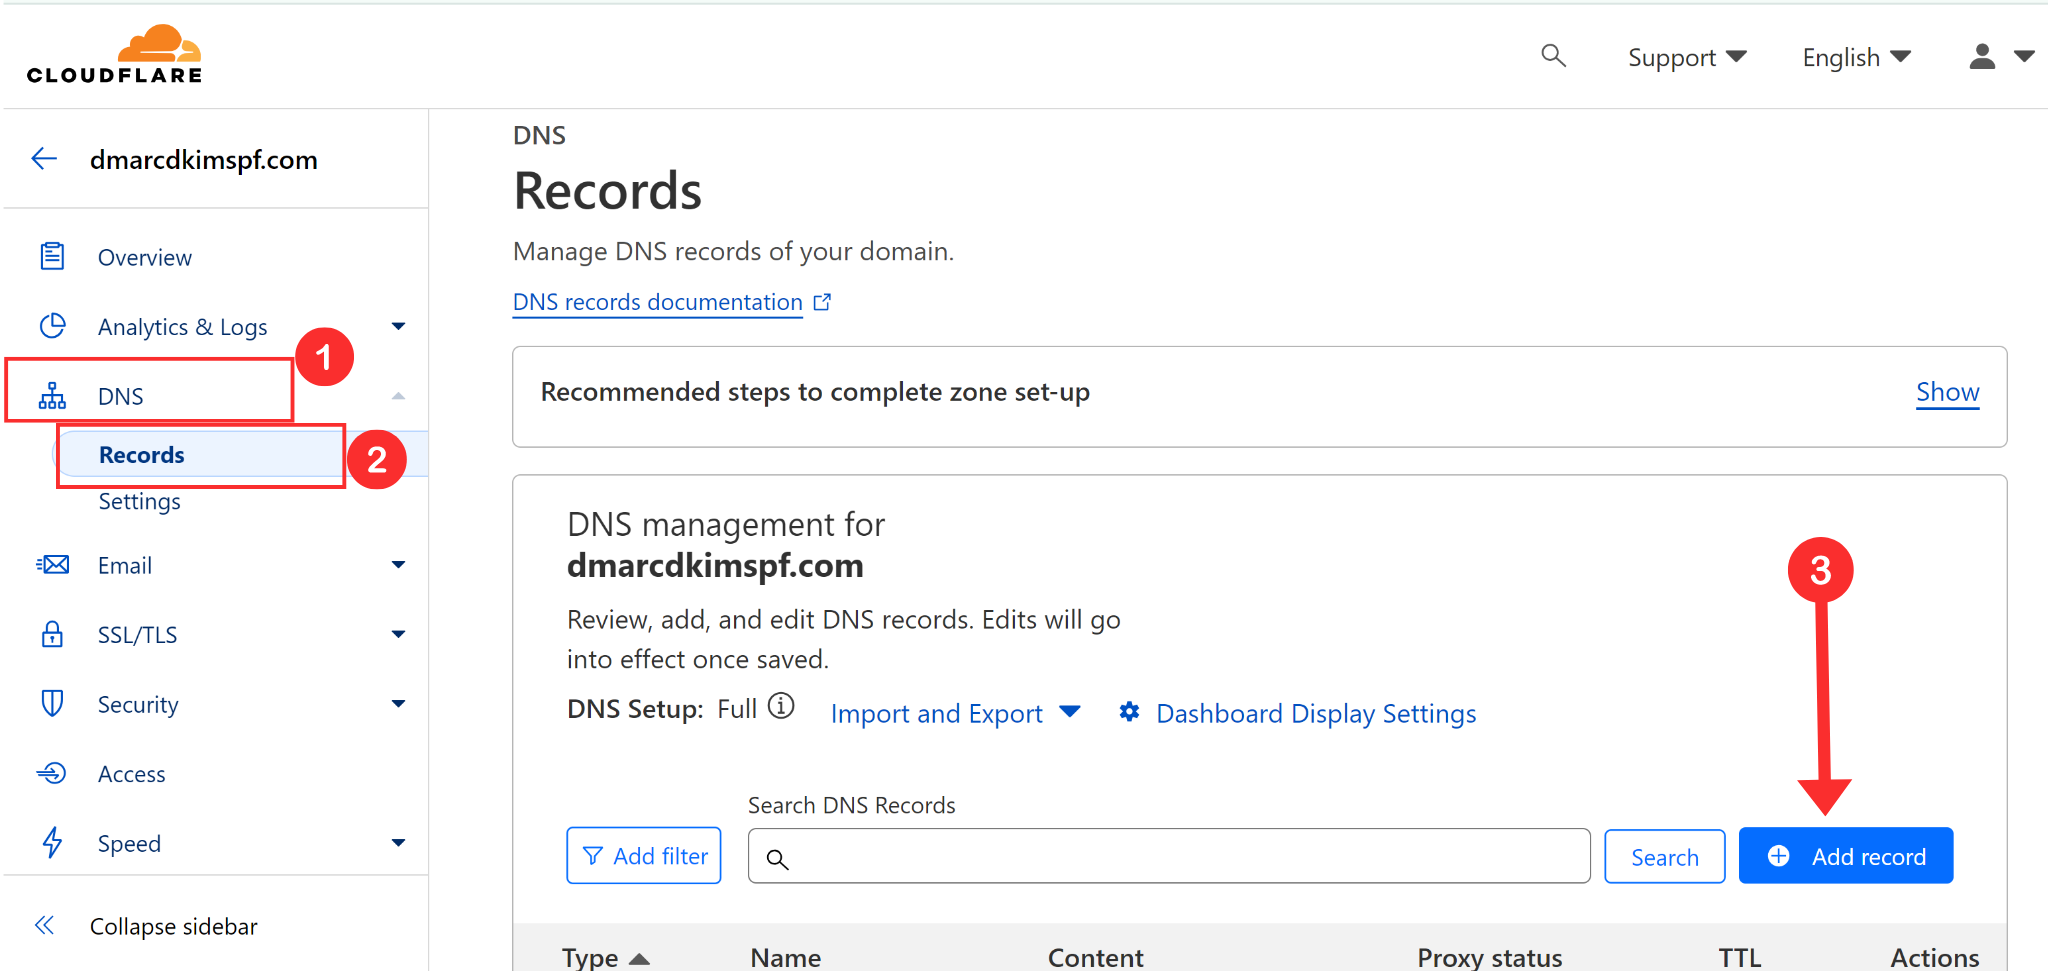
Select the record type MX.
Copy the record name from the Loops DNS page and paste it into the Name field on the DNS dashboard.
Copy the MX value and paste it into the Mail Server field.
-
Lastly, click the Save button.

Setup Loops SPF Record:
In the DNS dashboard, select the record type TXT.
In the Name field, write the hostname: envelope.
In the Content field, add the Loops SPF value: v=spf1 include:amazonses.com ~all.
-
Click Save to add the record.

Setup Loops DKIM Record:
Loops.so gives you three DKIM keys. Add each DKIM record to your DNS provider one by one.
Select record type CNAME.
Add the hostname and DKIM value in dedicated fields on the DNS dashboard.
-
Turn off the proxy status and Save the record.

NOTE: Always turn off the proxy for DKIM CNAME records. When the proxy is enabled, it diverts the traffic to your DNS server instead of the email server.
Setup DMARC for Loops:
The DMARC value provided by Loops only provides email monitoring. It does not block the unauthorized senders. Also, there is no destination for the DMARC reports where you can see the email performance insights.
To address all these issues, DmarcDkim.com has built a tool that guides you through implementing a strict DMARC policy and gives you access to the DMARC reports and analytics.
Go to the DMARC check tool.
-
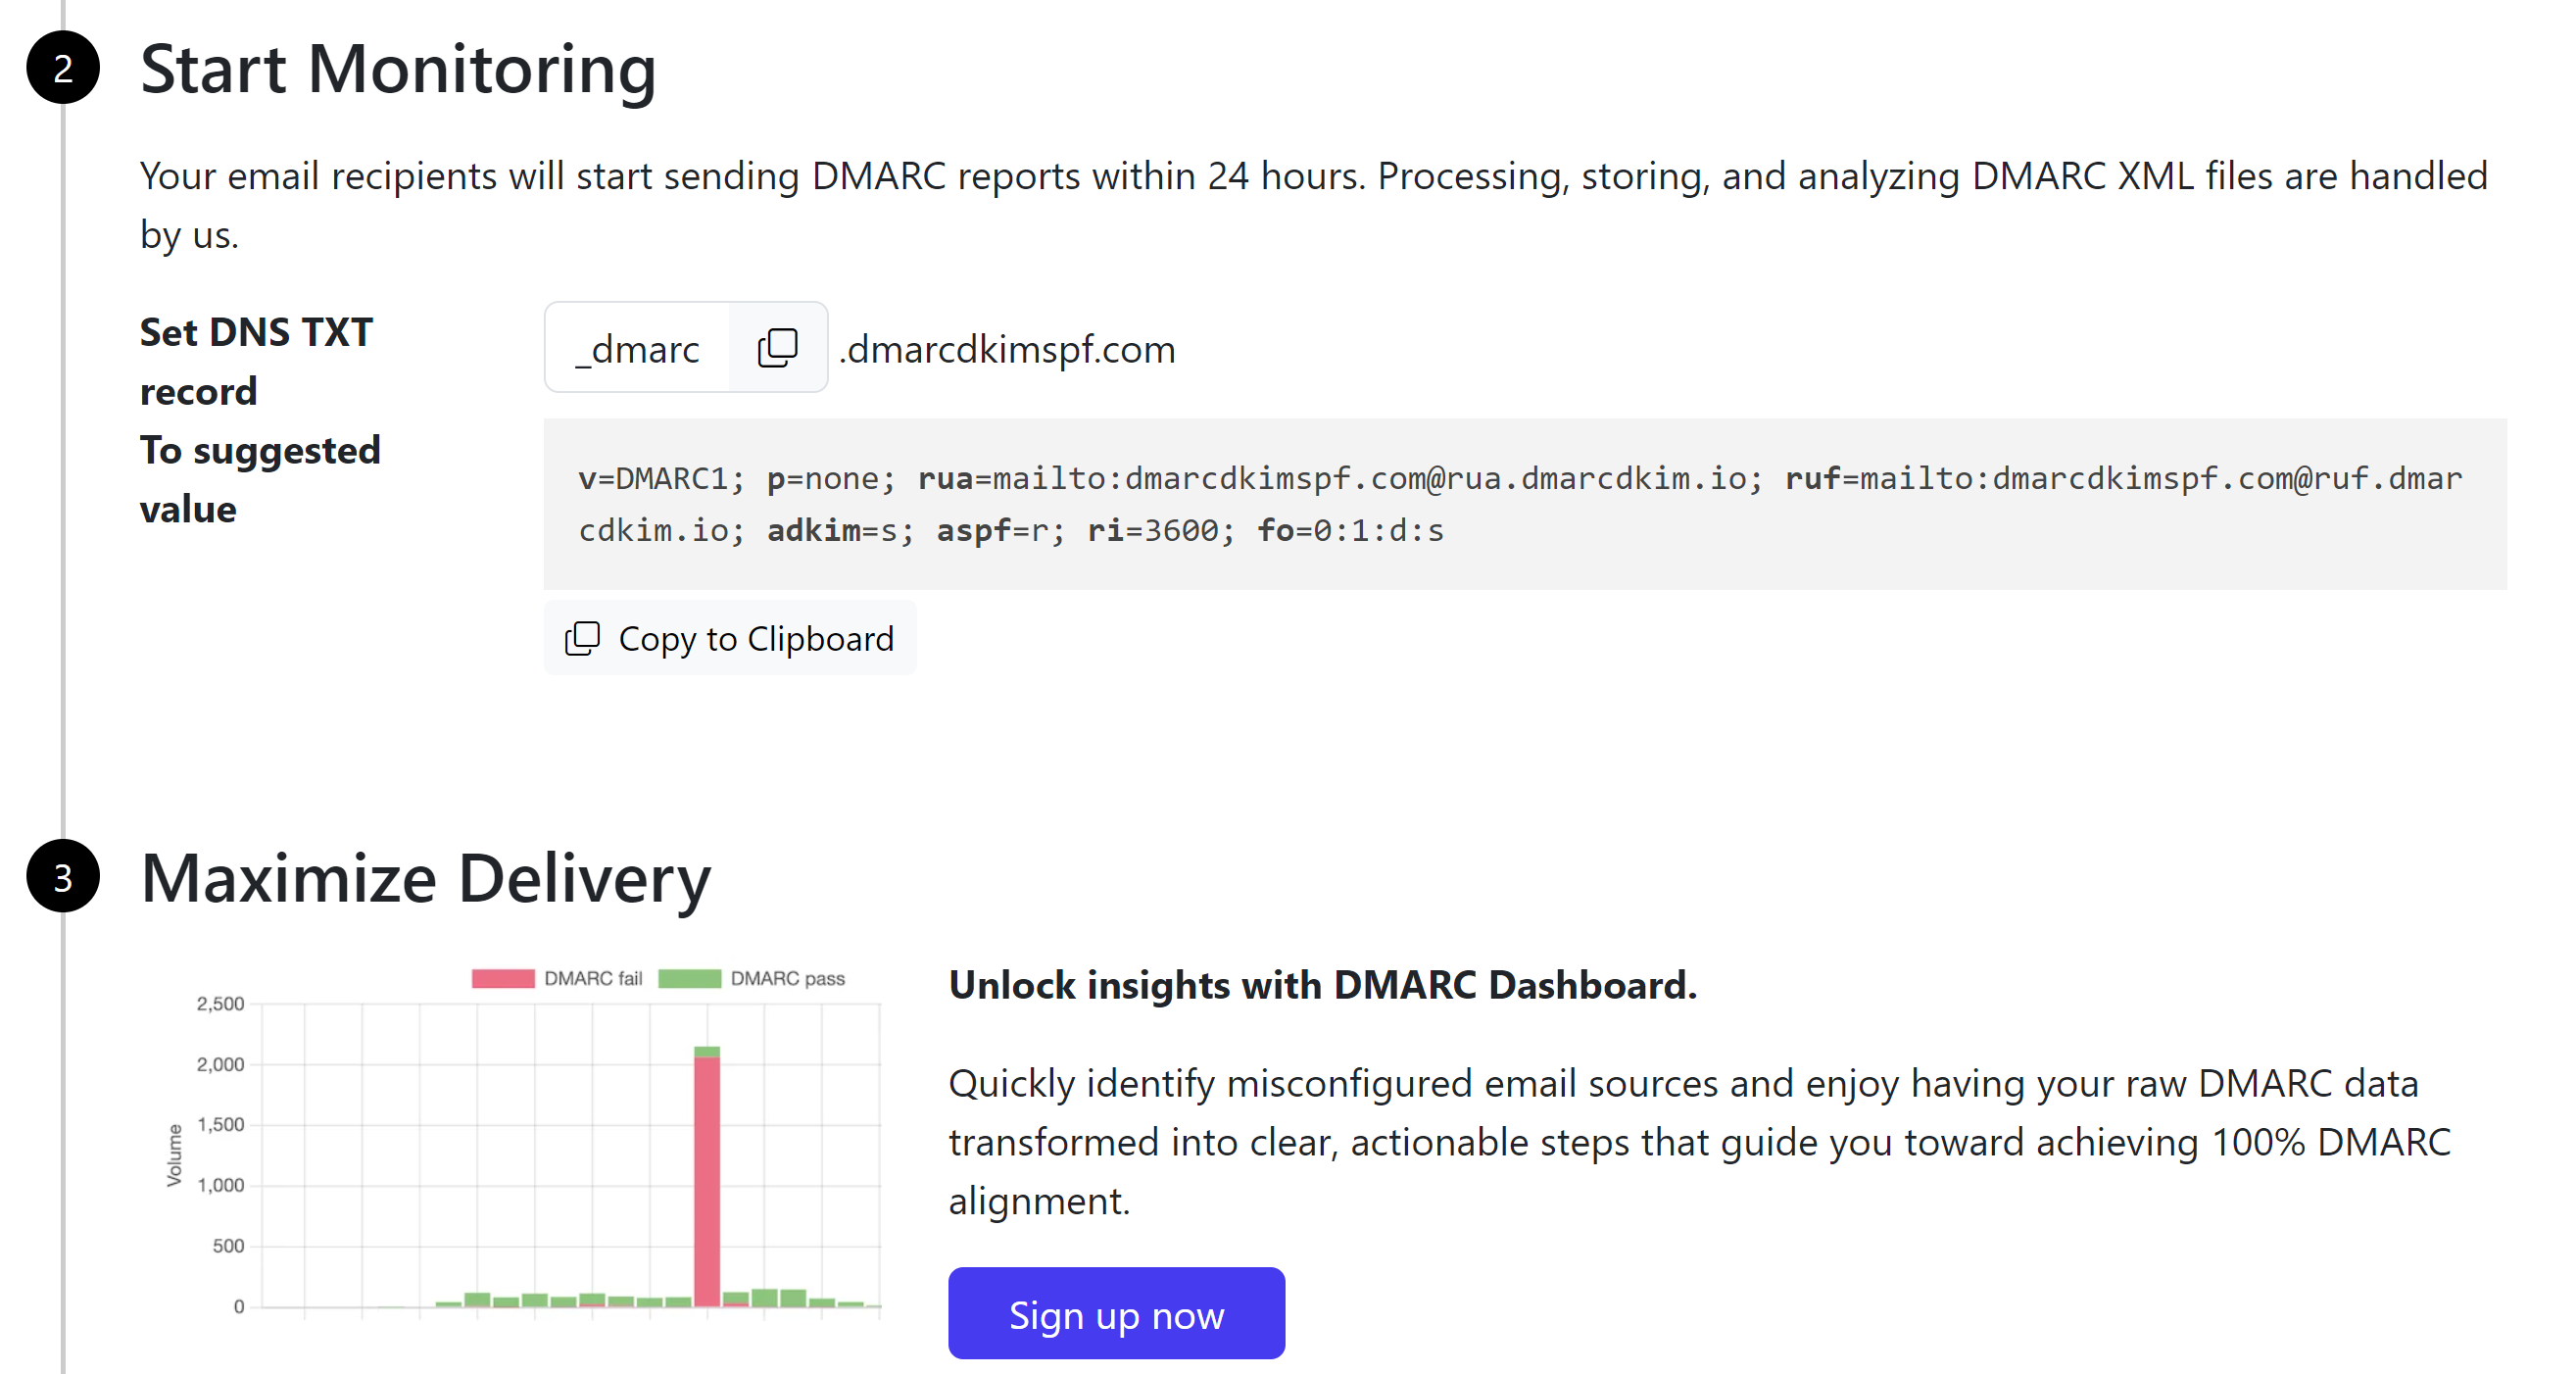
Add your domain name and click Check.

Copy the TXT DMARC record and add it to your DNS dashboard.
-
Sign up to access the DMARC reports and analytics dashboard.
Loops DNS Records Verification:
After adding all the records, click the Verify Records button at the bottom of the page.
-
If the records are verified, you will see the confirmation text with each record.
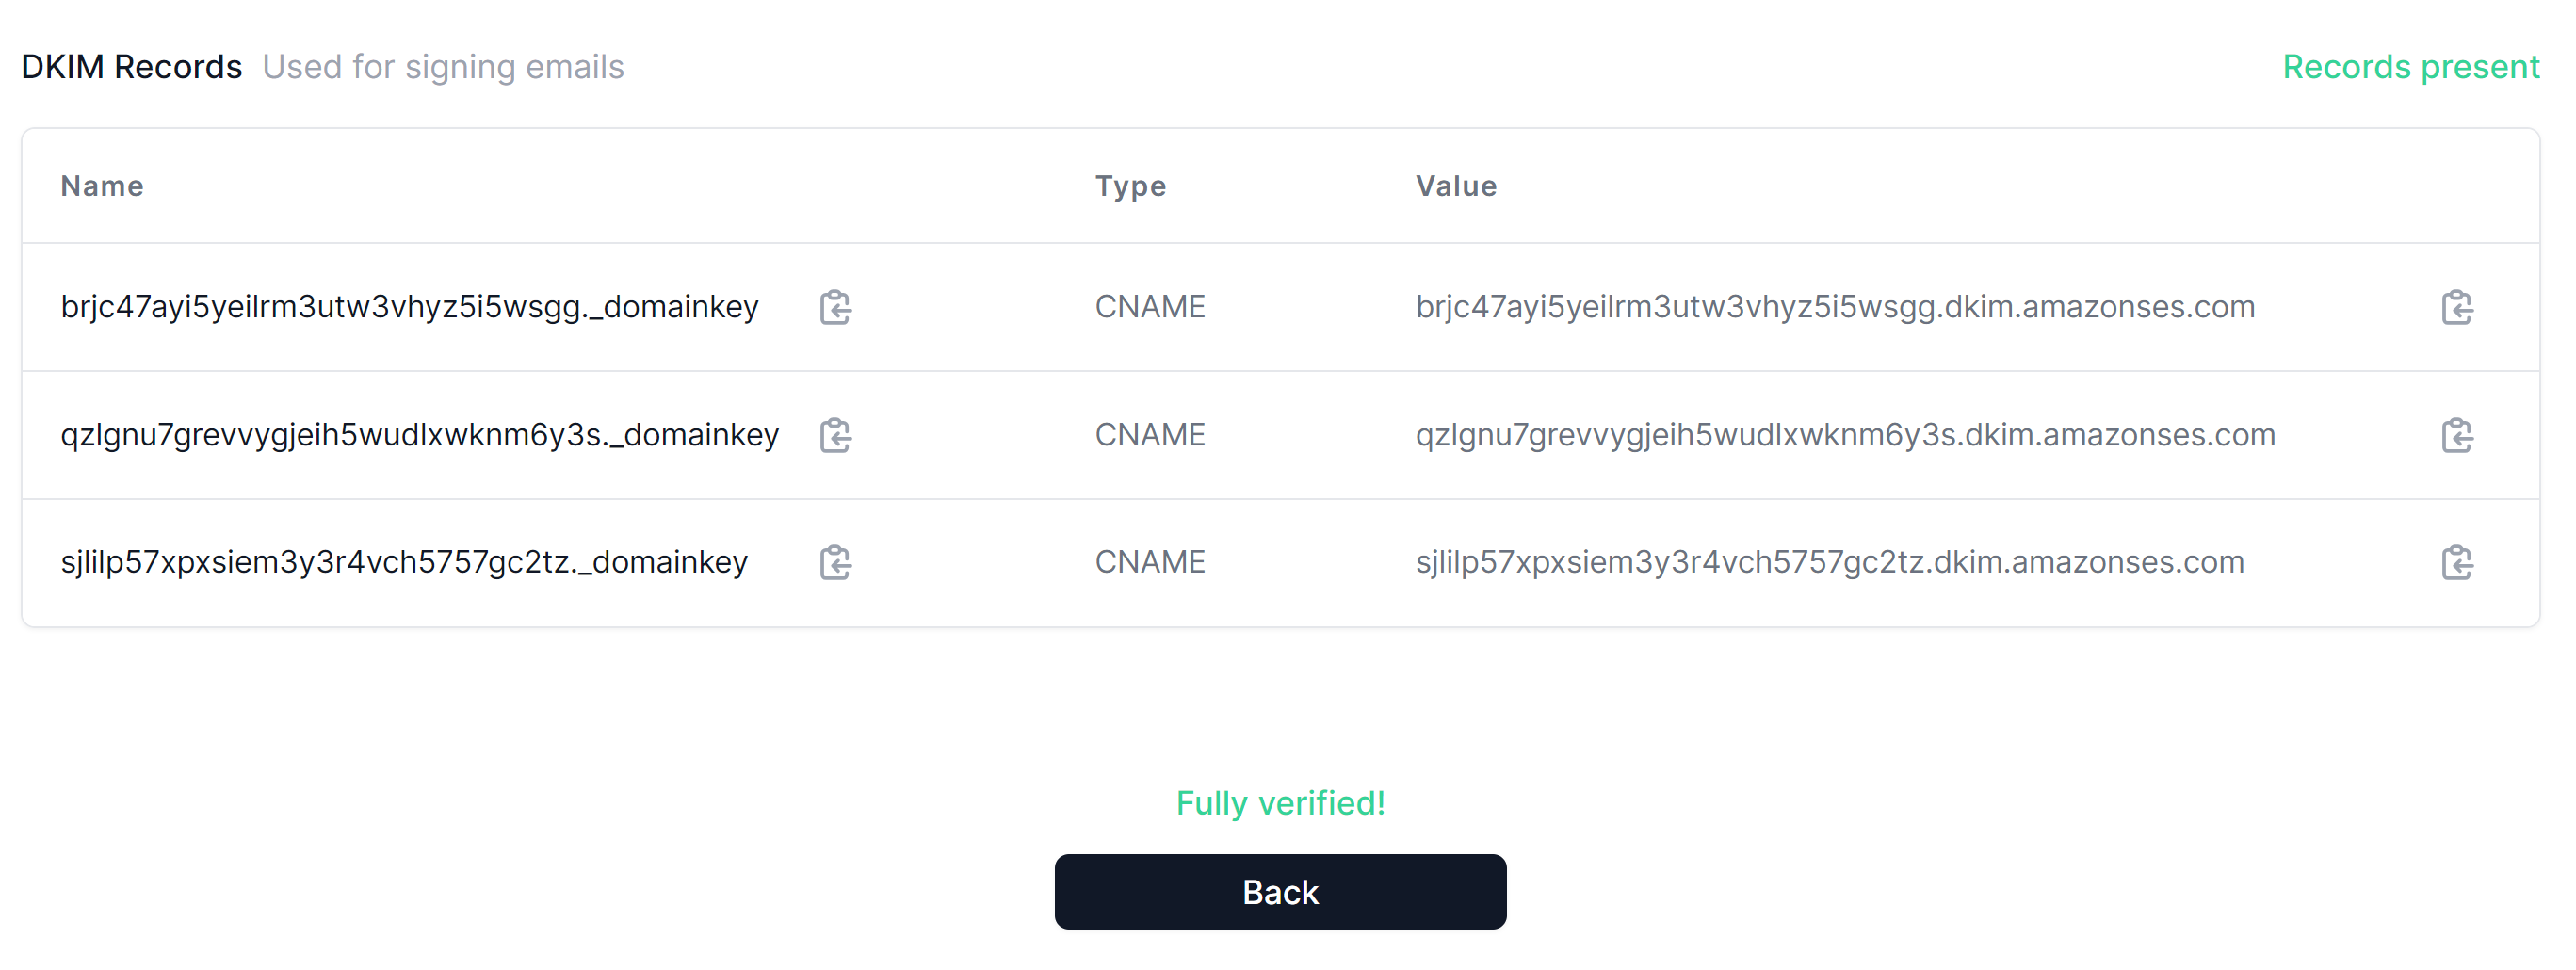
DNS authentication may take up to 24 hours. However, if the records are not authenticated after 24 hours, it points to a misconfiguration in your DNS setup. To troubleshoot the domain authentication errors, contact a DmacrDkim.com expert.
Check domain and follow the instructions to nail down your DMARC configuration.
No expert knowledge needed!


