How to Authenticate Notifii Email Domain - DMARC, DKIM, SPF Setup
Check your domain for DMARC, DKIM, SPF and MX records. Get a free report.
Notifii DMARC, DKIM, SPF Configuration - Domain Authentication Guide
This article will guide you how to authenticate the Notifii domain for sending emails.
Email authentication is a set of standards that ensures your emails come from a legitimate source and are safe for the recipient to open. SPF, DKIM, and DMARC are commonly used standards for email authentication.
SPF (Sender Policy Framework) helps prevent email spoofing by allowing domain owners to specify which mail servers are authorized to send email on behalf of their domain.
DKIM (DomainKeys Identified Mail) adds a digital signature to your email headers, enabling the recipient's server to verify that the email has not been altered during transit and that it indeed comes from your domain.
DMARC (Domain-based Message Authentication, Reporting, and Conformance) builds on SPF and DKIM. It allows domain owners to specify how receiving mail servers should deal with emails that fail SPF or DKIM checks.
Setup Notifii SPF Record:
-
Login to your DNS provider and select the domain.
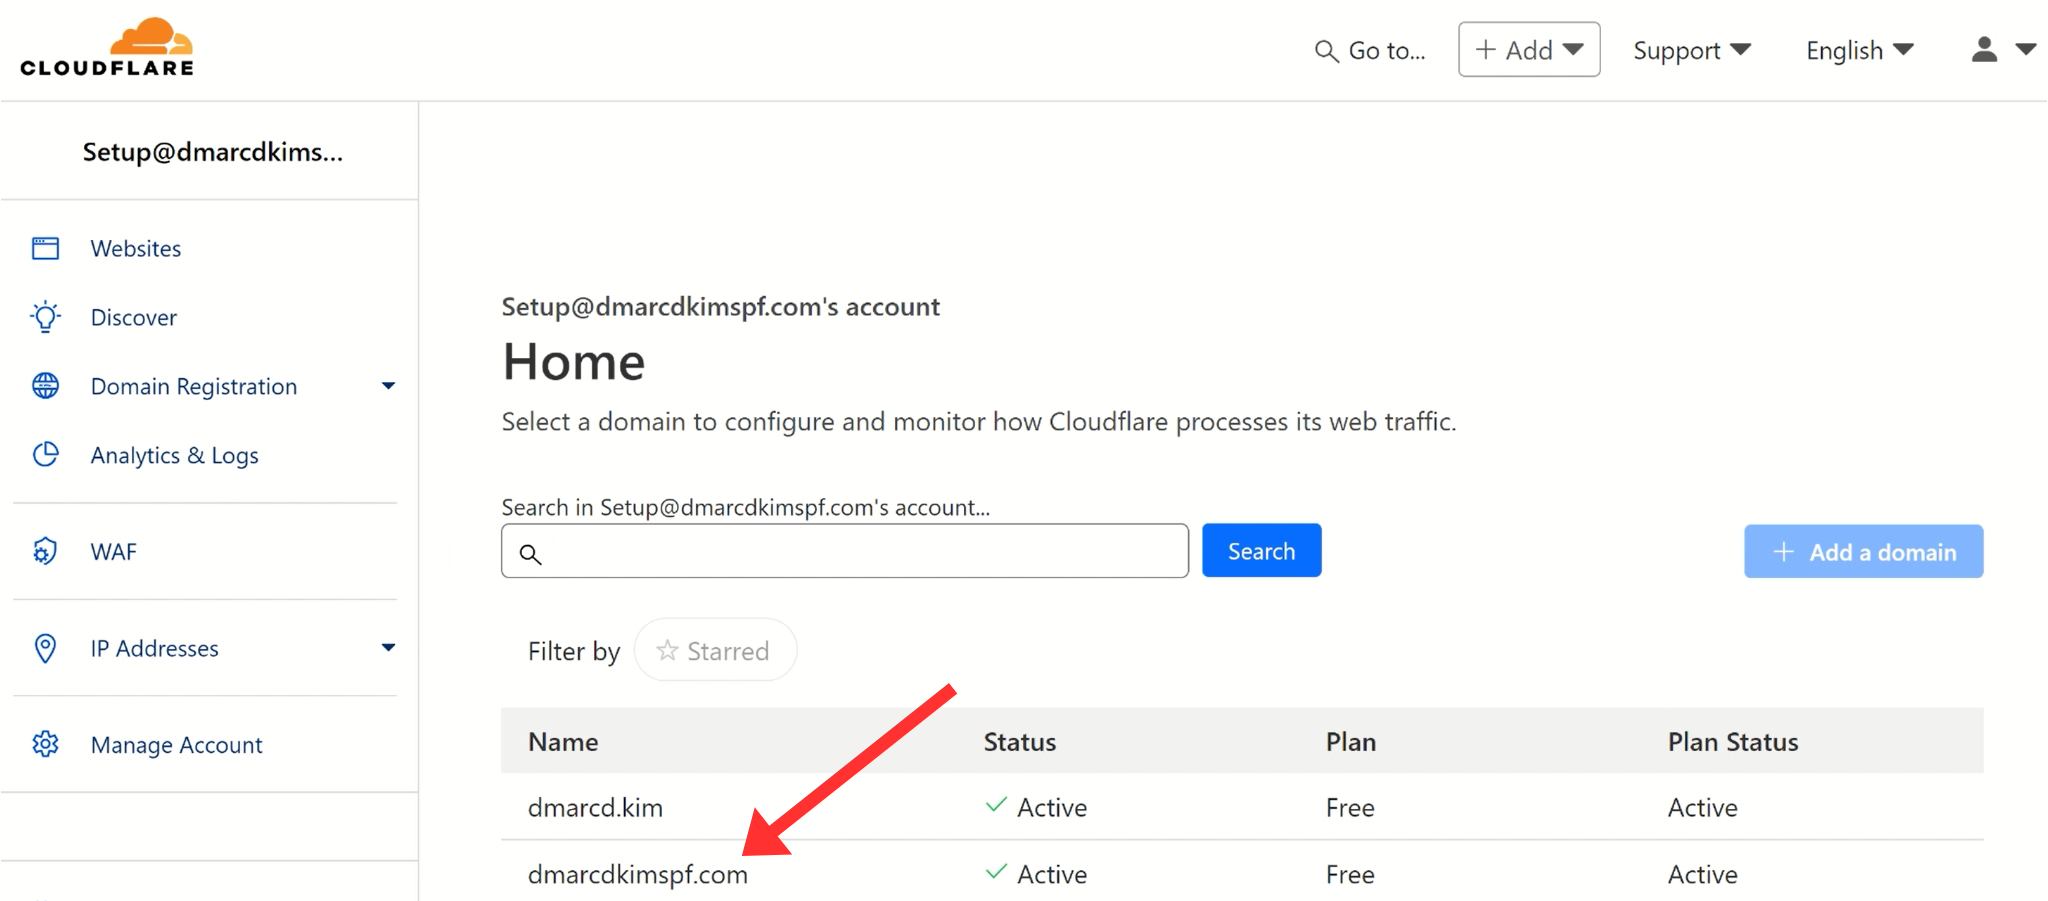
Head to the DNS management section.
-
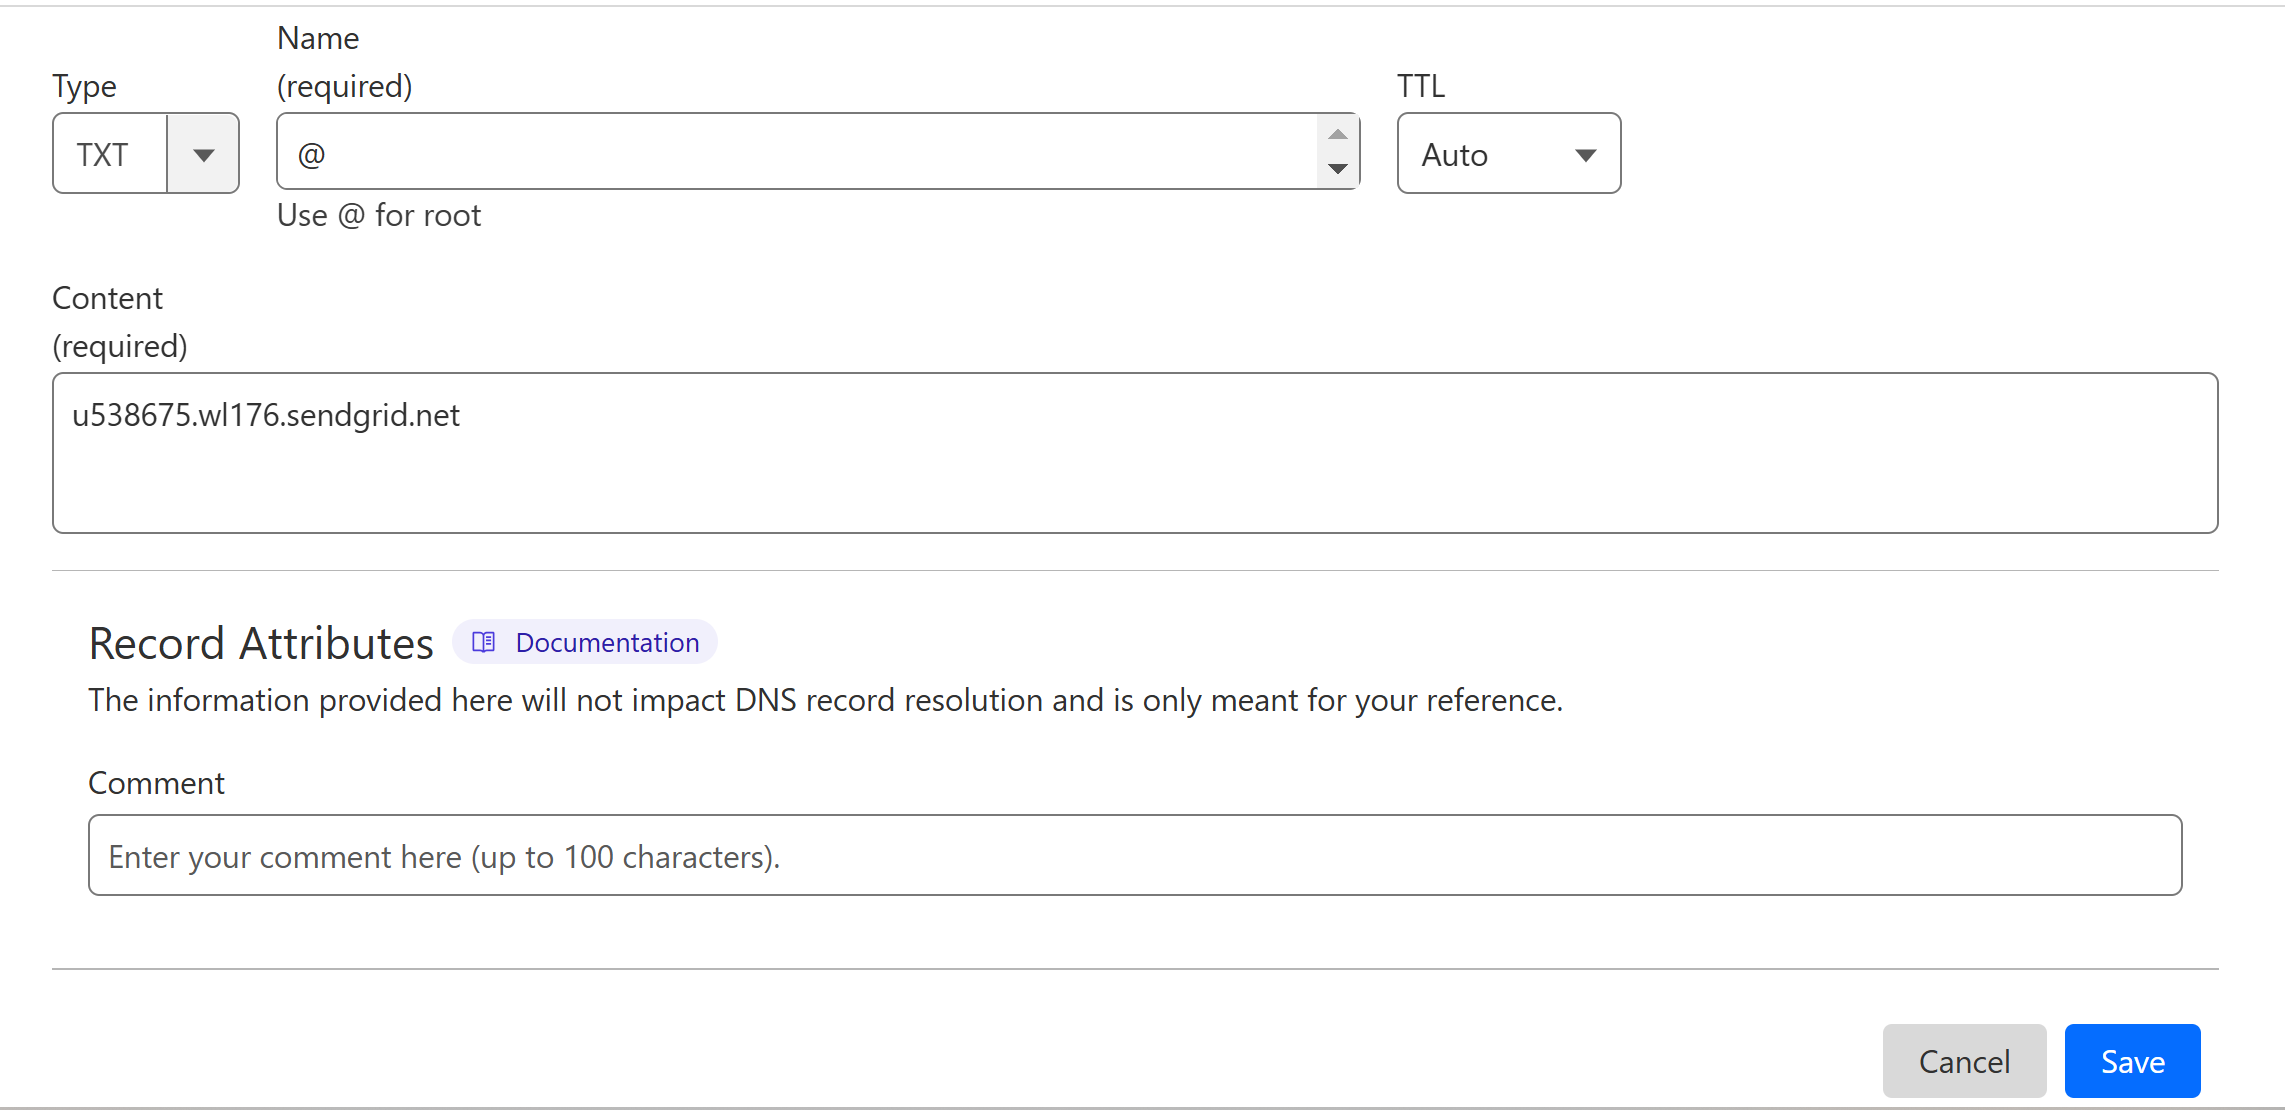
Look for an option to Add a new record.

Select type TXT.
In the Hostname field, write "@".
In the Content field, add the SPF value: u538675.wl176.sendgrid.net.
-
Finally, click the Save button.
How to Merge Multiple SPF Records?
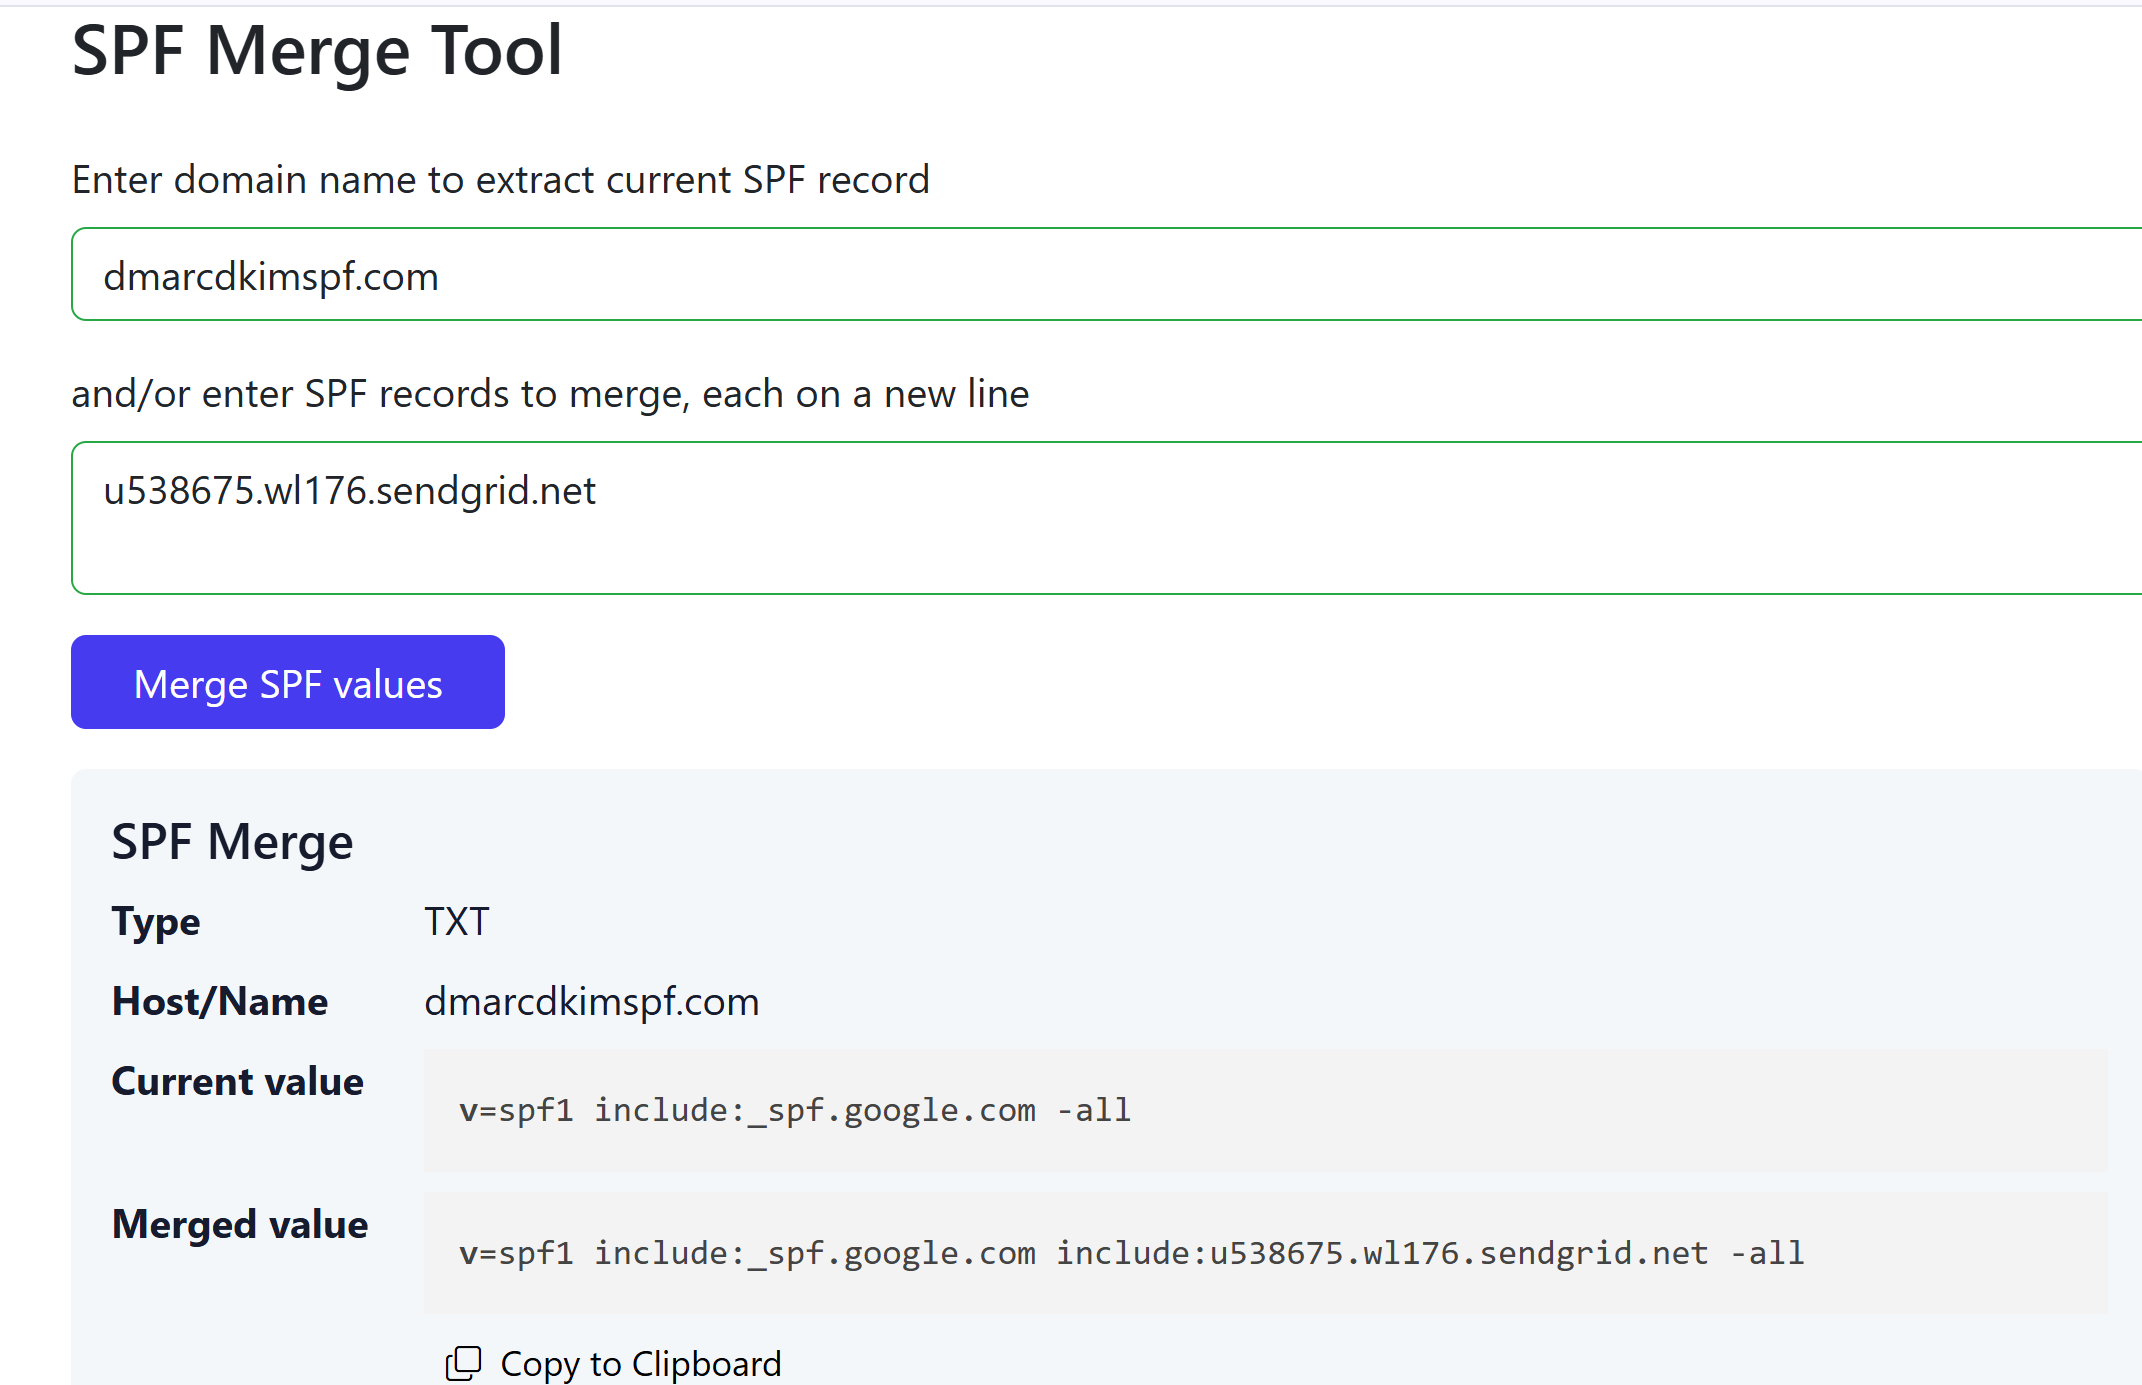
If your domain has an SPF record from another provider, merge it with the Notifii SPF value. Adding more than one SPF record can cause one of them to stop working. For merging you can use the DmarcDkim.com SPF Merge tool.
Go to the SPF Merge tool.
Add your domain name and Notifii SPF record.
Click the Merge SPF Values button.
The tool combines both SPF records and gives a single value.
-
Add this merged value to your DNS dashboard.
Setup Notifii DKIM Record:
Open your domain's DNS dashboard and add the following CNAME DKIM records.
| Type | Hostname | Value |
|---|---|---|
CNAME |
ntf._domainkey |
ntf.domainkey.u538675.wl176.sendgrid.net |
CNAME |
ntf2._domainkey |
ntf2.domainkey.u538675.wl176.sendgrid.net |
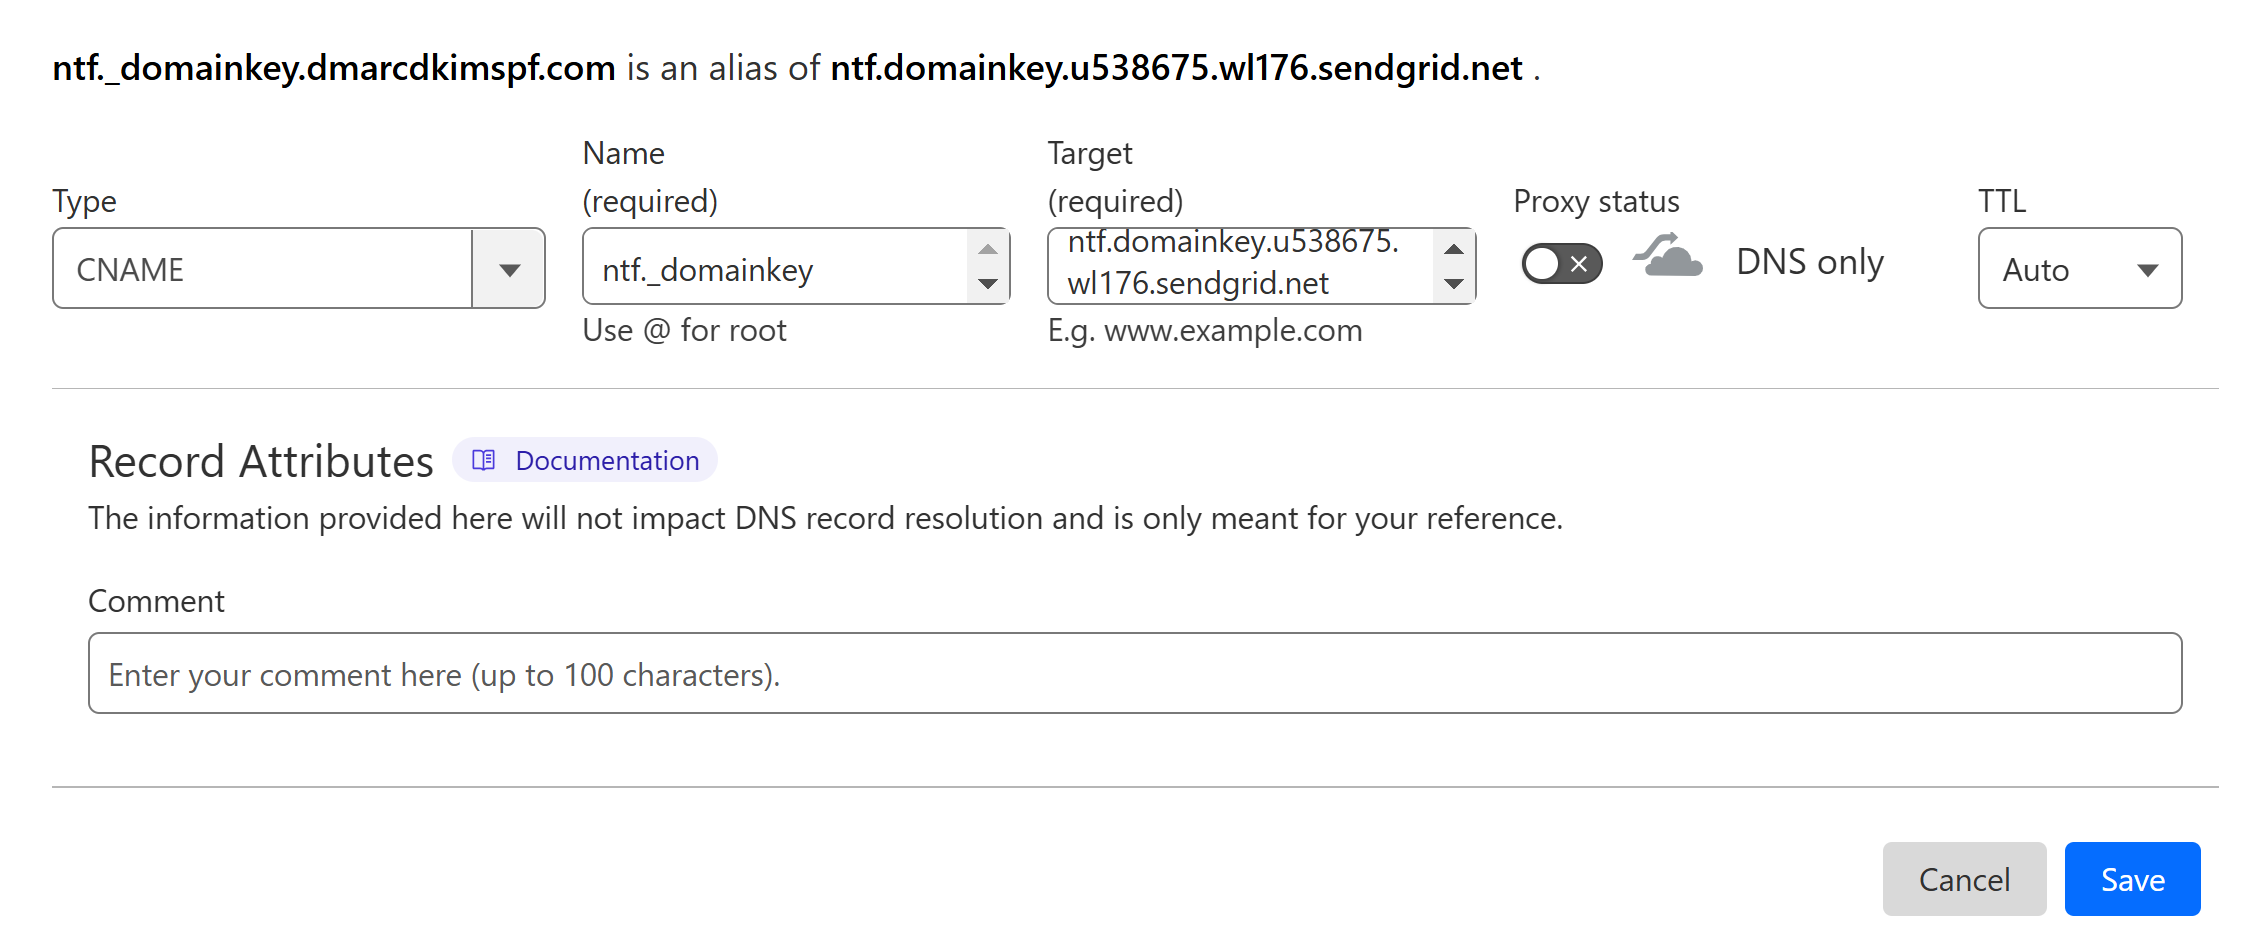
NOTE: Turn off the proxy toggle for CNAME records. If the proxy is enabled, records do not get verified.
Setup Notifii DMARC Record:
To setup a strict DMARC policy, you can use the DmarcDkim.com DMARC Check tool. It gives you DMARC analytics and reports to protect your domain against spoofing.
Go to the DMARC Check Tool.
-
Enter your domain name and click Check.
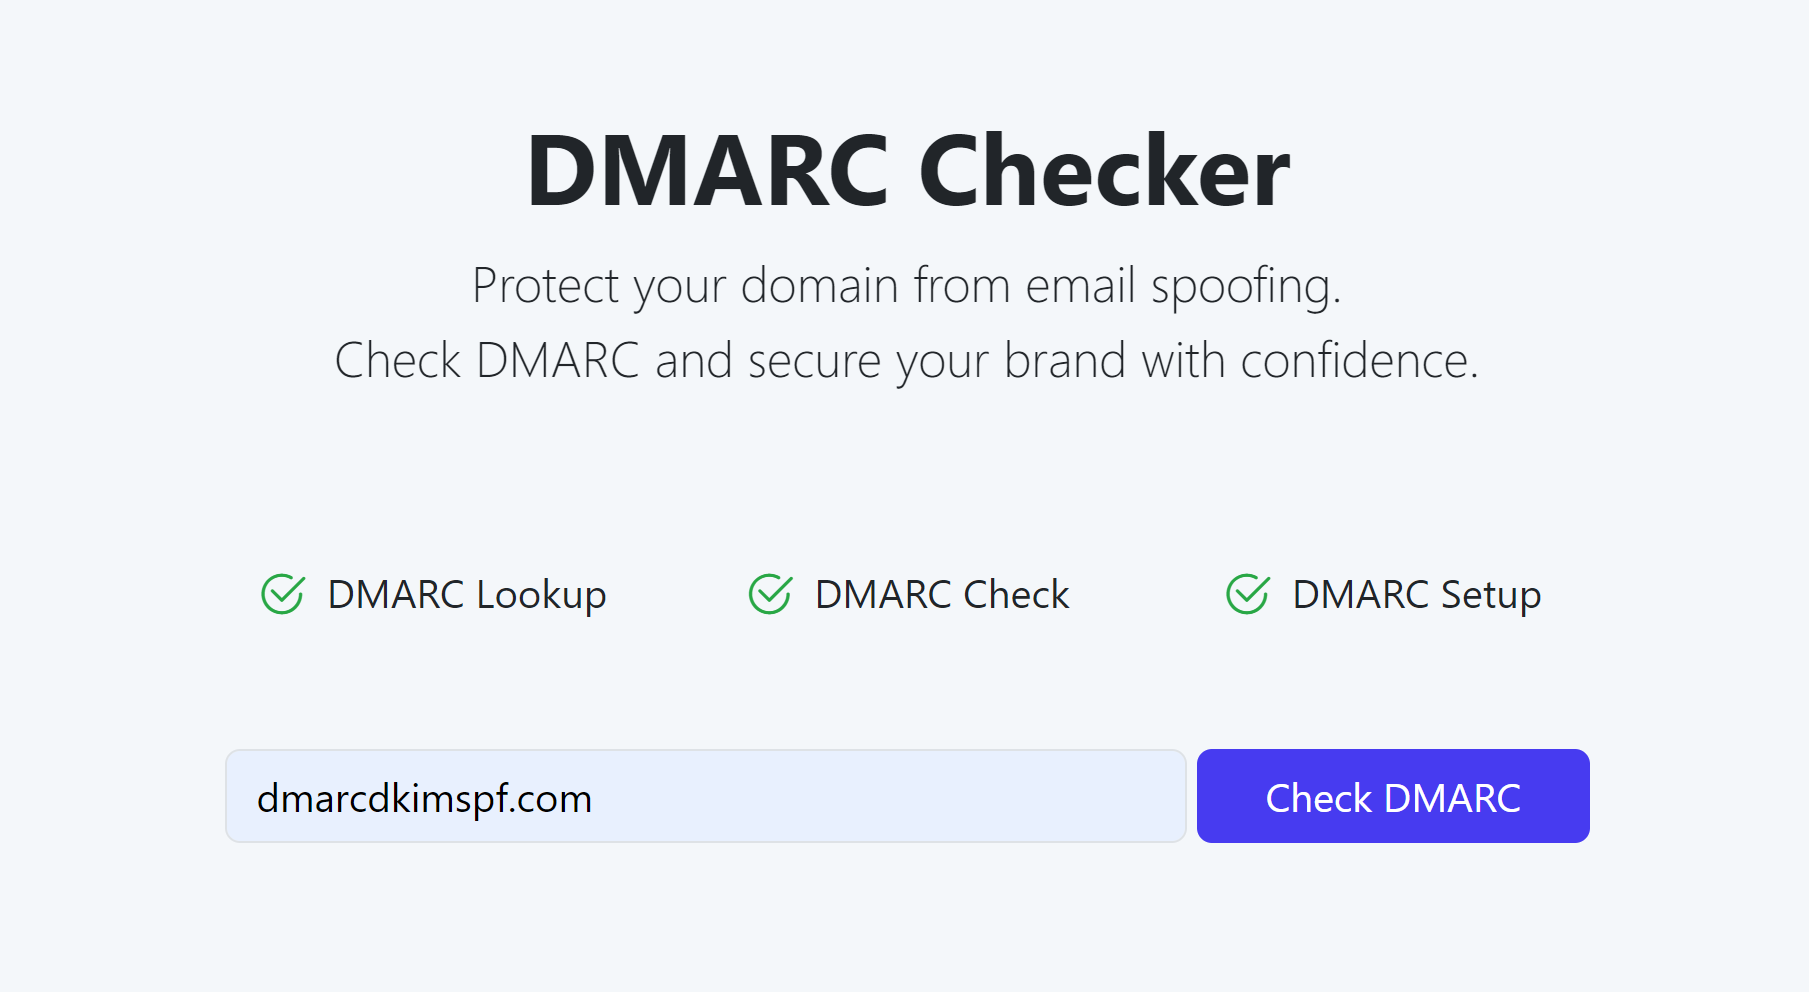
The tool analyzes your domain for existing DMARC records and errors.
-
After analysis, it provides you with an initial monitoring value.
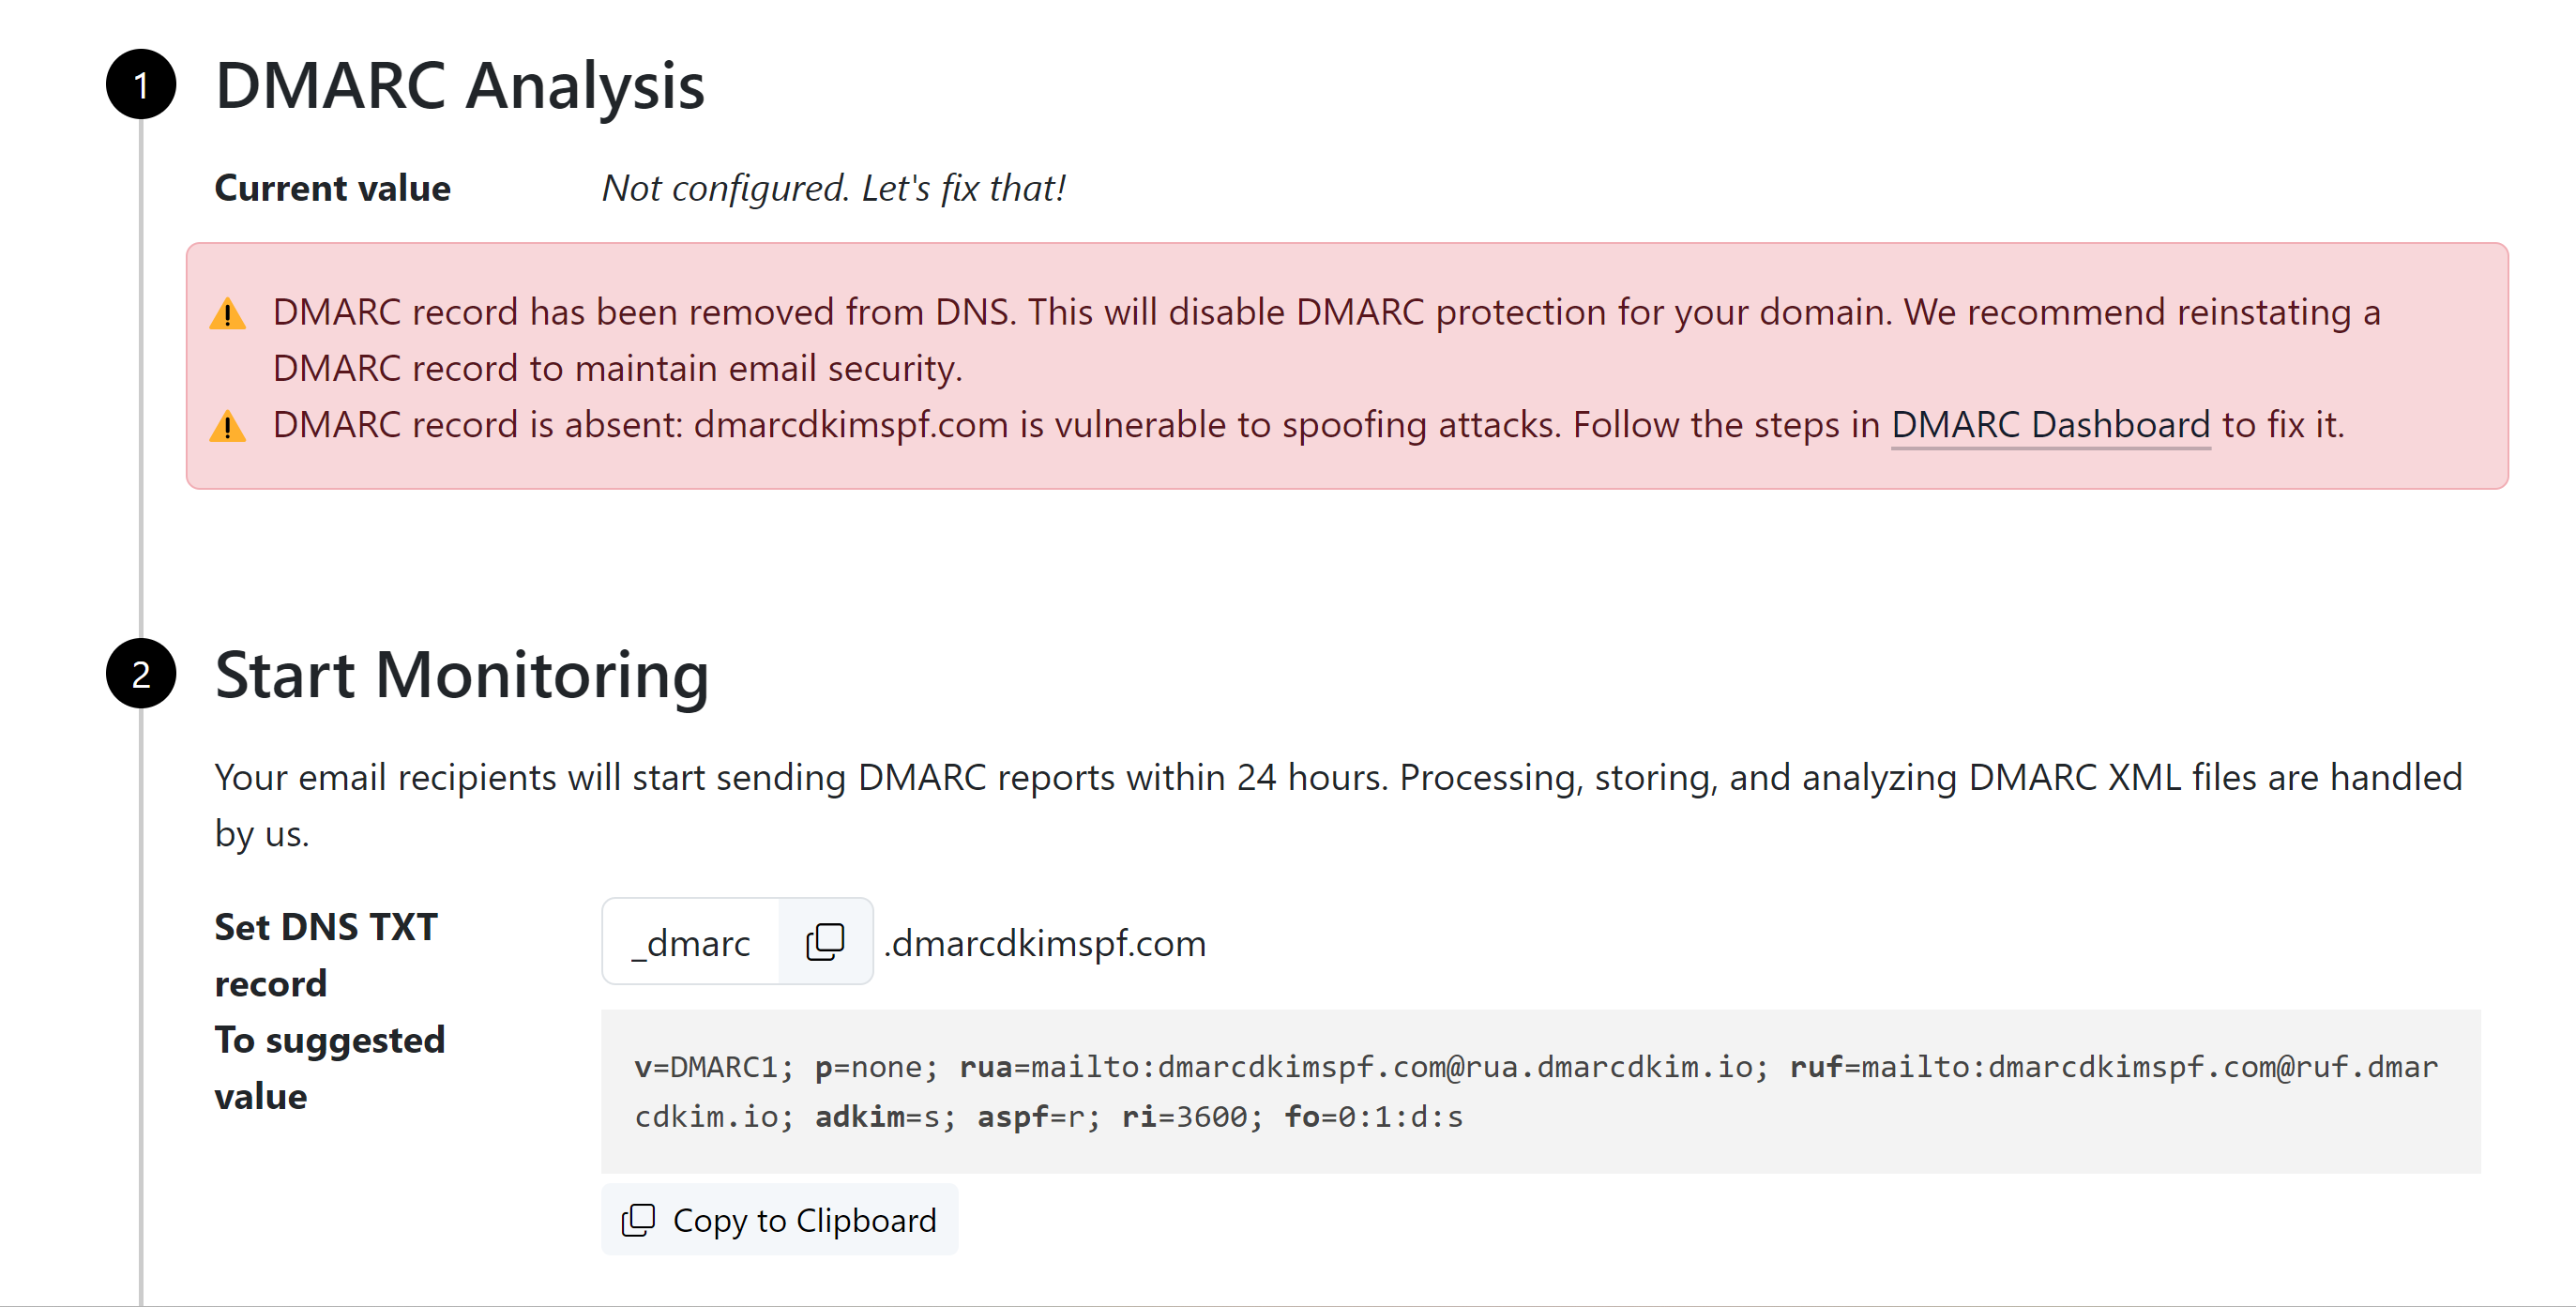
Add this DMARC value to your DNS provider.
-
Click the Sign-up button to get DMARC reports and analytics.
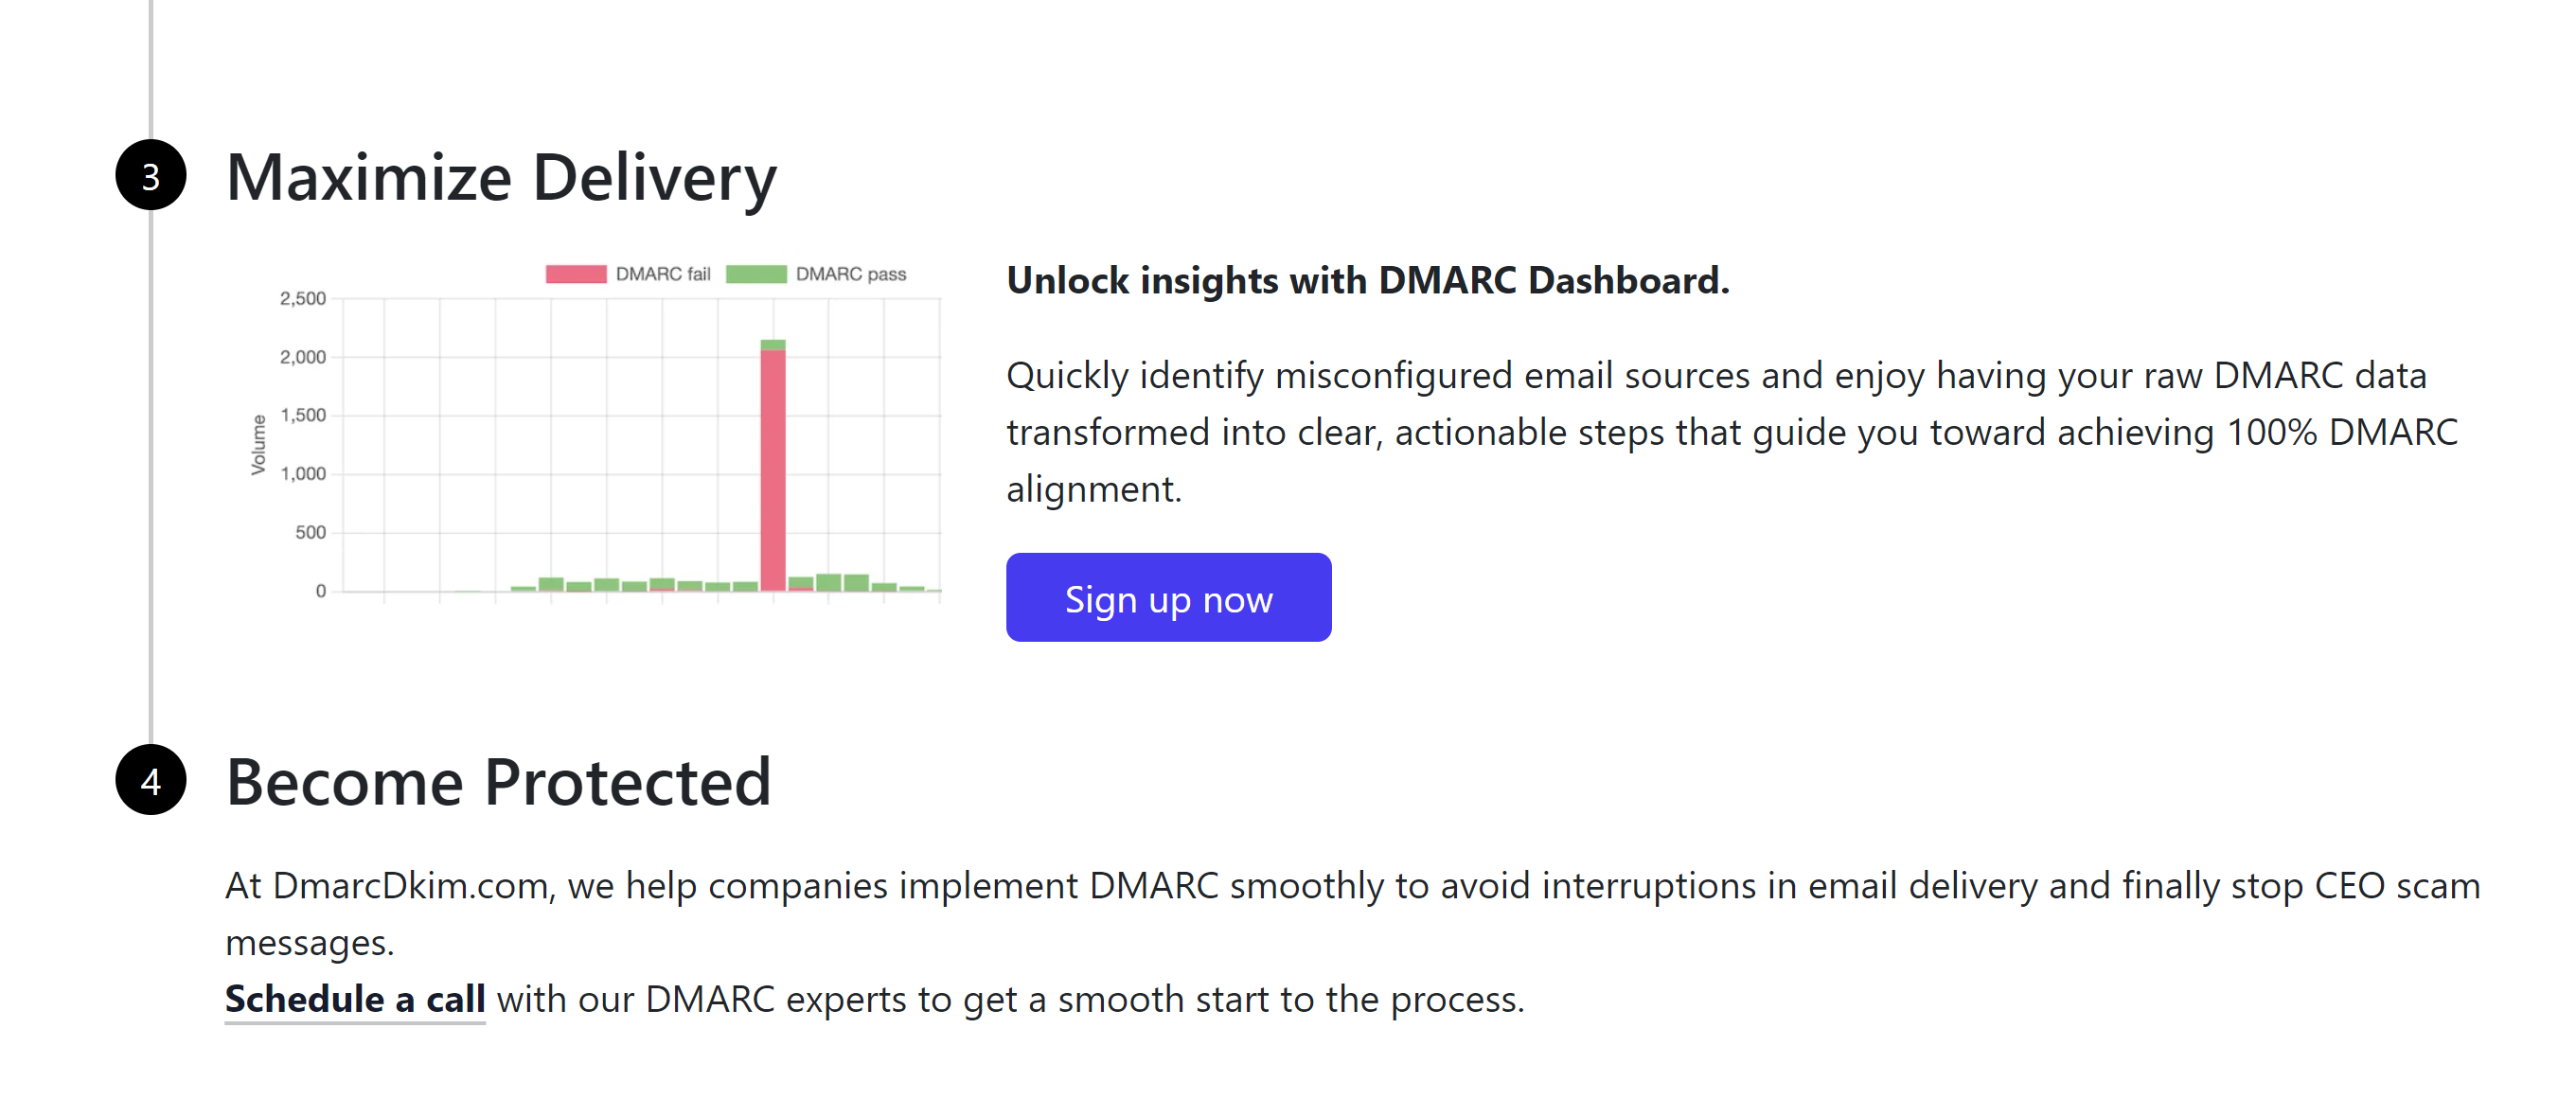
After monitoring all incoming emails, the tool guides you through setting up a strict DMARC policy to block unauthorized senders.
After setting up the records, wait up to 24 hours for the DNS changes to propagate.
For support and assistance, contact a DmarcDkim.com expert.
Check domain and follow the instructions to nail down your DMARC configuration.
No expert knowledge needed!


