
Resend SPF, DKIM, DMARC Configuration - Step-by-Step Guide
Check your domain for DMARC, DKIM, SPF and MX records. Get a free report.
How to setup Resend DMARC, DKIM and SPF records?
SPF (Sender Policy Framework) helps prevent email spoofing by allowing domain owners to specify which mail servers are authorized to send email on behalf of their domain.
DKIM (DomainKeys Identified Mail) adds a digital signature to your email headers, enabling the recipient's server to verify that the email has not been altered during transit and that it indeed comes from your domain.
DMARC (Domain-based Message Authentication, Reporting, and Conformance) builds on SPF and DKIM. It allows domain owners to specify how receiving mail servers should deal with emails that fail SPF or DKIM checks.
In this guide post, we will guide you through the domain authentication process with the help of Email Labs DNS records. So stay tuned!
Configuring Resend DNS Records:
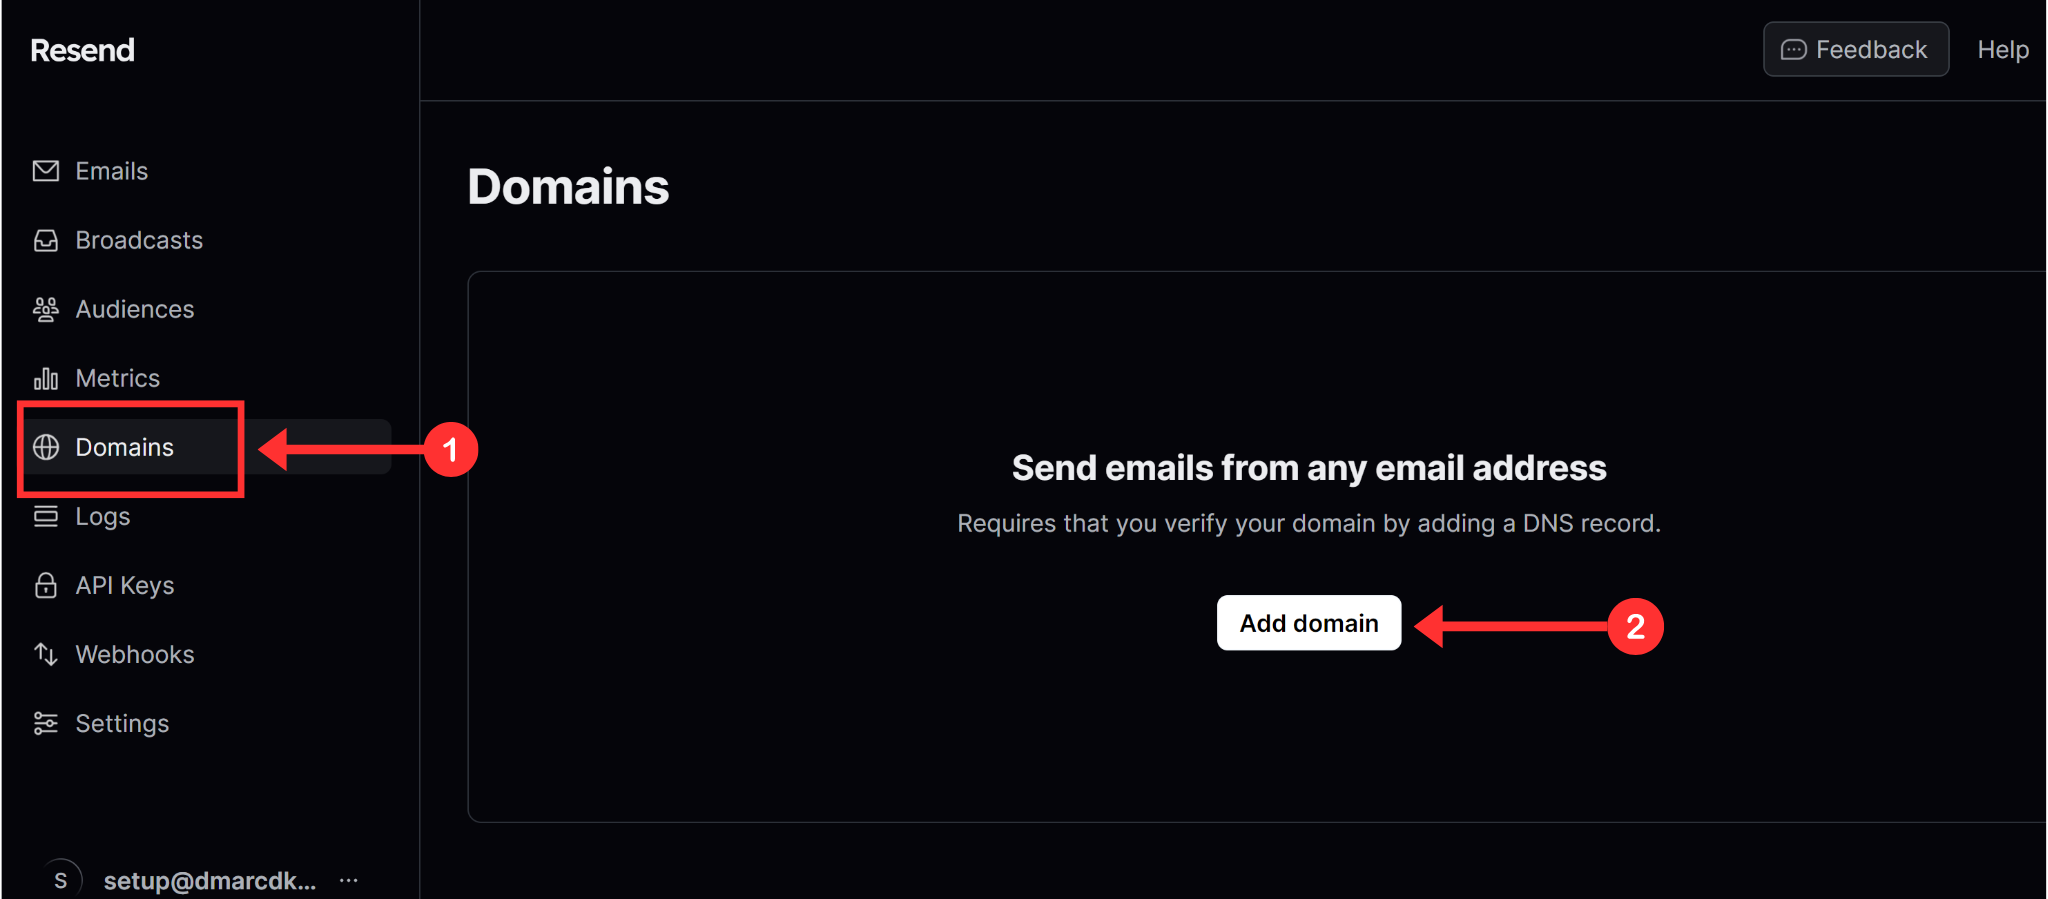
On the dashboard, click Domains in the left navigation menu.
-
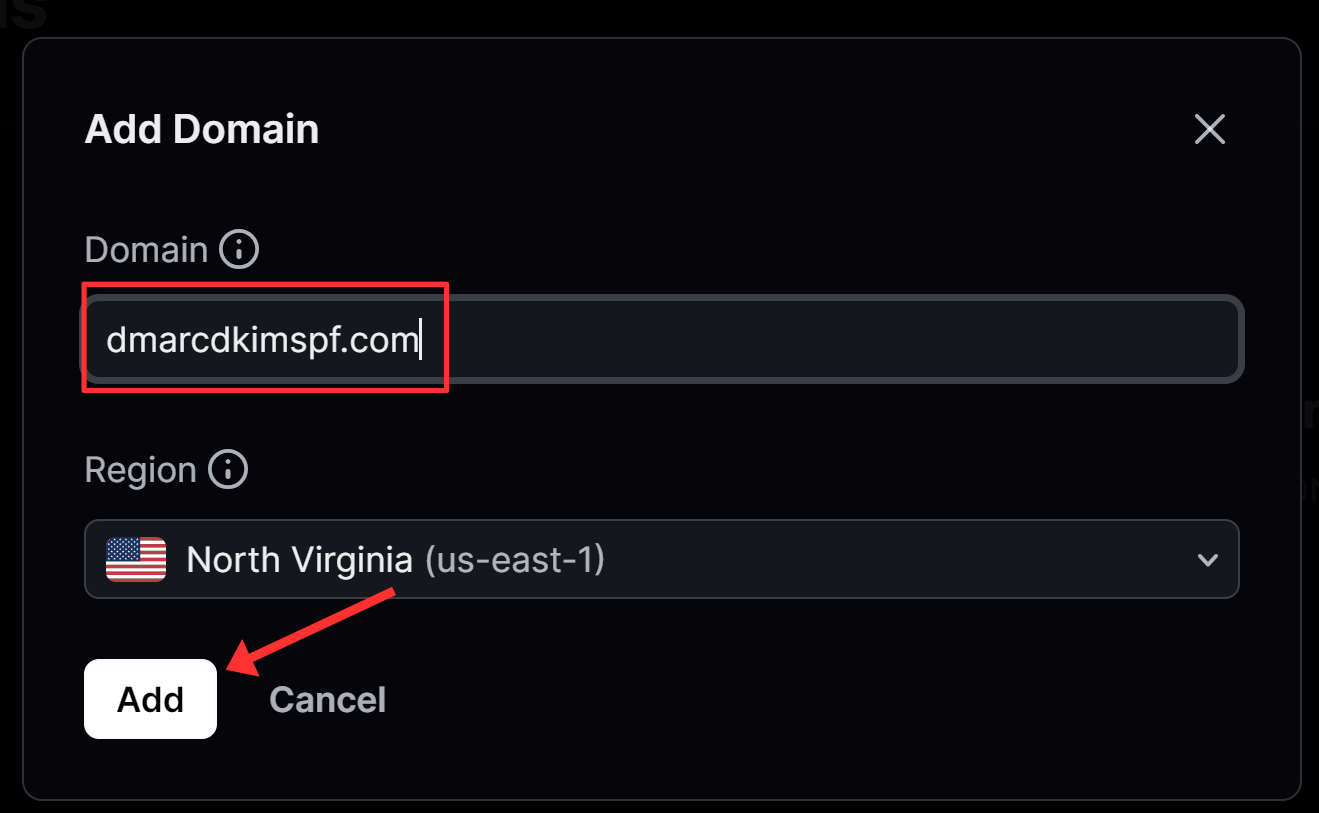
Click Add Domain and write down your domain name.
-
On the next page, you'll see the MX and TXT records. Add these records to the DNS provider.
Adding Resend Records to the DNS Provider:
Login to your DNS provider. We are using Cloudflare for this guide.
-
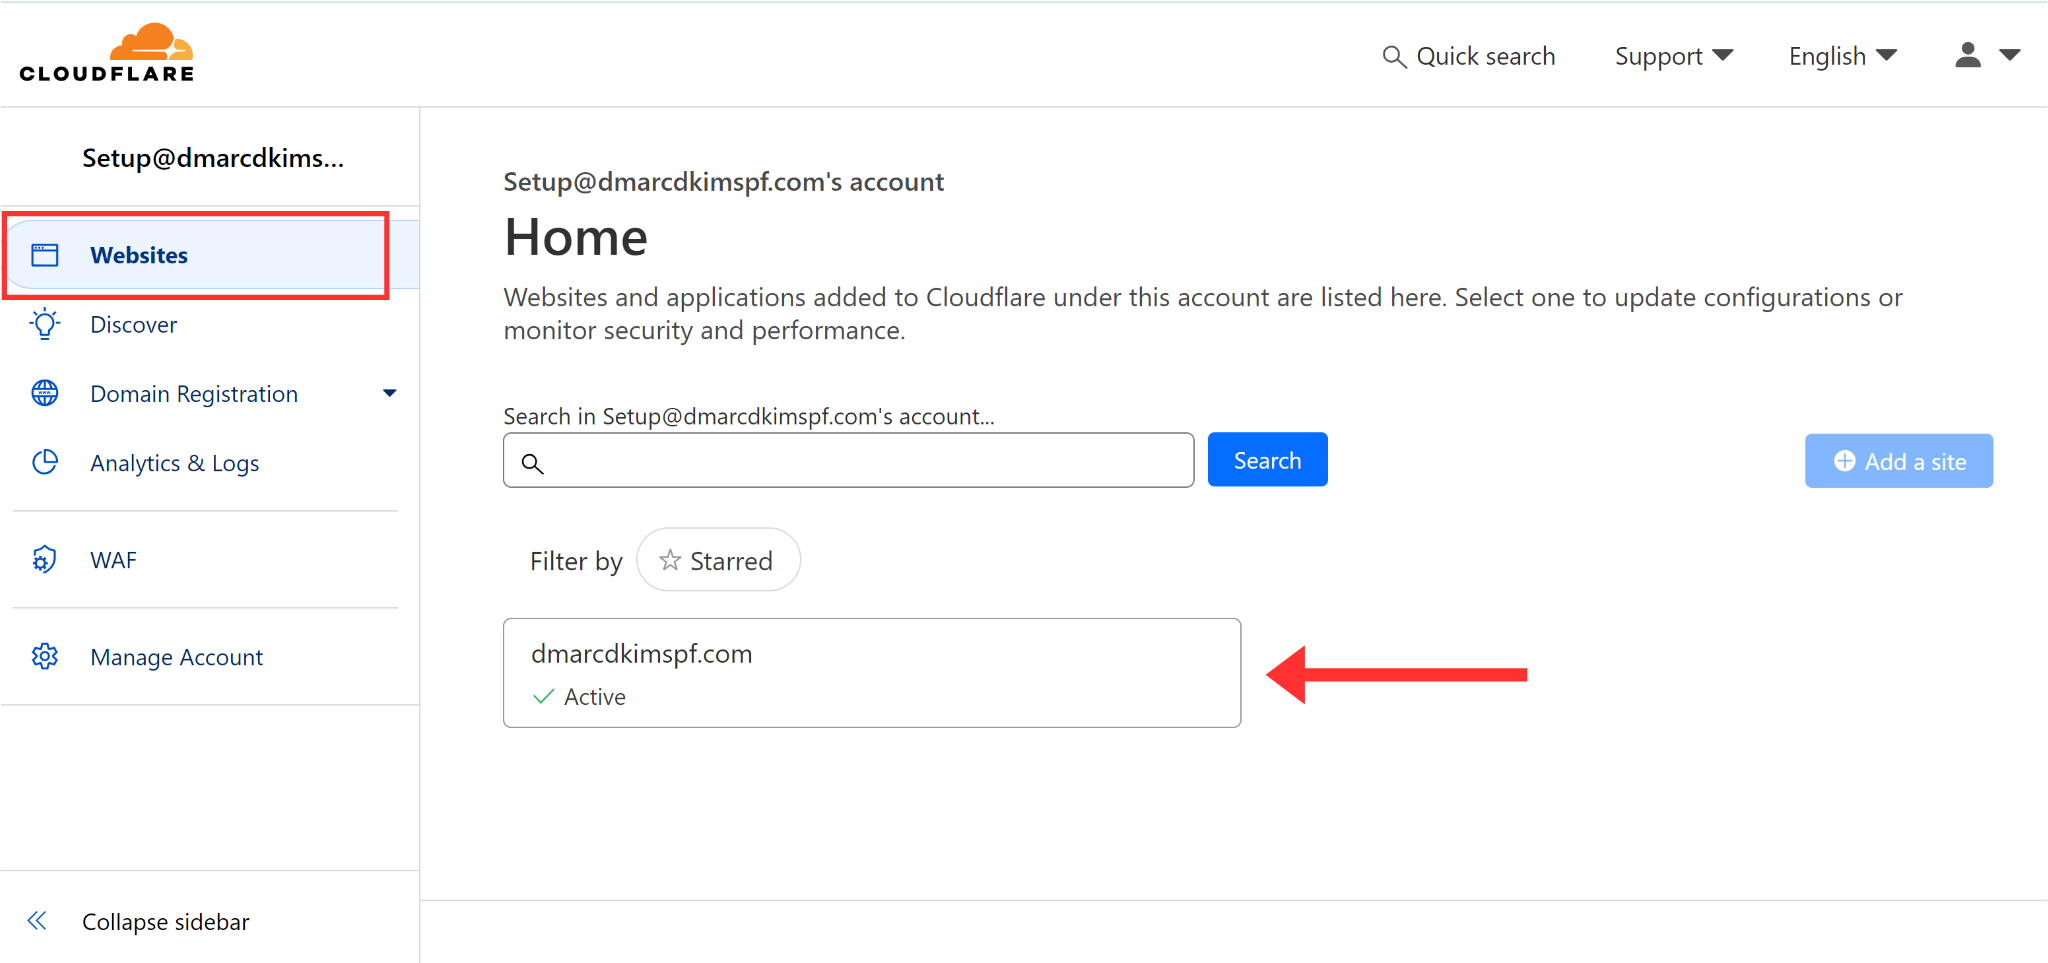
Go to the Websites tab and click your domain.
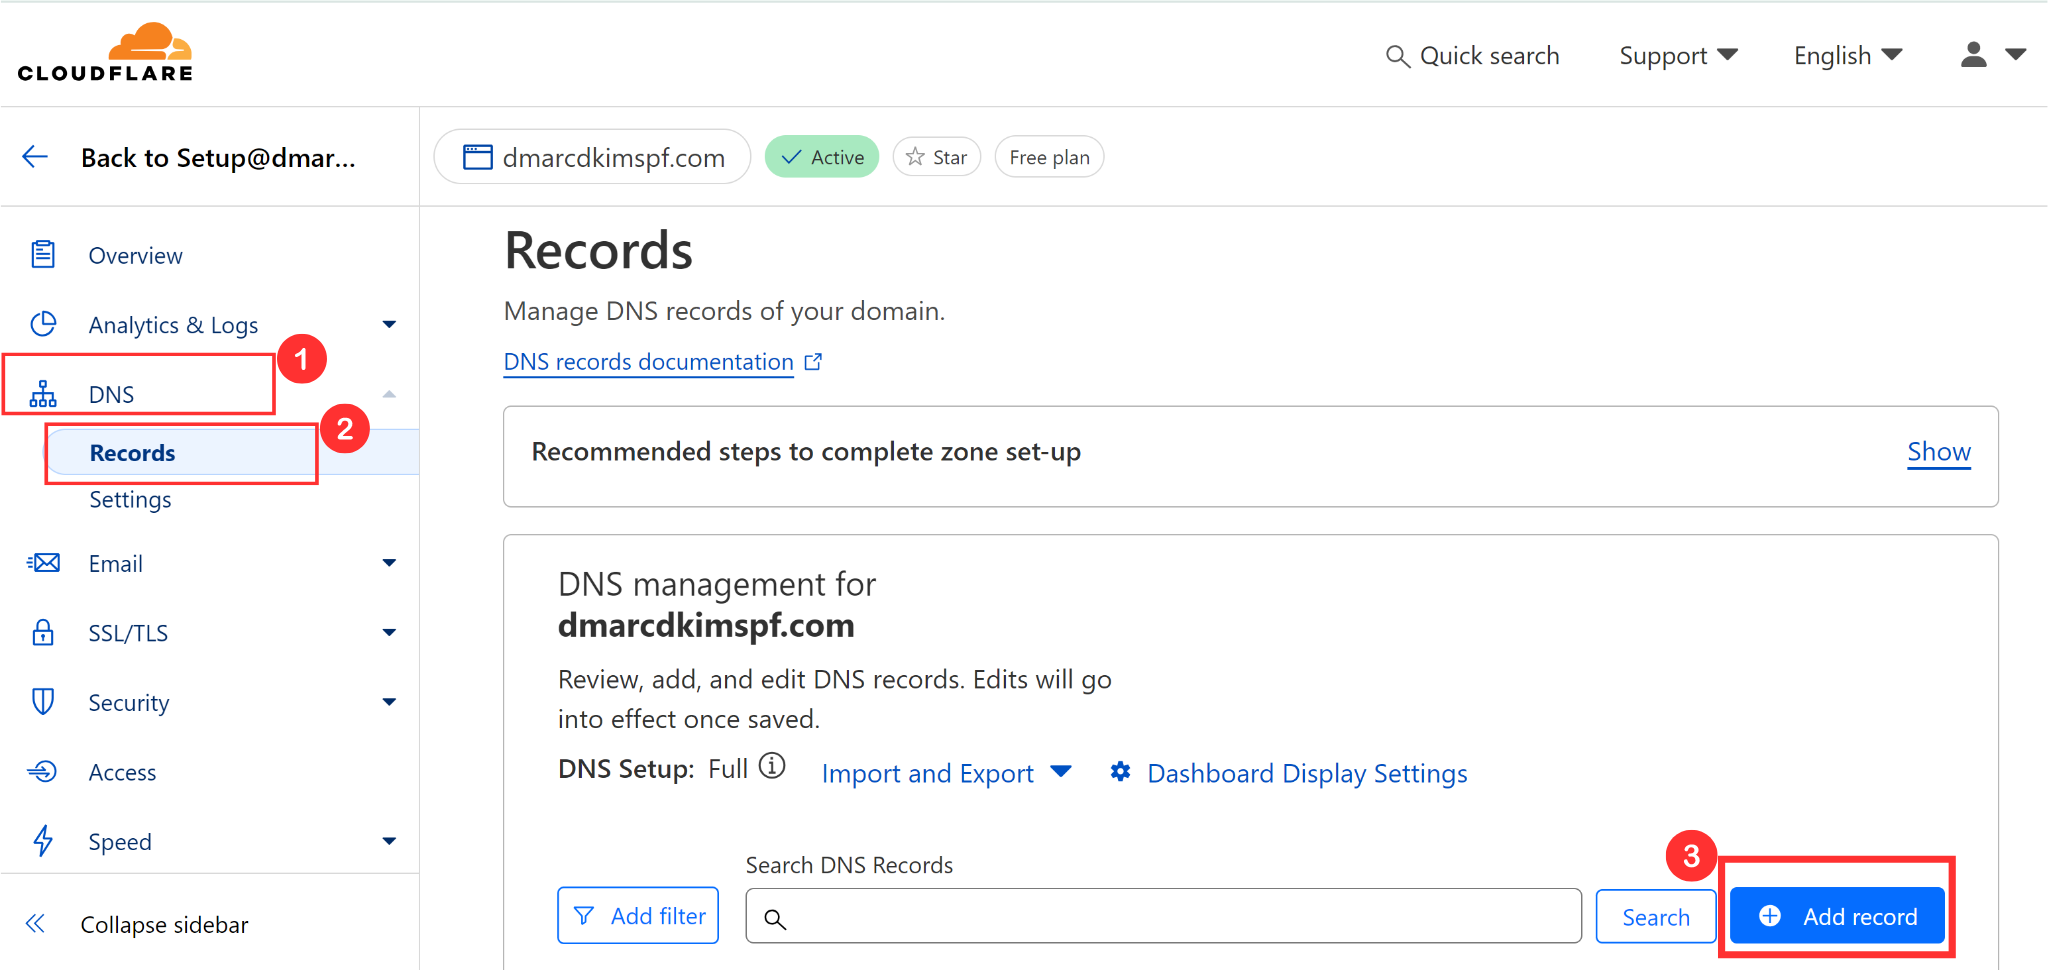
Click DNS in the left menu and go to Records.
-
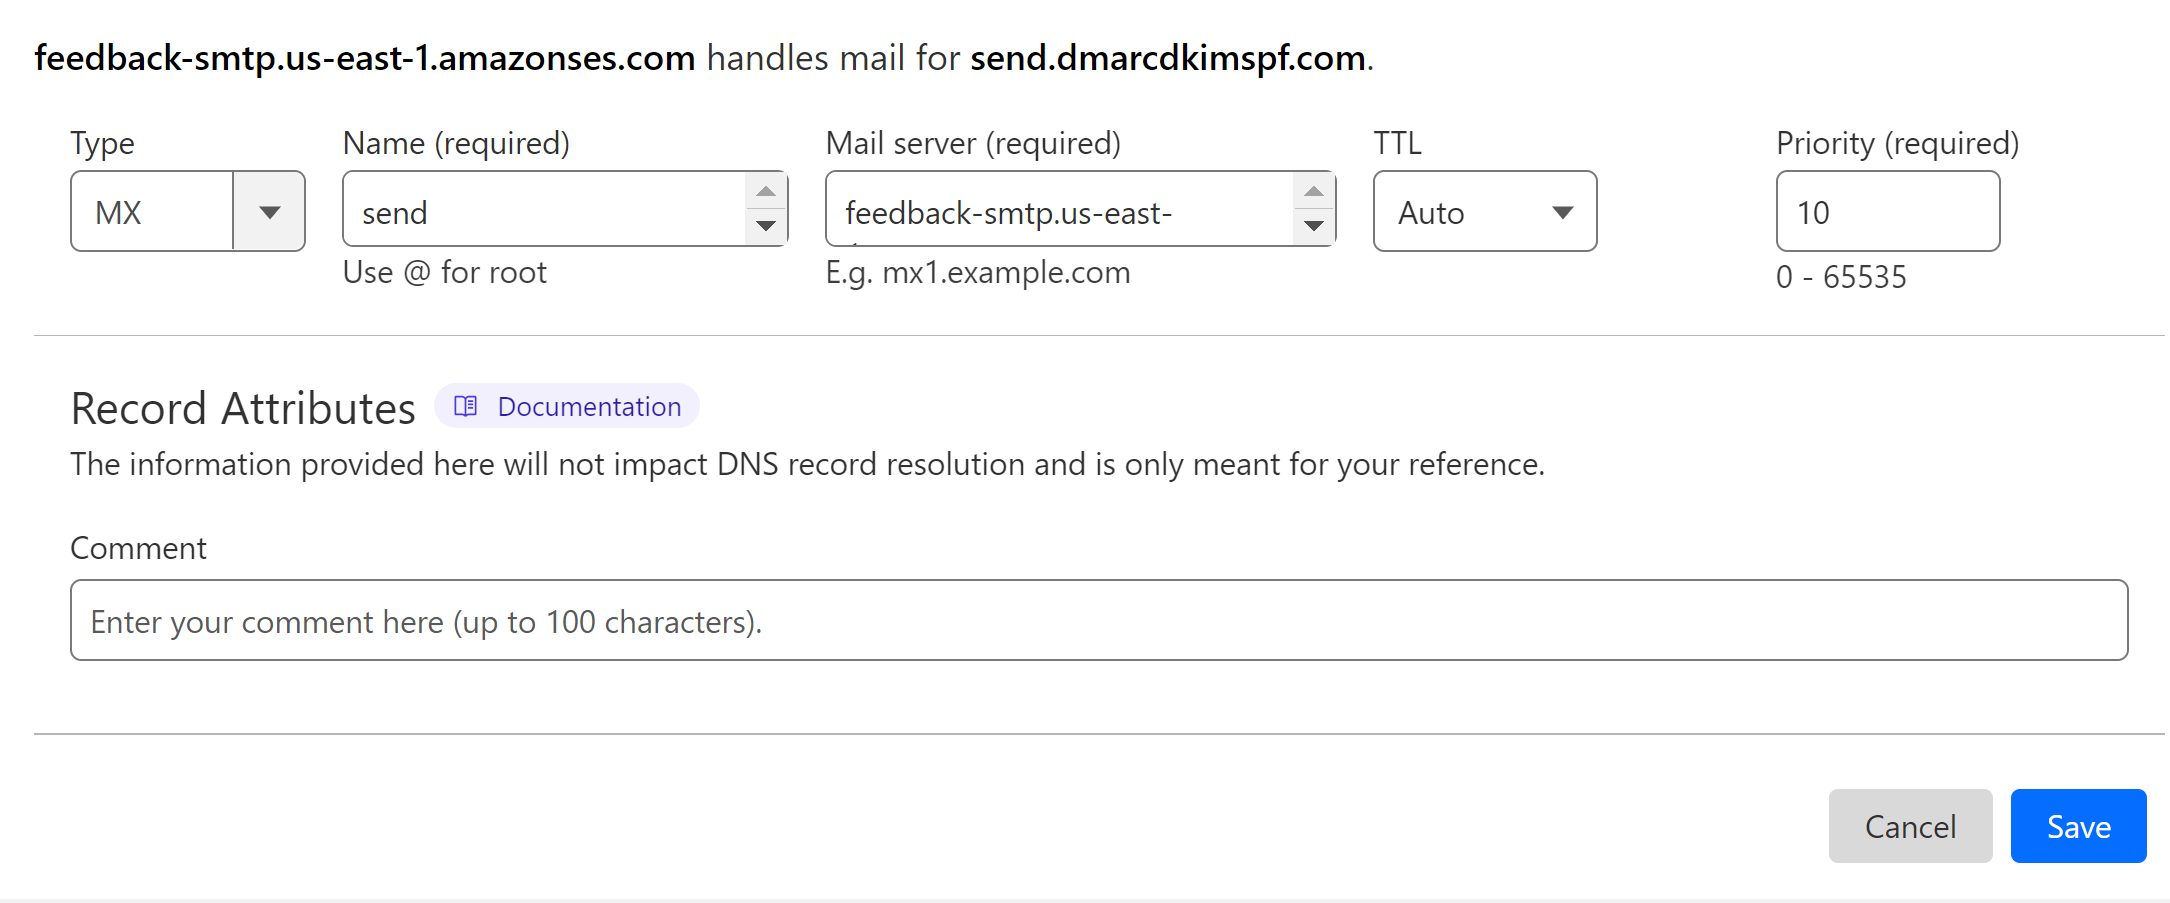
Hit the Add Record button to add new records.
Select type MX/TXT (as mentioned with the record).
Add the Host name in the Name field of the DNS dashboard.
Add the record value in the Mail server/Content field.
Set the priority "10" for the MX record.
-
Finally, click the Save button.
Generating Resend DMARC Record:
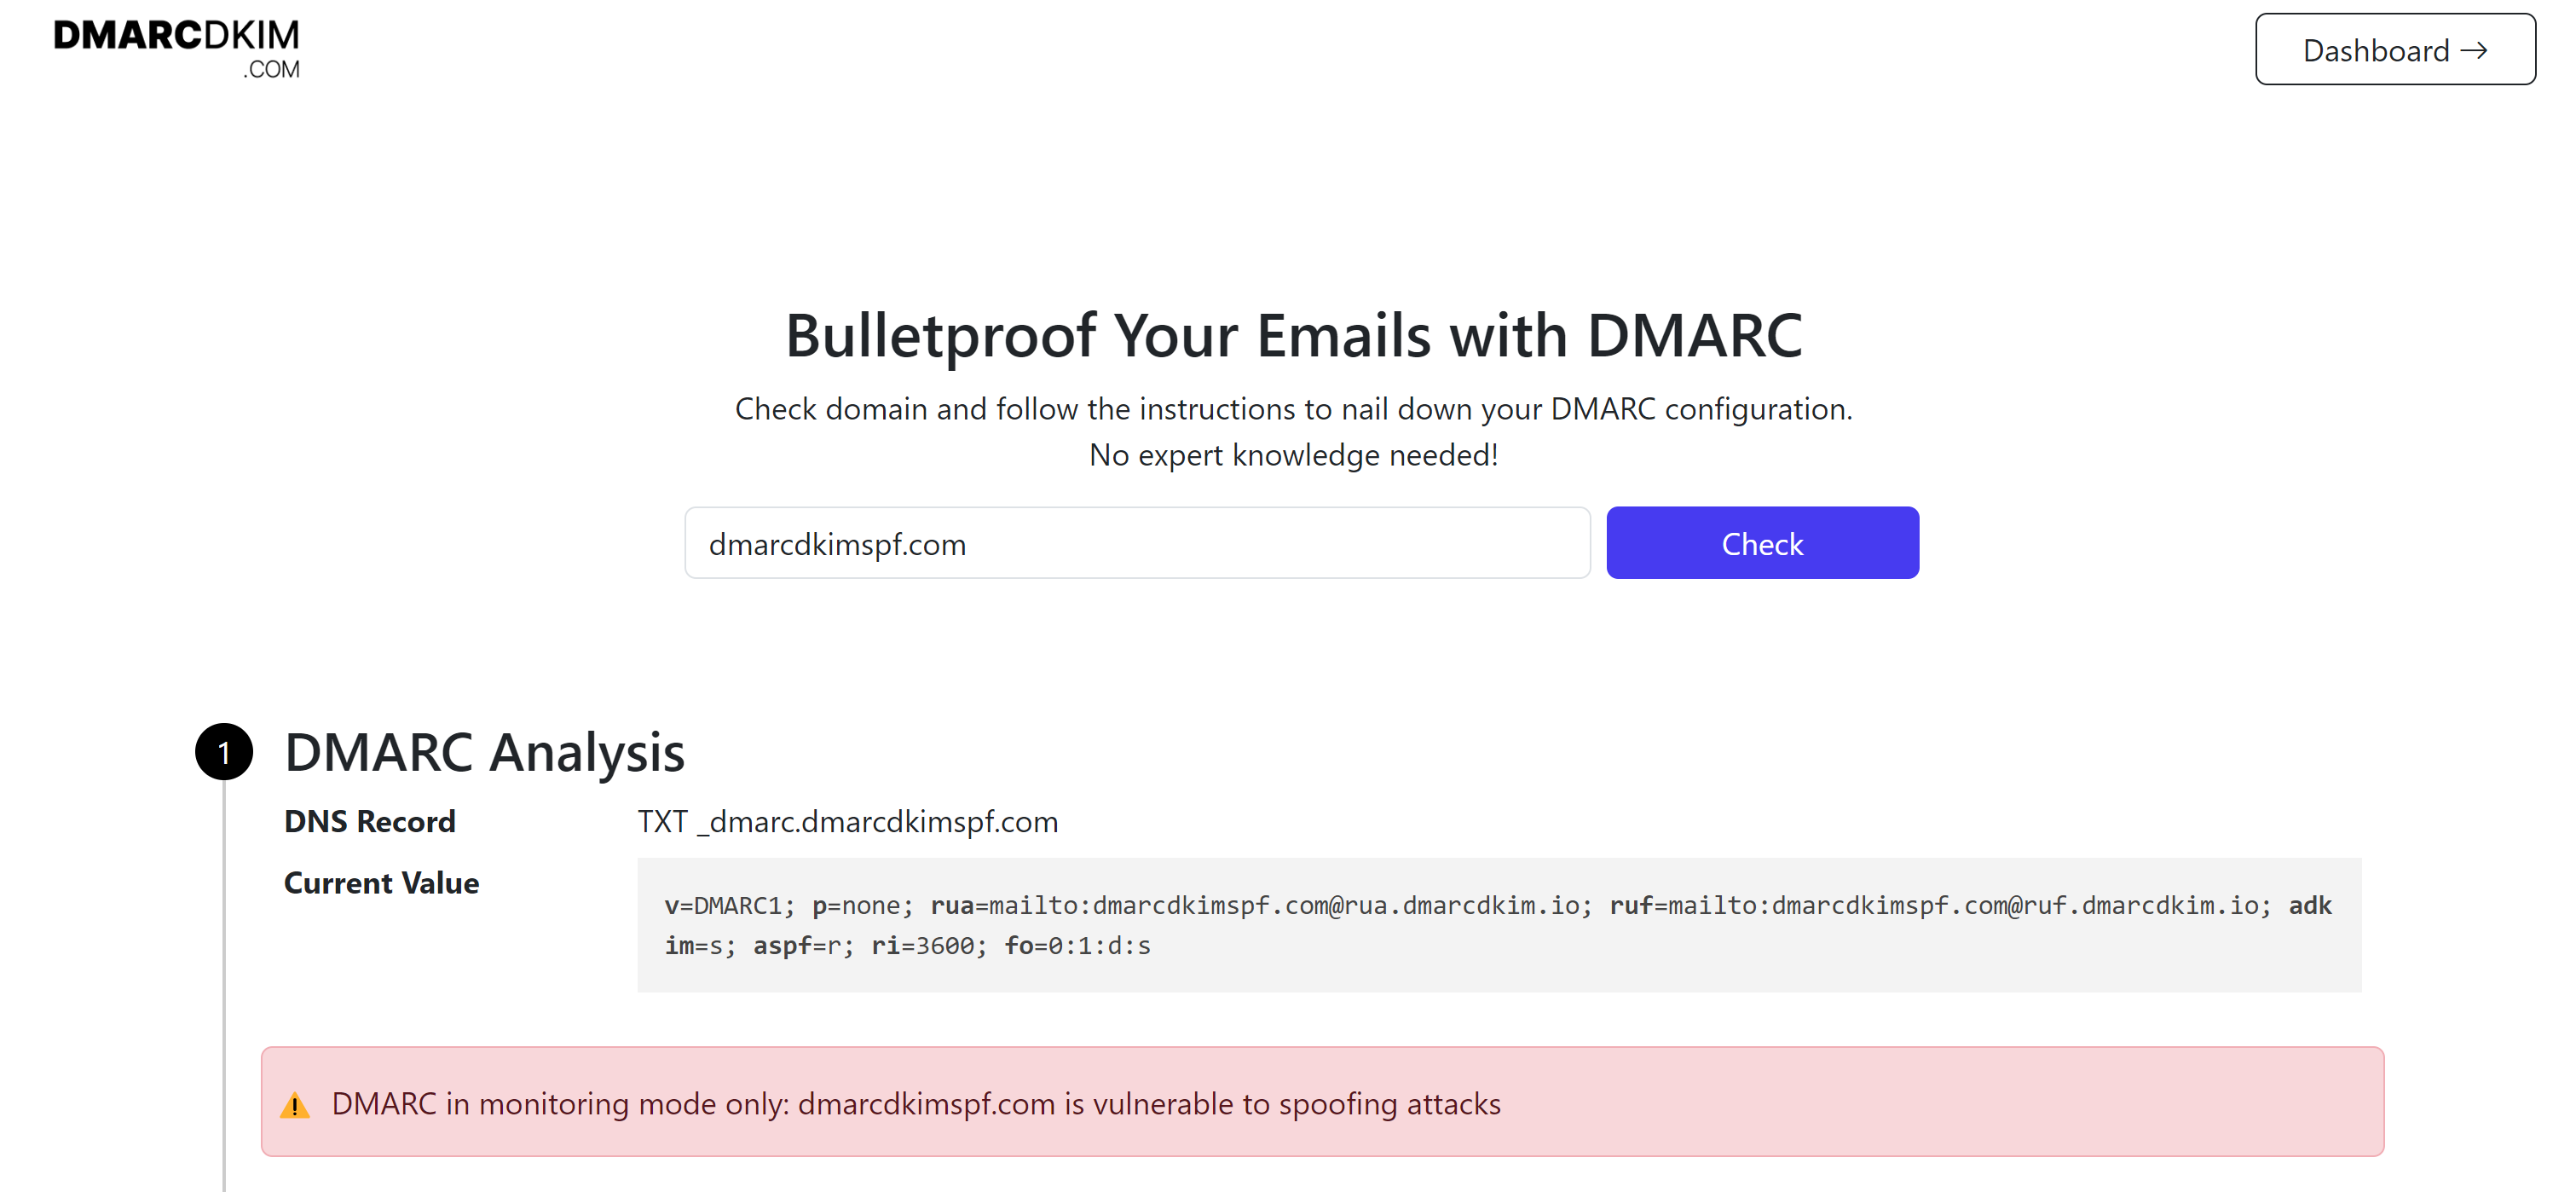
The DMARC value provided by Resend is a p=none value which provides initial monitoring and is not helpful for implementing a strict policy. Moreover, it doesn't have a server that receives rejected emails. Without the insight, you can not take action to secure your emails.
To implement a strict policy (p=reject), you can use our DMARC tool which also provides you access to the reports dashboard so you can take action accordingly.
Go to the DMARC Checker.
-
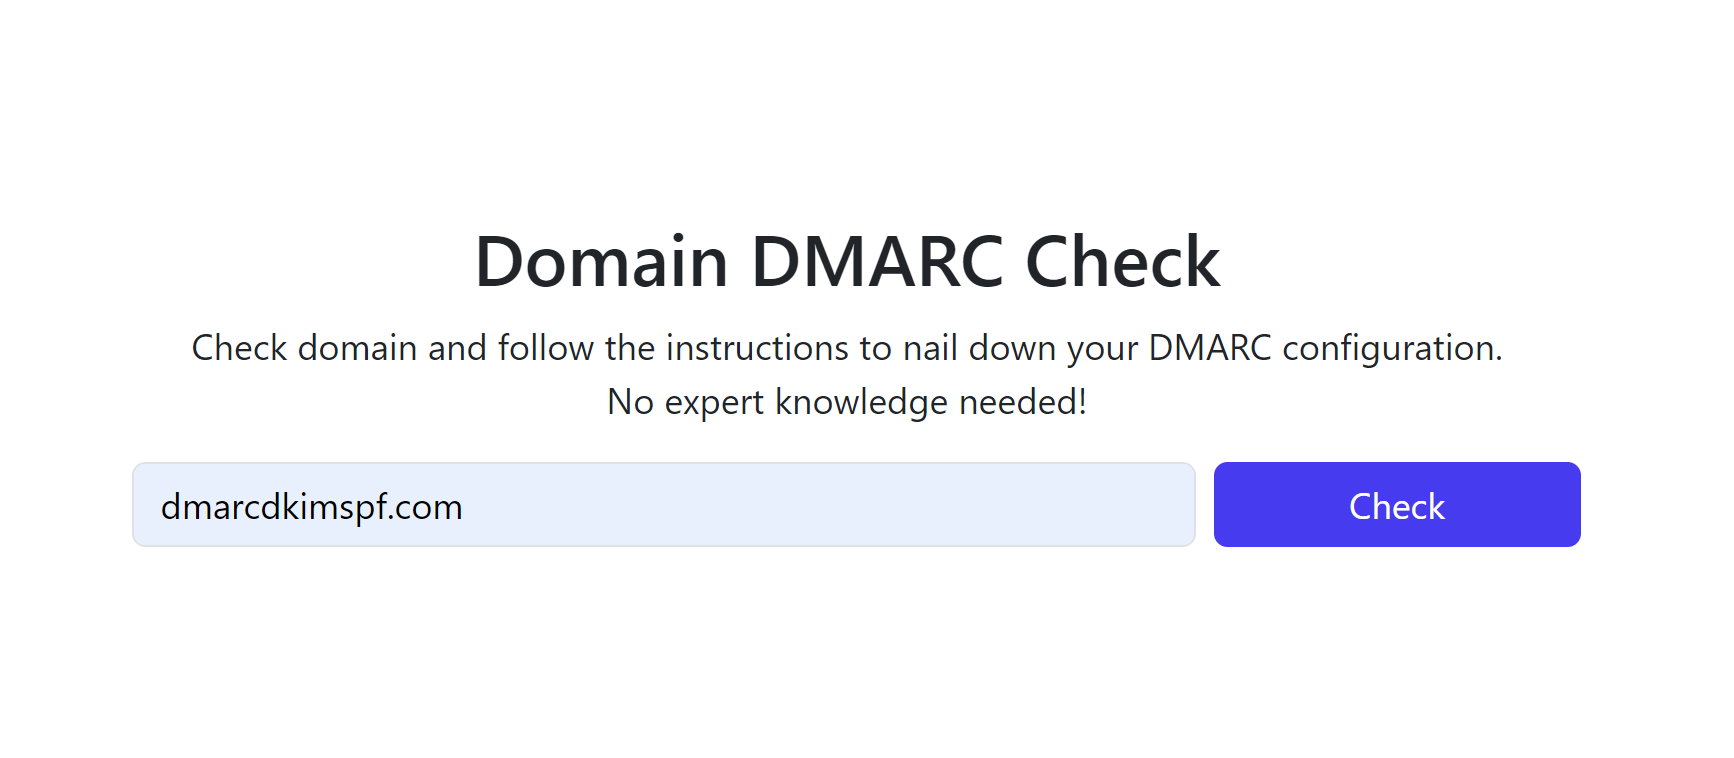
Write your domain name and click Check.
-
The tool gives you a suggested value - add it to your DNS provider.
After adding the value to the DNS dashboard, sign up at DmarcDkim.com to get access to the reports dashboard.
Verify Resend DNS Records:
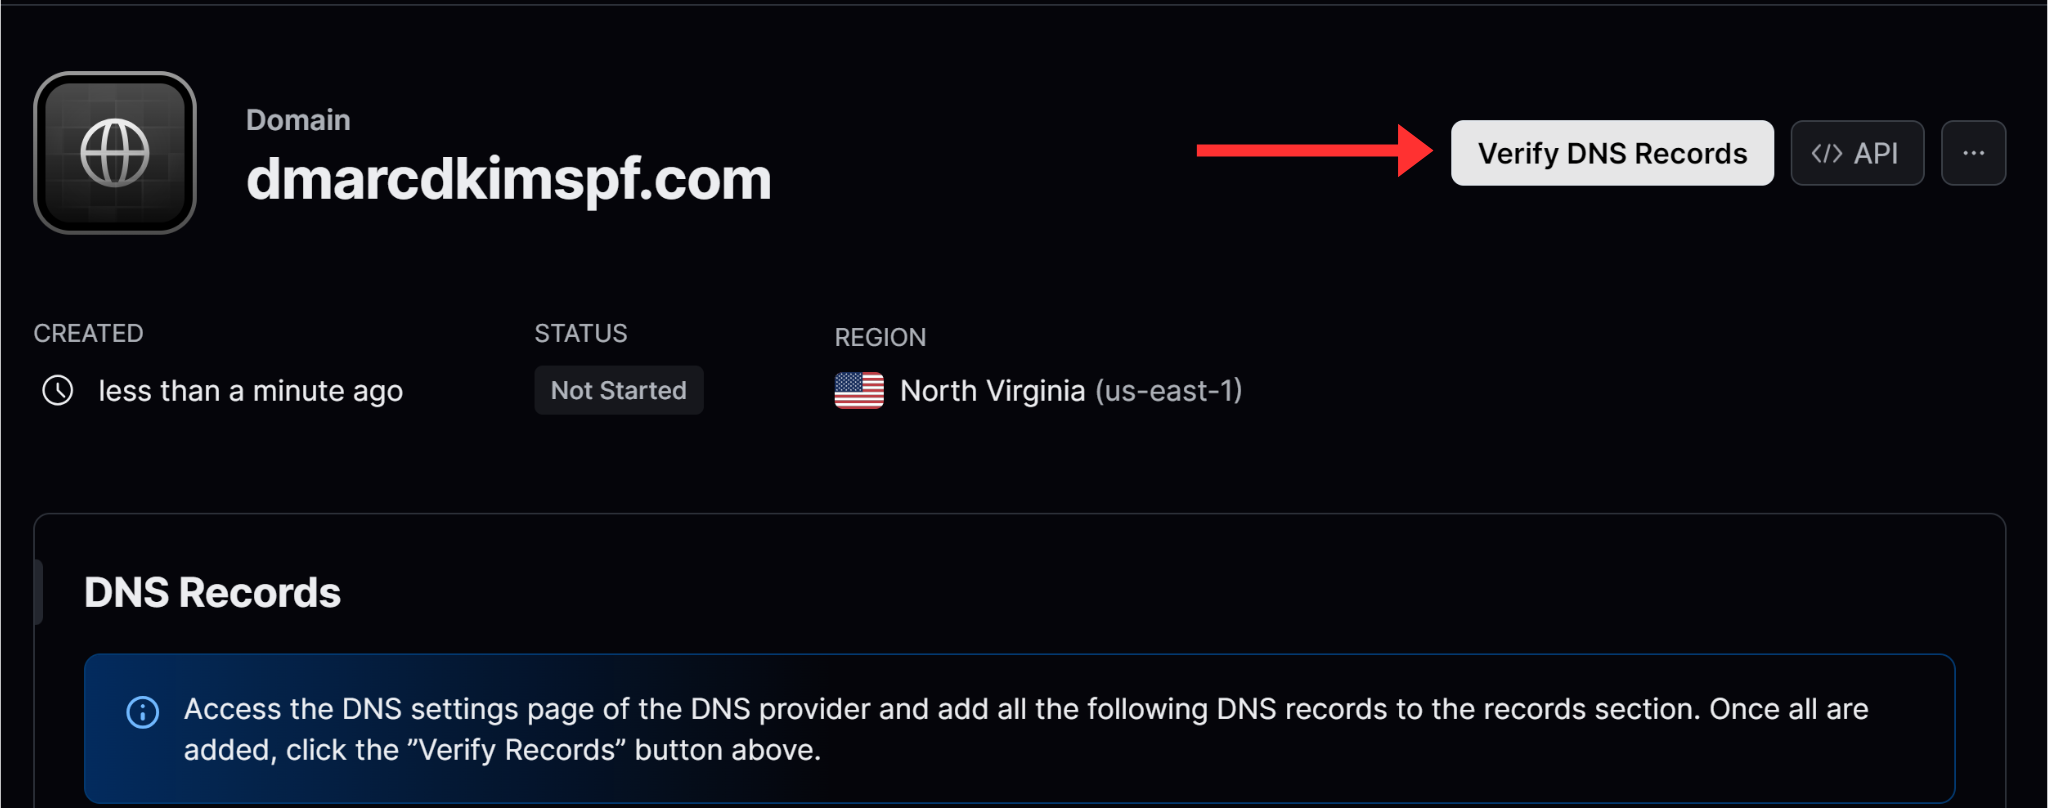
After adding DNS records to the dashboard, click the Verify DNS Records button.
-
If records were added successfully, you should see "Verified" highlighted with green next to each record.
If they are not verified immediately, wait up to 24 hours for the servers to propagate DNS changes.
If the records are not verified after 24 hours, there might be a potential misconfiguration in your DNS setup. To troubleshoot the problem, you can hire a DmarcDkim.com expert to help you out.
Check domain and follow the instructions to nail down your DMARC configuration.
No expert knowledge needed!


