
Configure Cakemail DMARC & DNS Records for Domain Authentication
Check your domain for DMARC, DKIM, SPF and MX records. Get a free report.
How to Configure Cakemail DMARC and DNS Records for Domain Authentication?
SPF, DKIM, and DMARC are the commonly used email authentication standards that are necessary to protect emails against spoofing and build trust with email inbox providers (ISPs) like Google. Without these authentications, your emails are likely to be marked as spam by the ISPs. Therefore, several email management platforms like CakeMail, provide the DNS records that you can add to your DNS provider for verification. This step-by-step guide will walk you through the complete DNS setup and domain authentication process. Read on to learn how to configure DNS records in CakeMail.
Adding Cakemail DKIM Record:
-
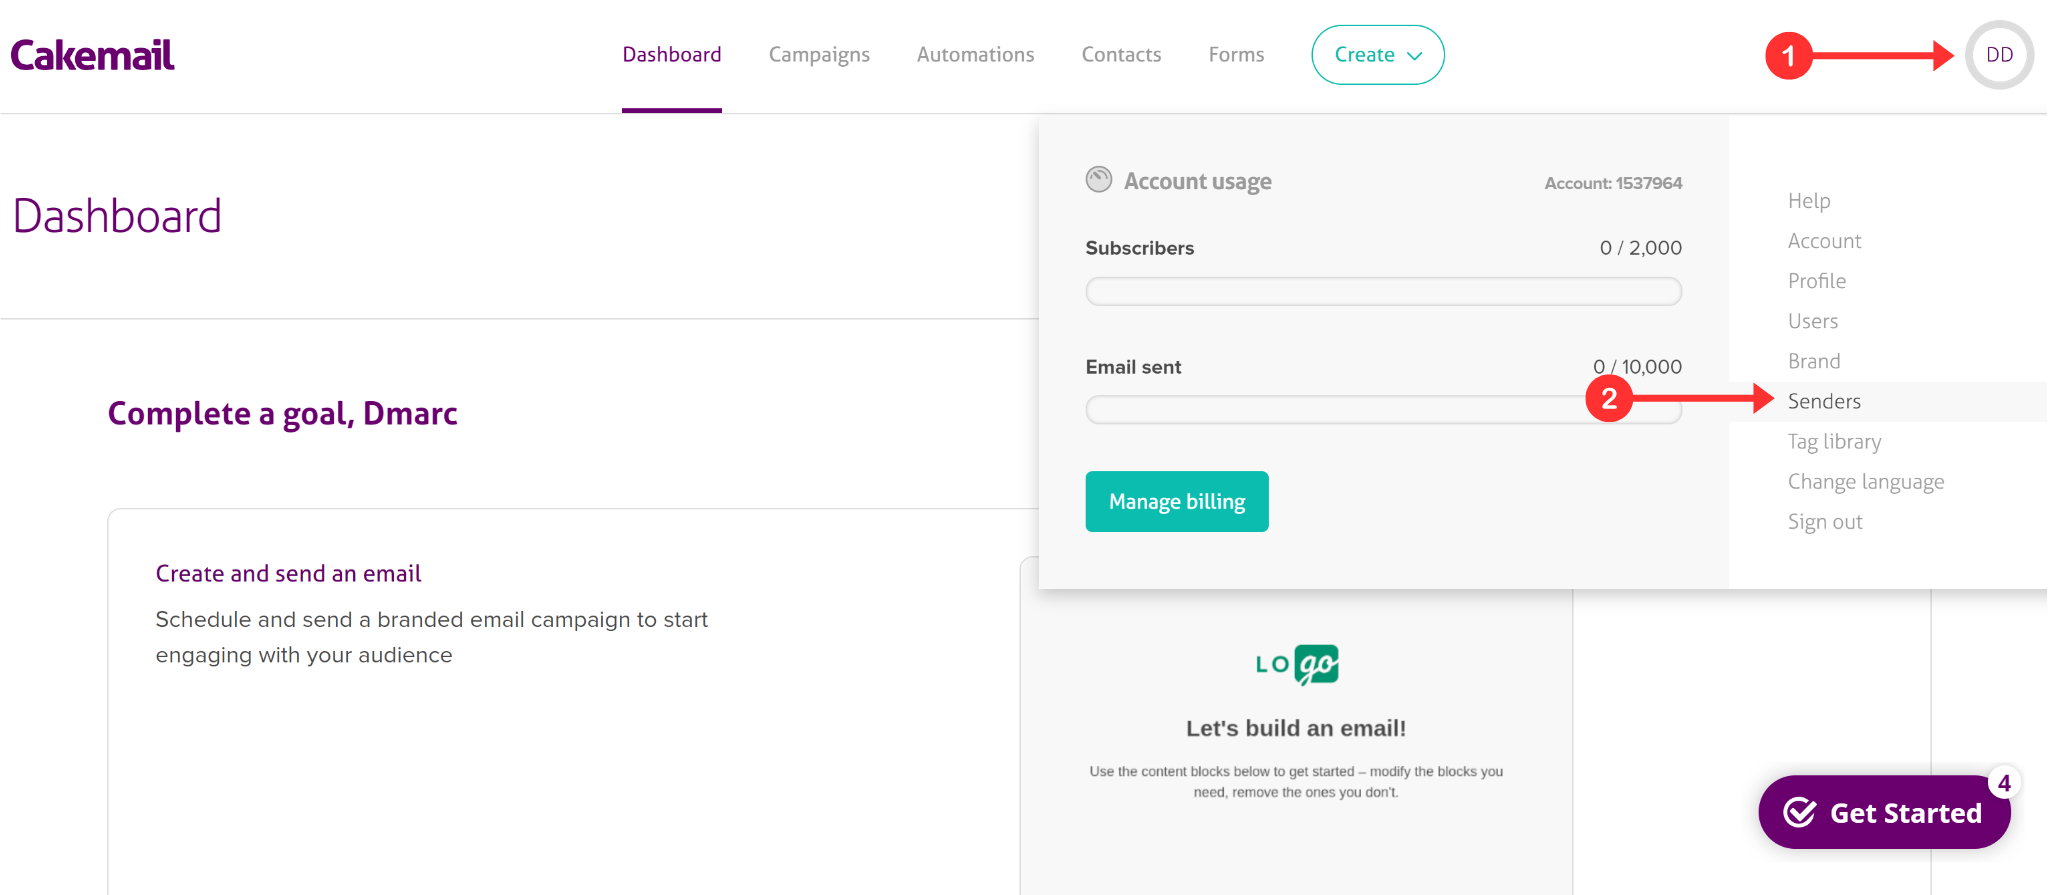
Click the profile icon in the top right corner and go to Senders.
-
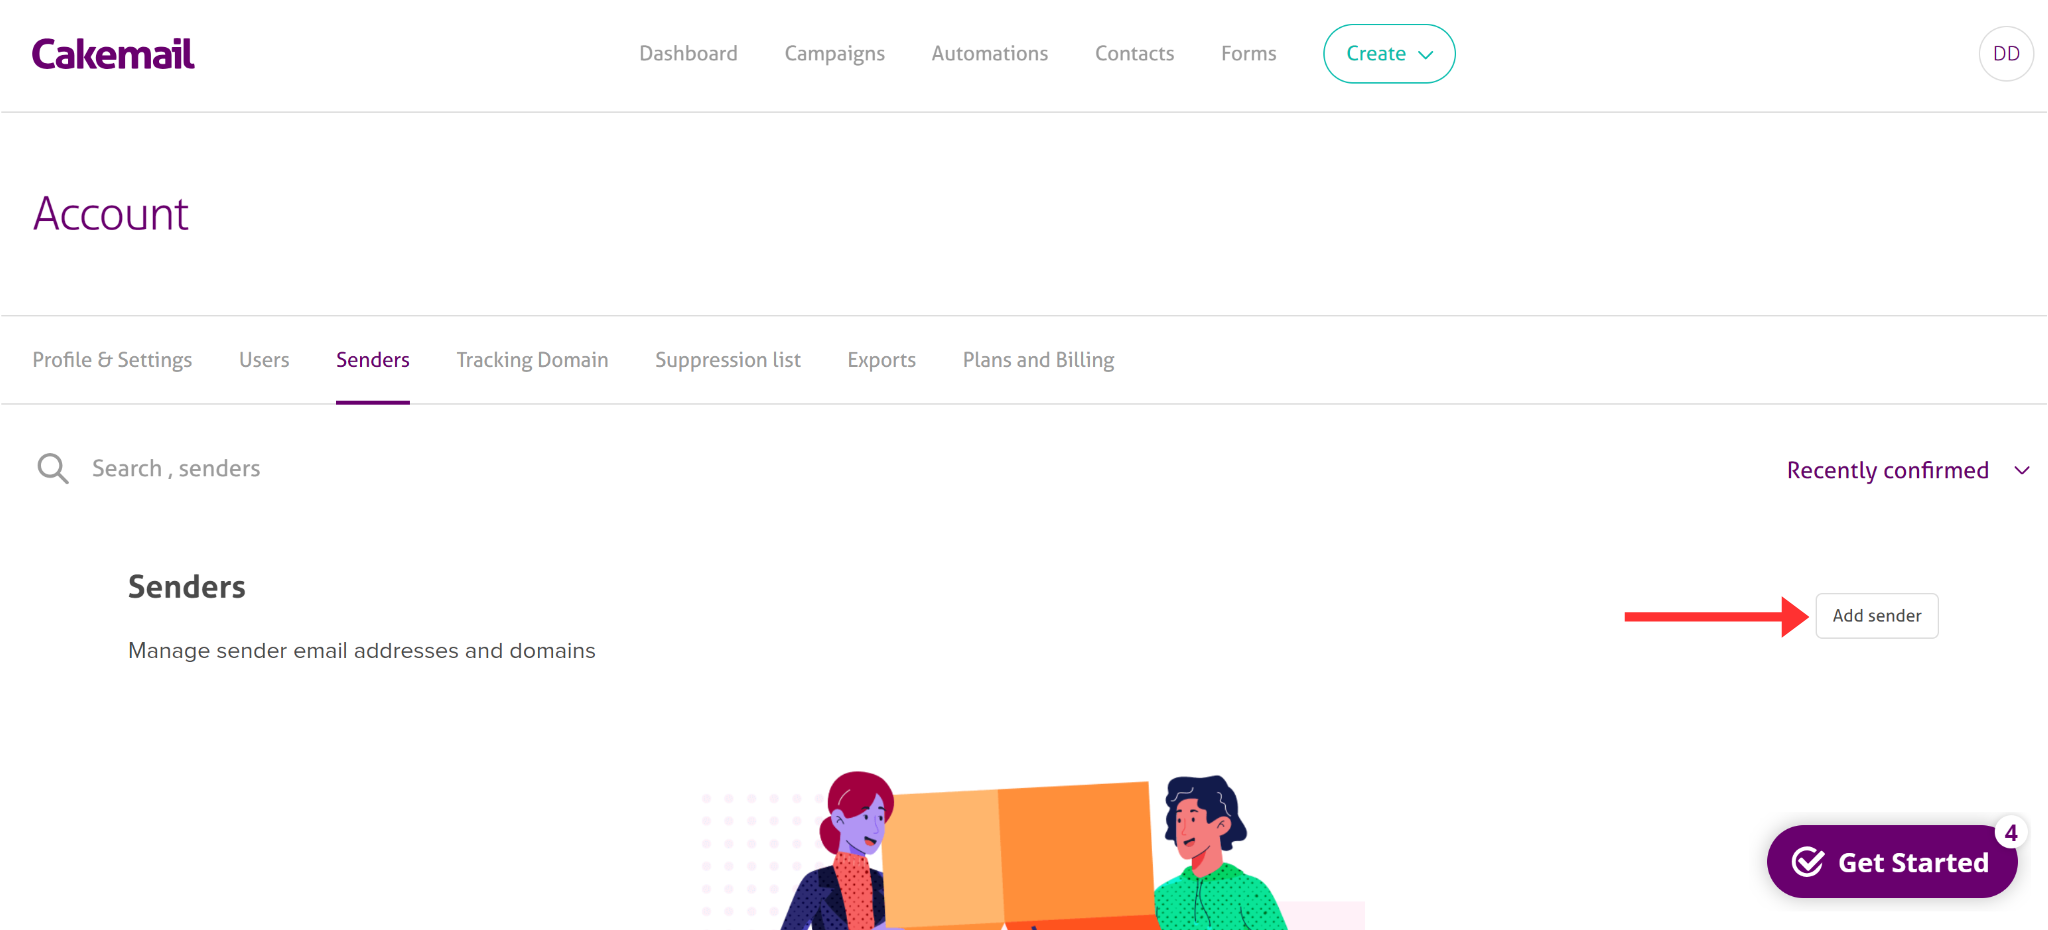
Click "Add Sender" to add a new domain.
-
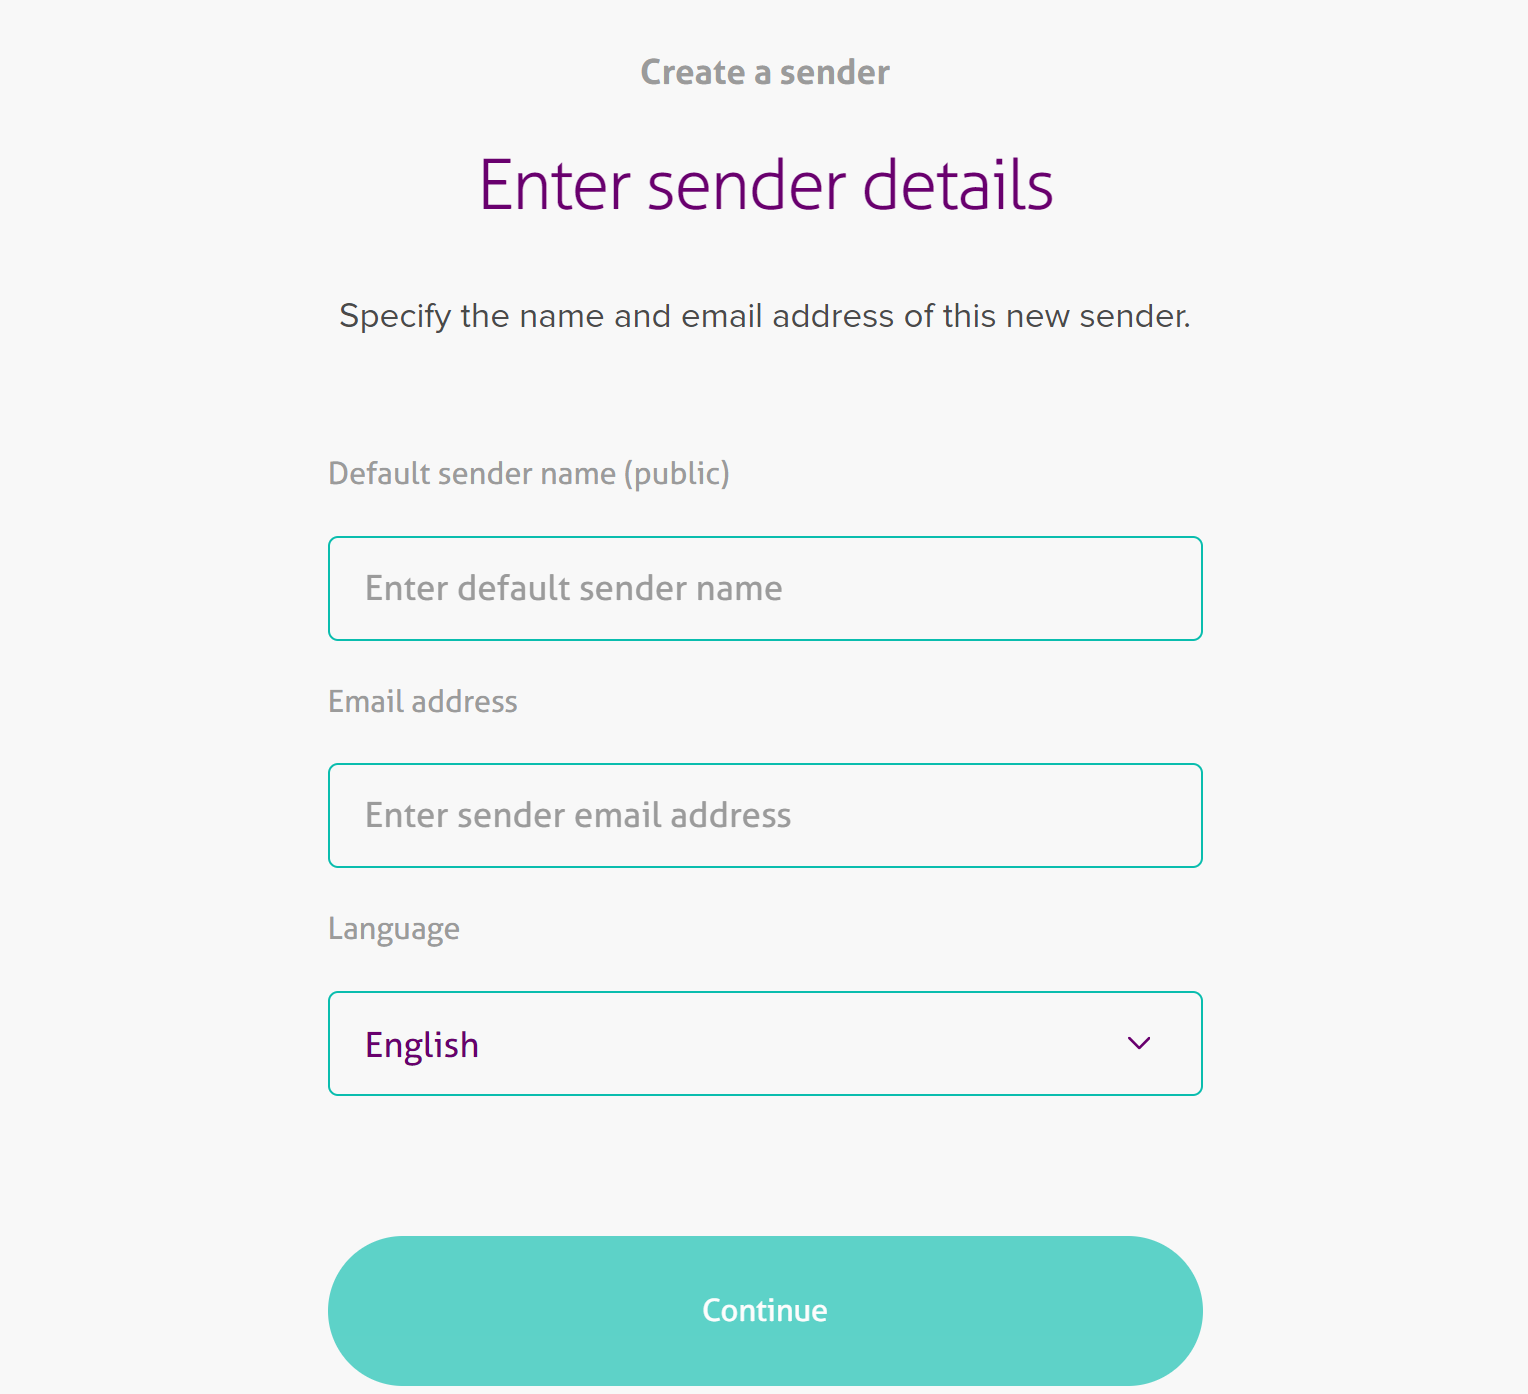
Write down your sender name and email address, and click Continue.
-
Click "Authenticate domain" next to your domain in the Senders tab.
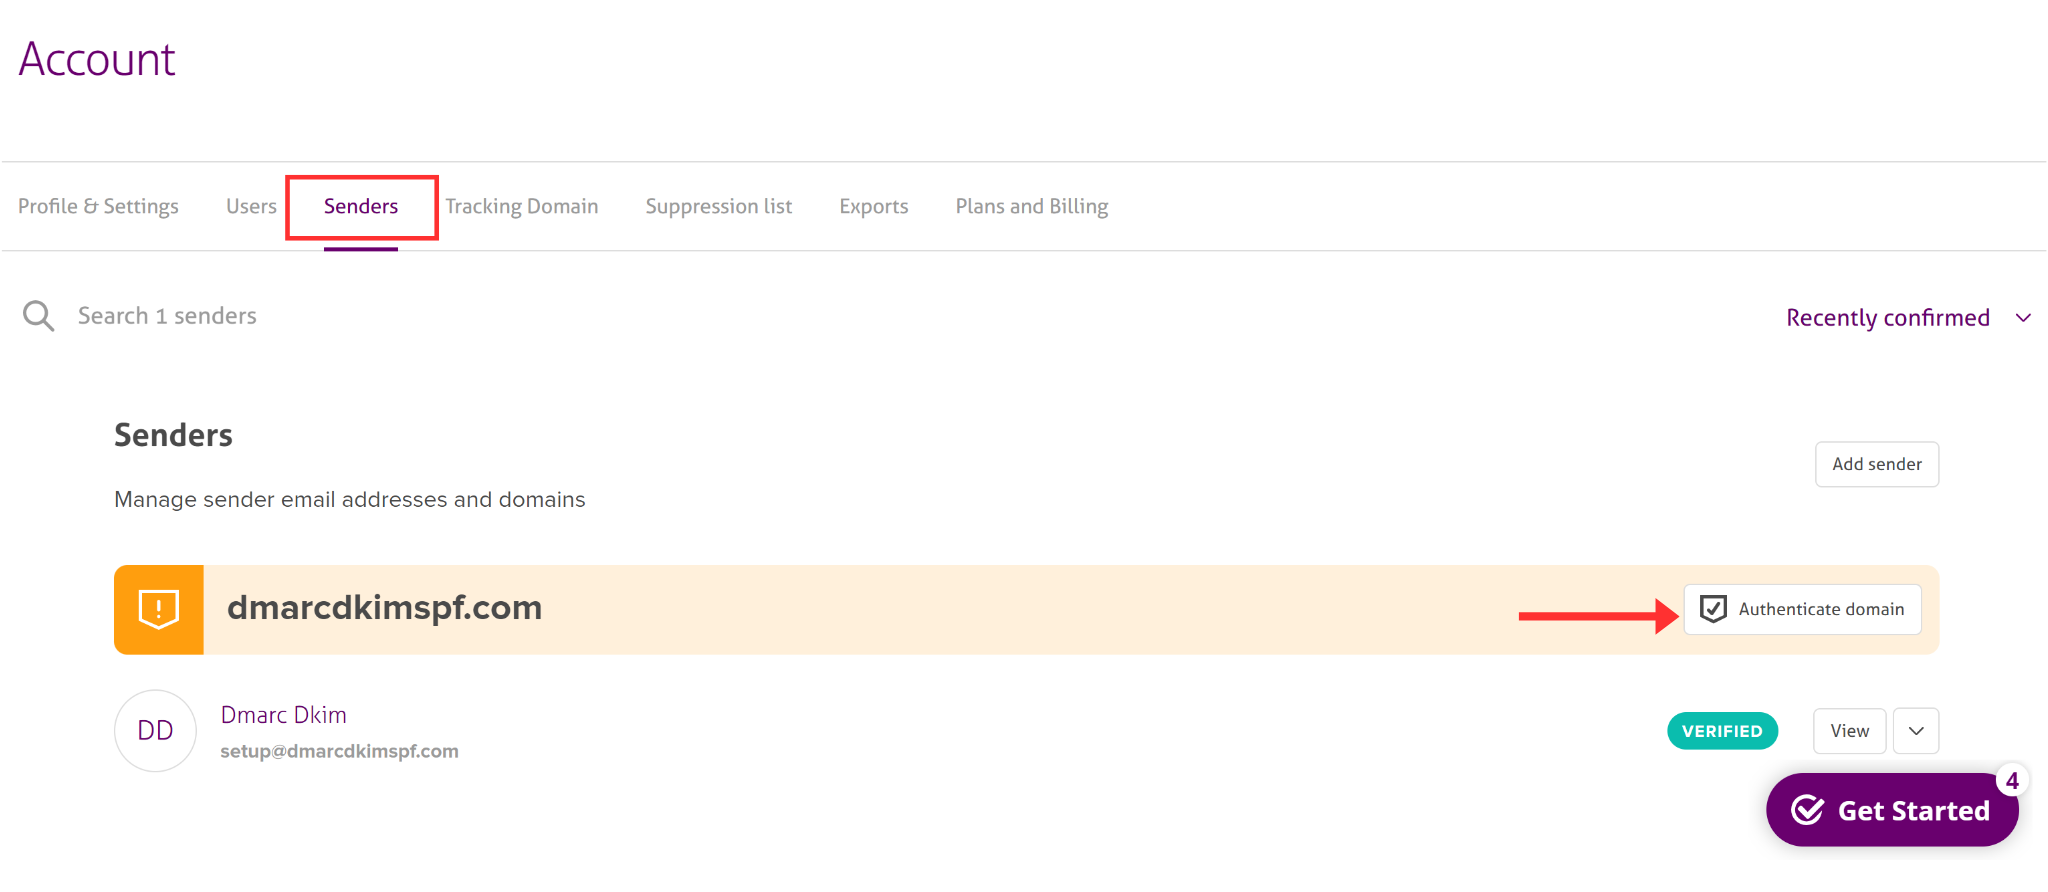
Follow the 5-step process on the next page.
-
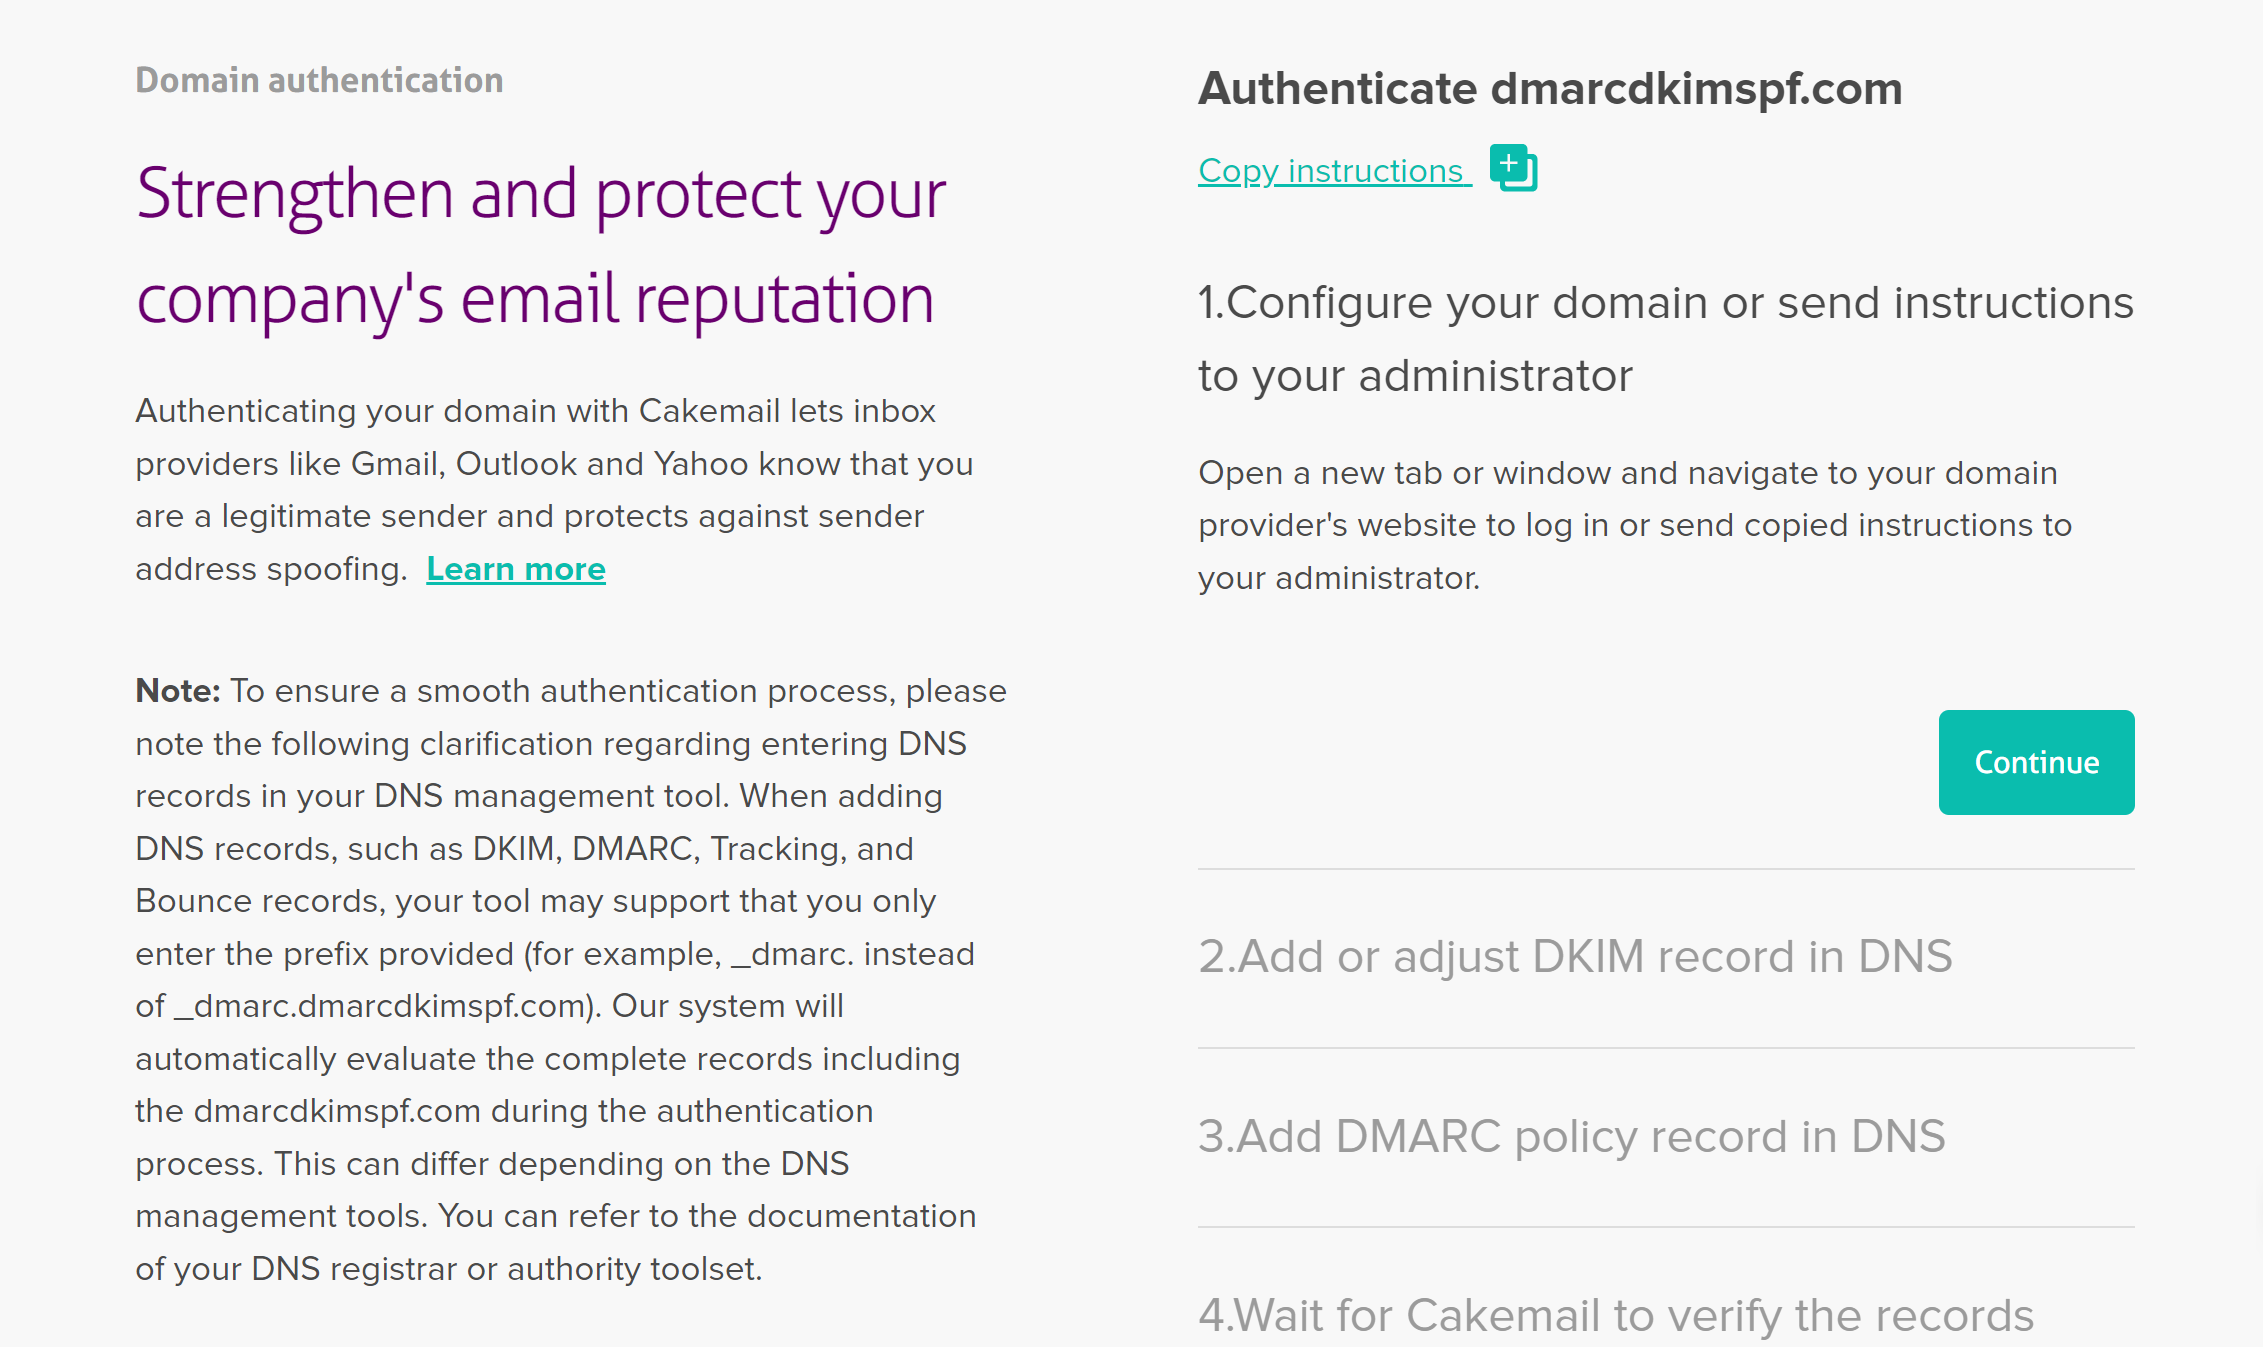
In step 1, read the instructions and click Continue.
-
In step 2, copy the DKIM record name and value, and add it to your DNS provider.
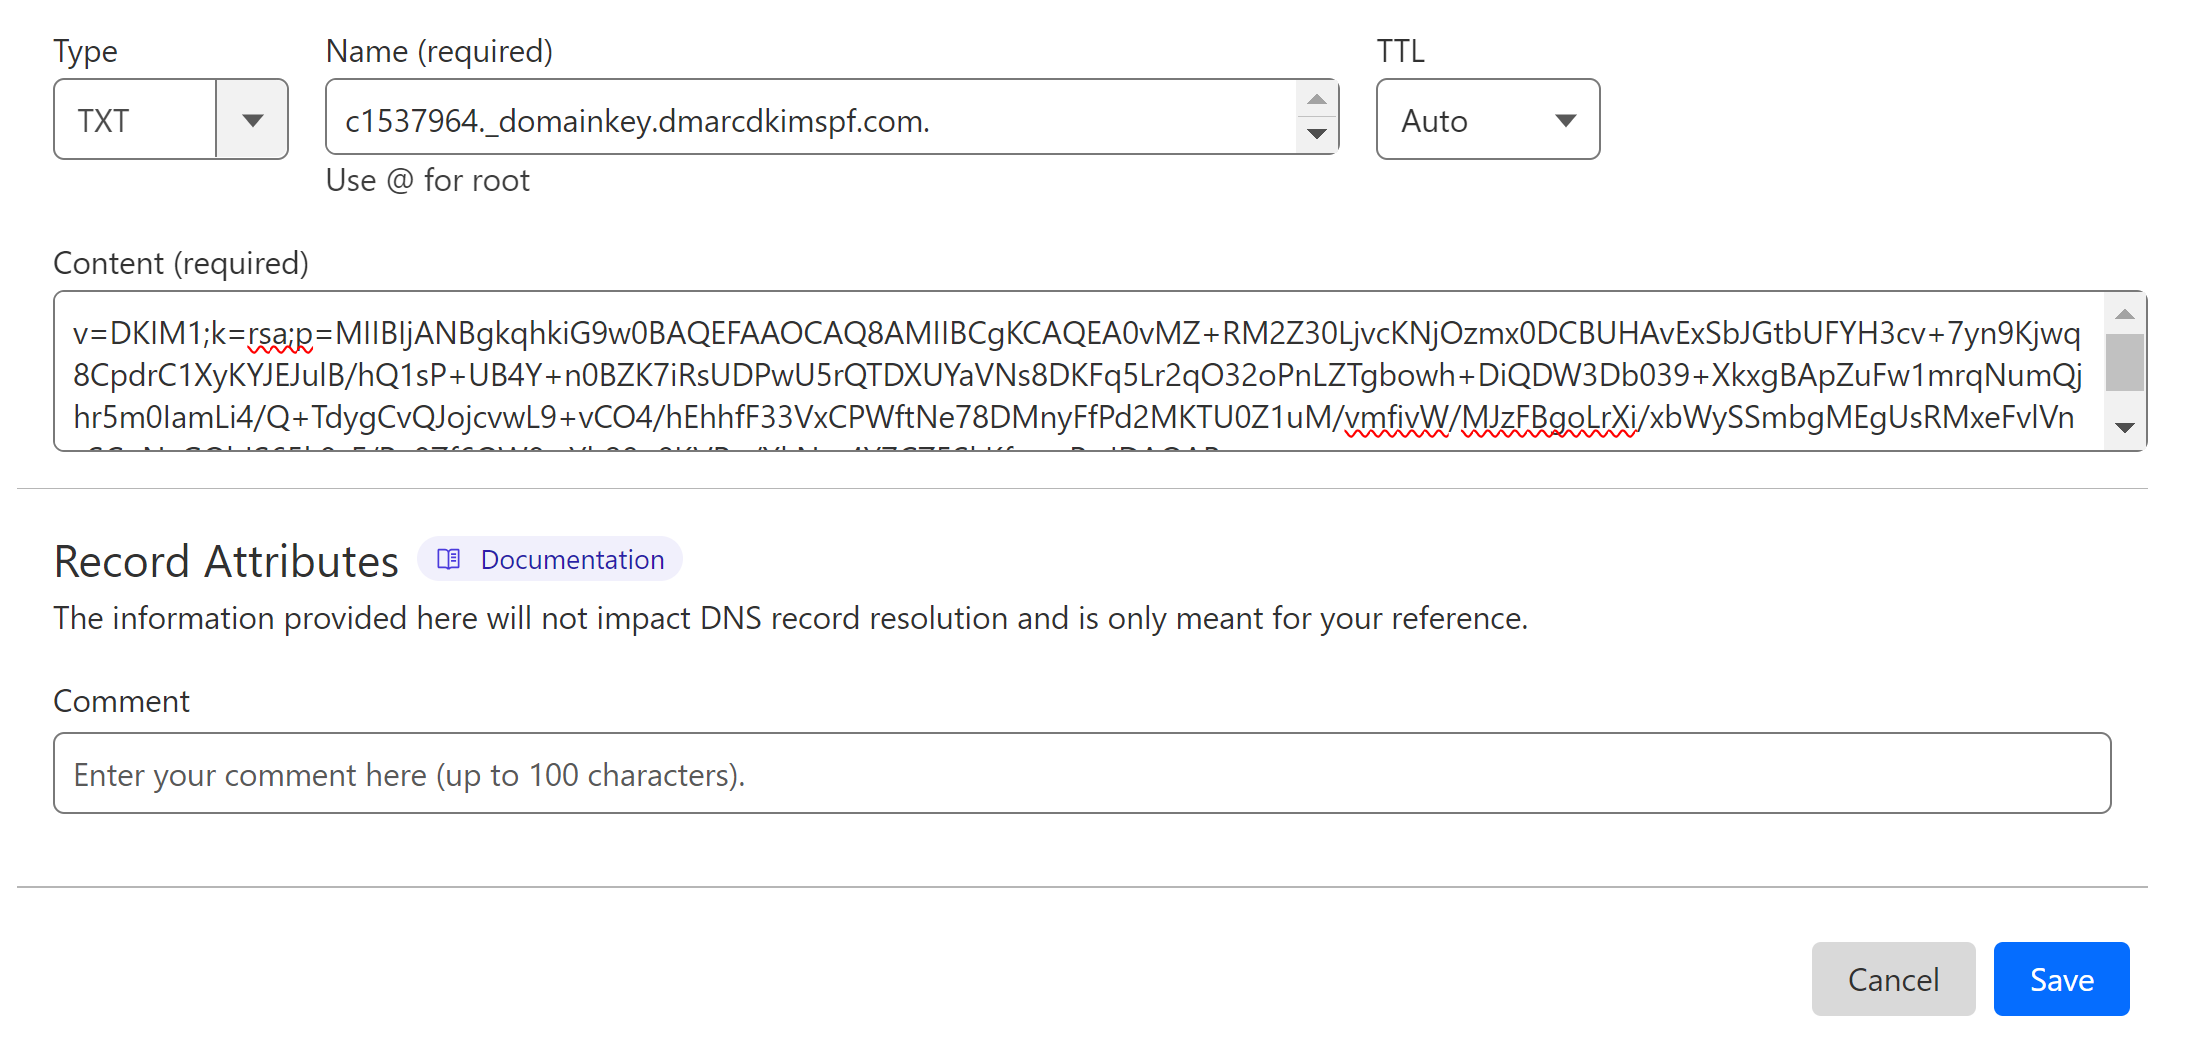
Click Continue to proceed.
Skip step 3 because the DMARC value provided by Cakemail is just for monitoring and is not effective for protecting emails.
Click Continue and proceed to step 4 where Cakemail varifies the DKIM record.
-
If records are verified, you will see the status in step 5 as "Varified."
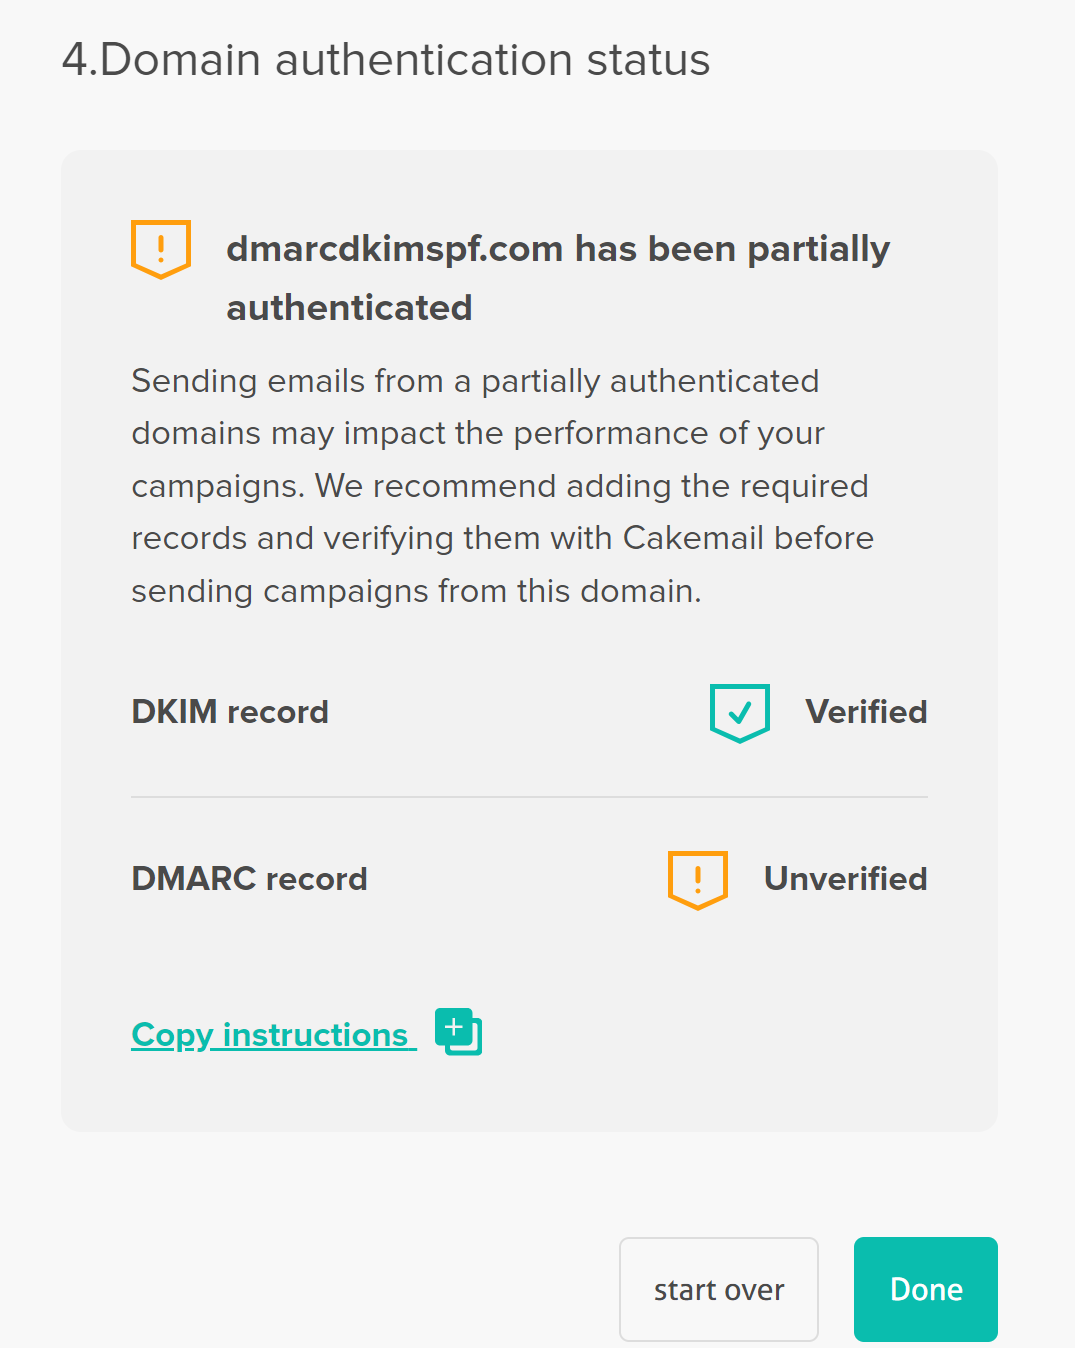
NOTE: The DNS records may take up to 24 hours for verification.
If records are not verified after 24 hours, there might be a misconfiguration in your DNS setup. For support and assistance, hire a DmarcDkim.com expert.
Adding Cakemail DMARC Record:
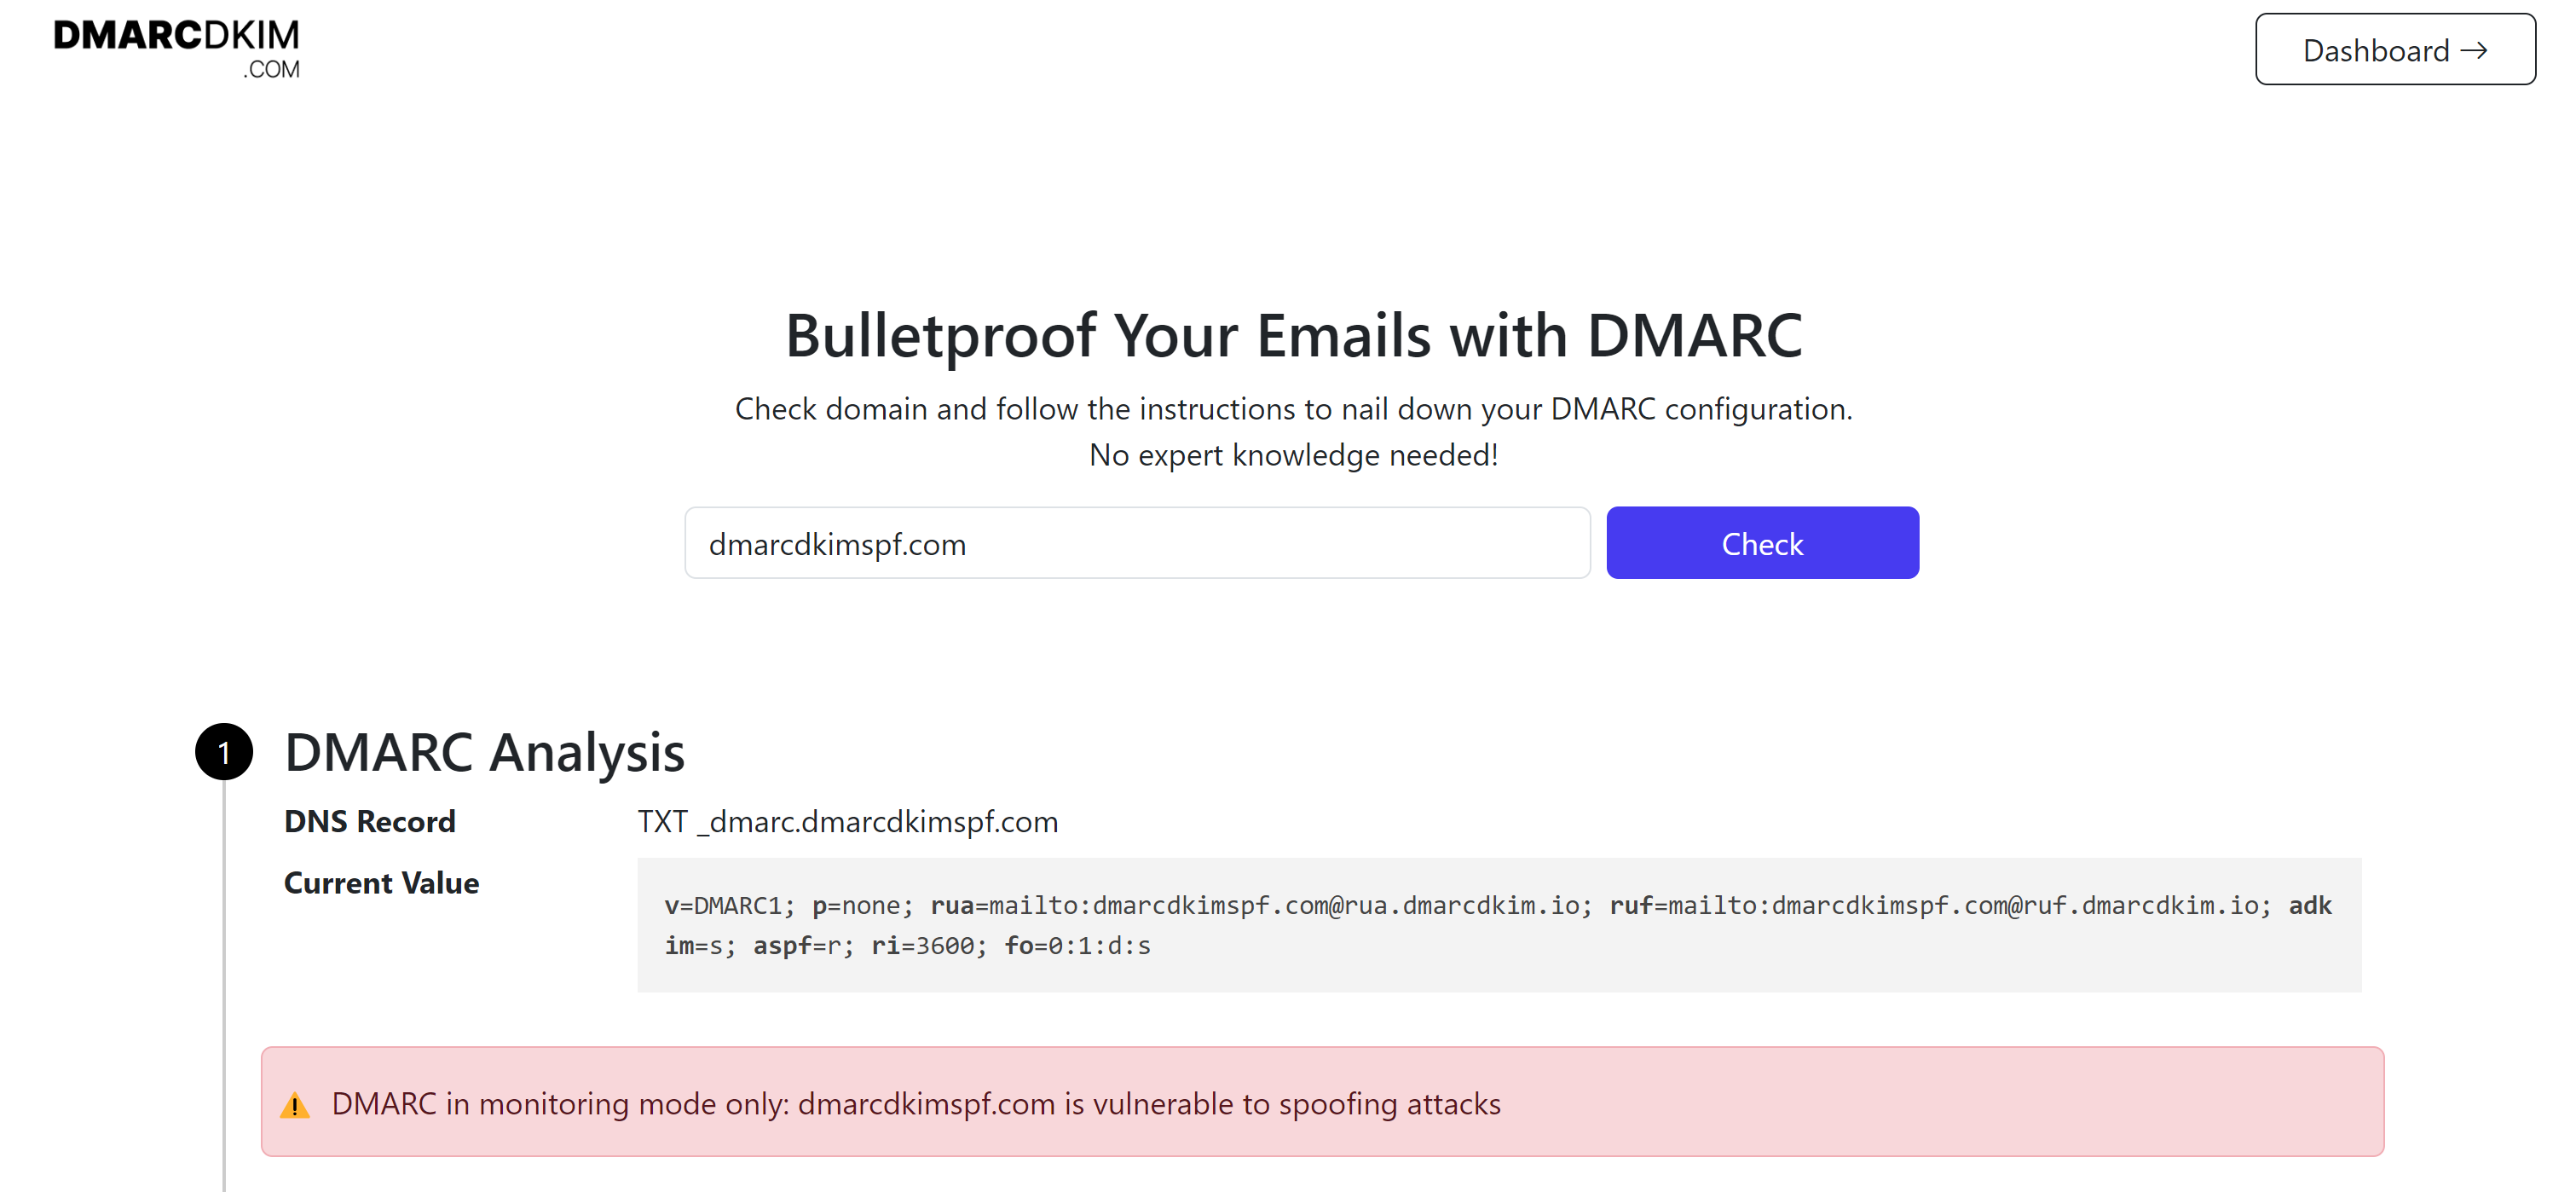
To generate a custom and effective DMARC policy, you can use the DmarcDkim.com Check Domain tool. It helps you implement a strict policy and provides actionable insights into your DMARC reports. With the help of insights, you can take action to protect your emails accordingly.
Go to the DMARC Tool.
-
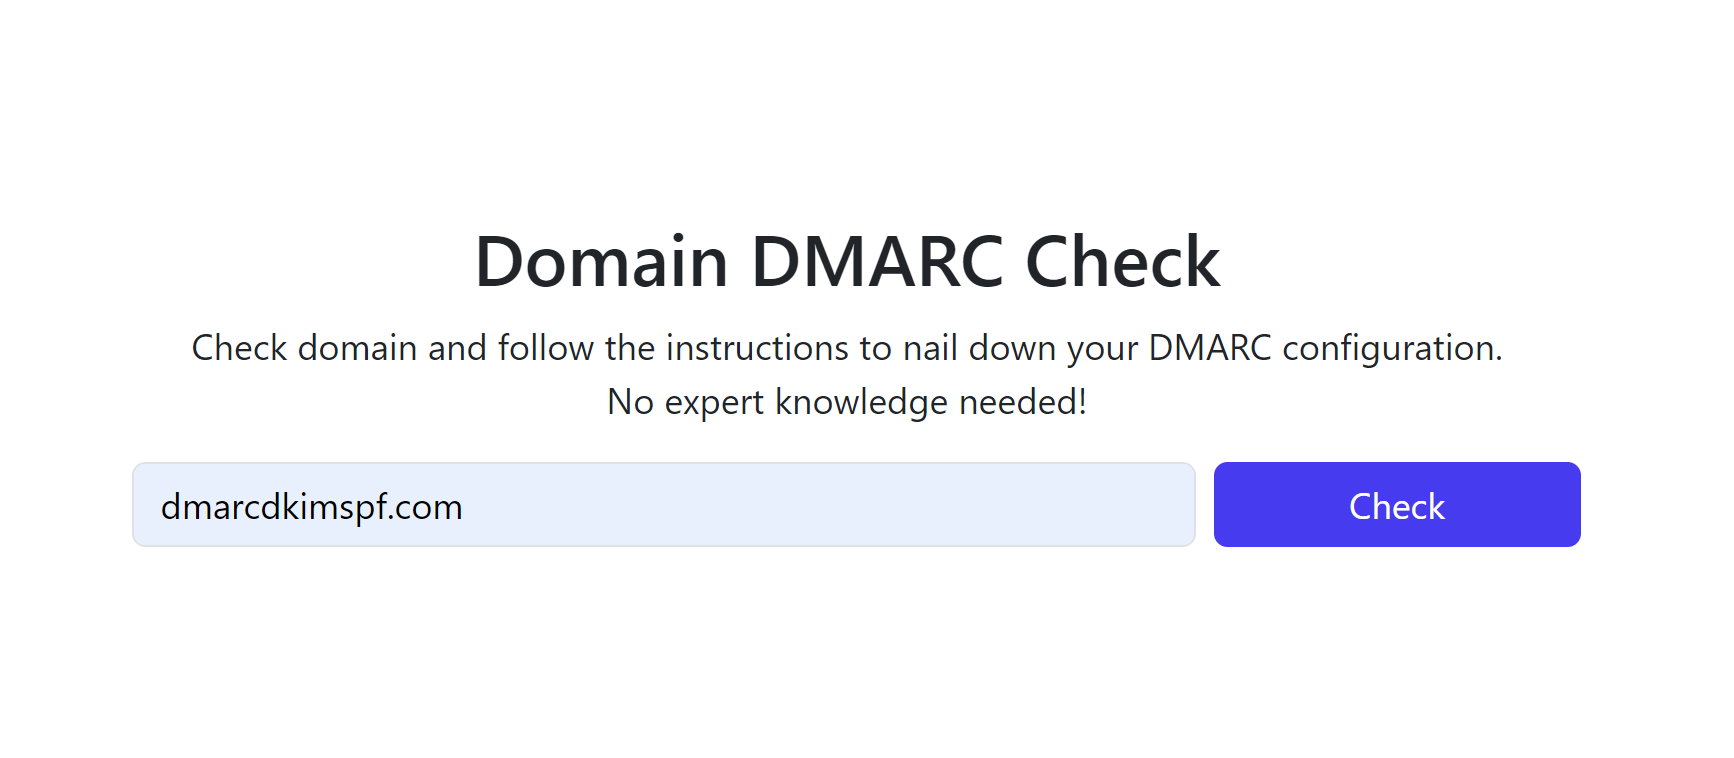
Write your domain name and click Check.
-
Copy the Suggested value and add it to your DNS provider.
Sign up at the tool to get access to the DMARC Reports Dashboard.
Once the DMARC record is added, the tool starts generating the reports after 24 hours.
Check domain and follow the instructions to nail down your DMARC configuration.
No expert knowledge needed!


