How to Configure HubSpot DMARC, DKIM, SPF Domain Authentication?
Check your domain for DMARC, DKIM, SPF and MX records. Get a free report.
Domain Authentication with HubSpot - DMARC, DKIM, SPF (2024 Guide)
HubSpot, a leading CRM and marketing email service provider, allows you to authenticate your emails within a few steps. Simply connect your domain with HubSpot and it generates DNS records. By adding these records to your DNS provider, you can authentication your domain.
Domain authentication fortifies your email infrastructure against phishing attacks, spoofing, and unauthorized use, ensuring your communications reach their intended recipients safely and securely.
This post will walk you through the ins-and-outs of configuring SPF (Sender Policy Framework), DKIM (DomainKeys Identified Mail), and DMARC (Domain-based Message Authentication, Reporting, and Conformance) authentication within HubSpot. So let's begin!
-
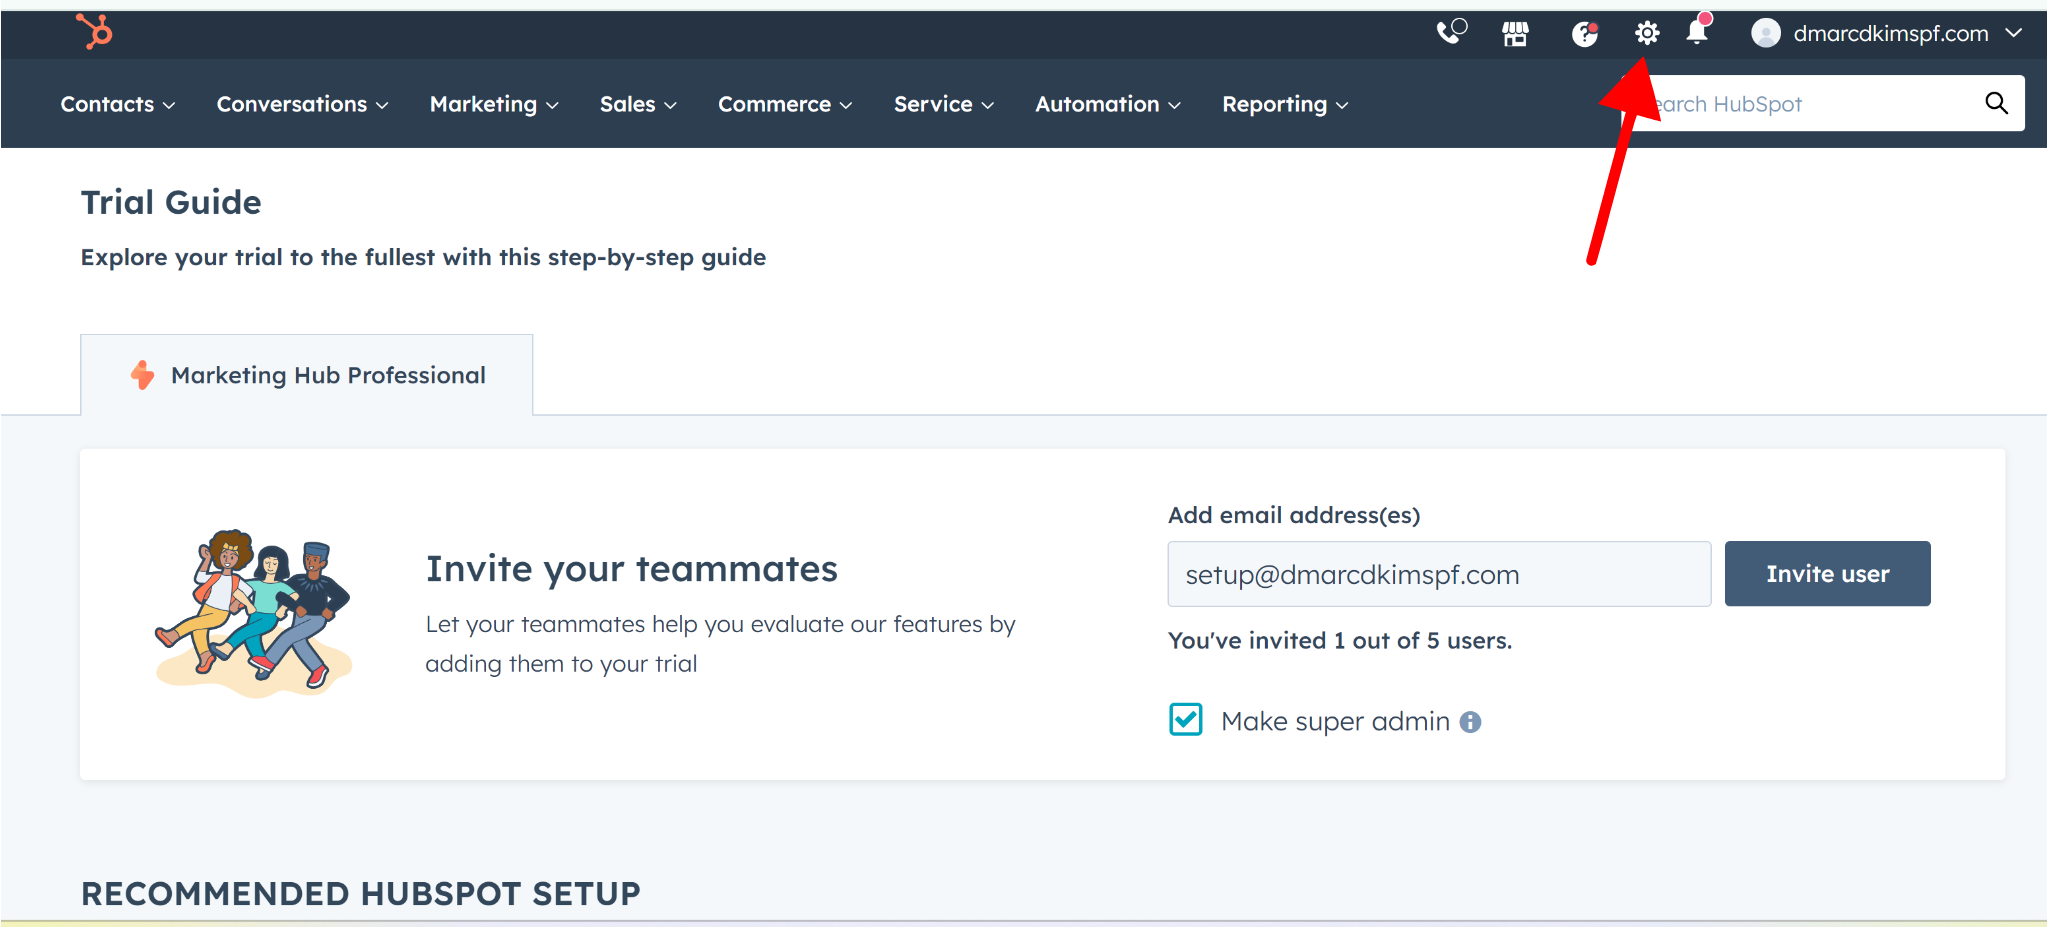
On HubSpot home page, Click the Settings icon in the top menu bar.
-
Scroll down the left panel and go to Websites > Domains & URLs and click on Connect Domain.

-
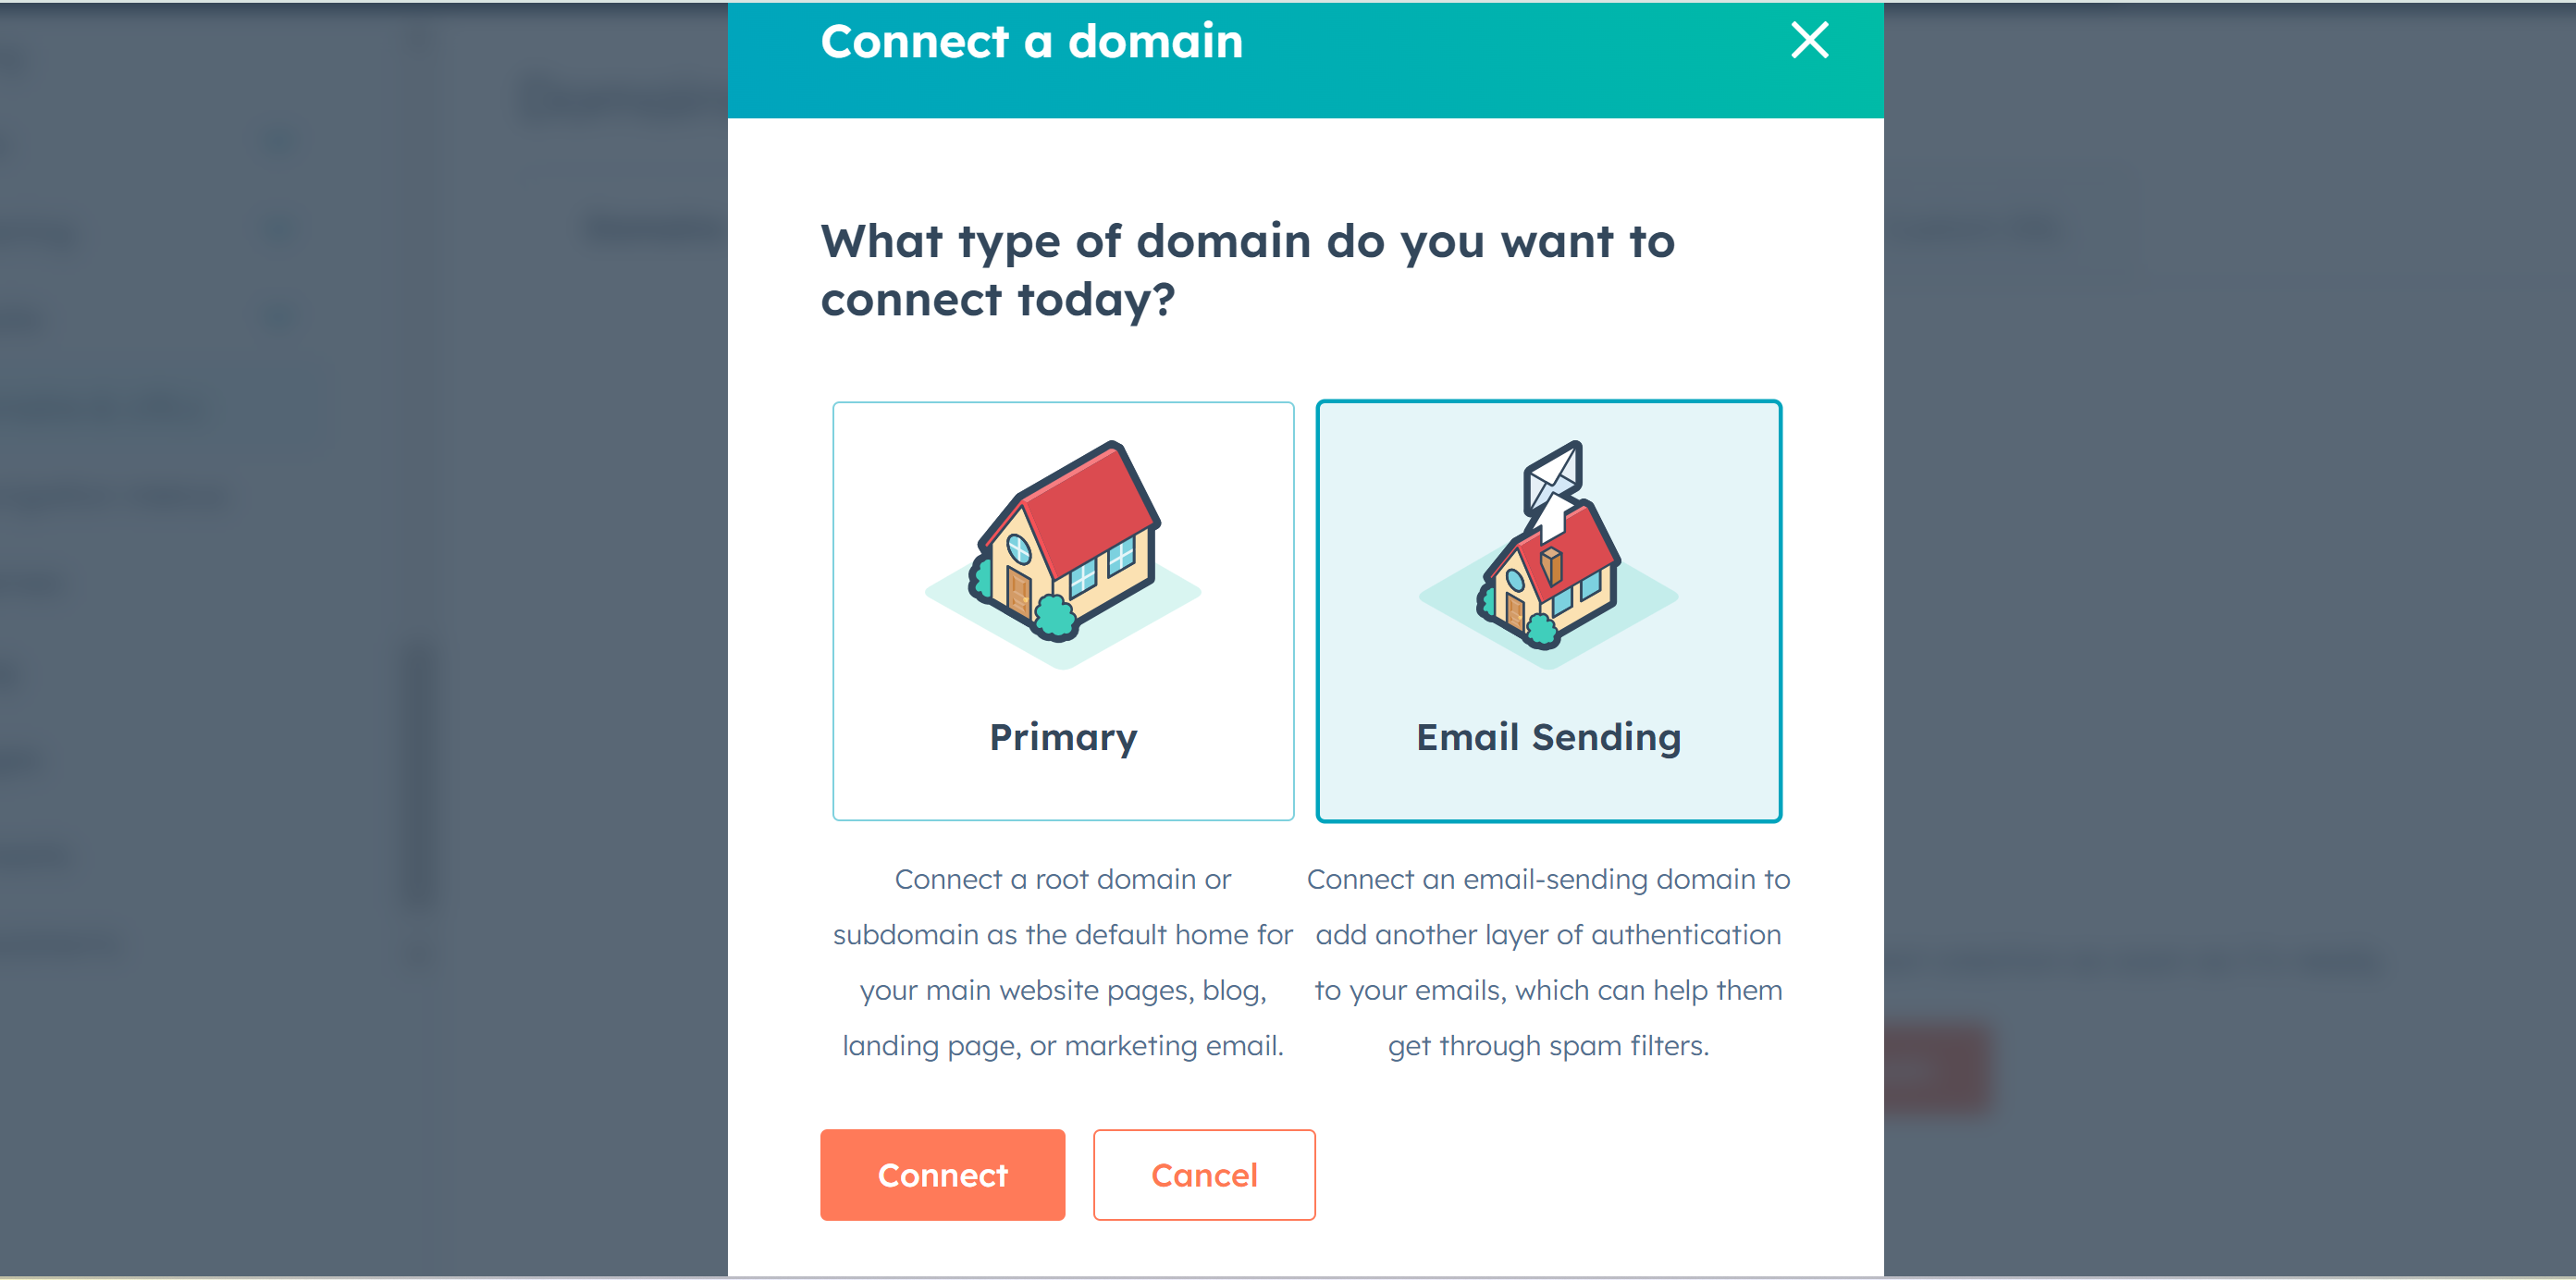
On the pop up window, select Email Sending and hit the Connect button.
-
Enter your email and click Next. On the confirmation screen, click Next again.

-
Now you'll see four records on your screen, HubSpot SPF, DMARC, and 2 DKIM records. Copy these records and add in your DNS provider. (We're using Cloudflare but you can apply this to any DNS provider).

Use SPF Merge Tool to combine HubSpot's SPF Record with existing record on your domain.
-
On Cloudflare, go to your Website > DNS > Records > Add record and save the Host and Required data one by one.

However
p=noneDMARC record withoutrua=destination is useless. Use DMARC Lookup Tool which analyzes data behind DMARC reports and allow you to act on it to deploy strict policy (p=reject). Only a strict DMARC policy provides better deliverability and protection from email spoofing.-
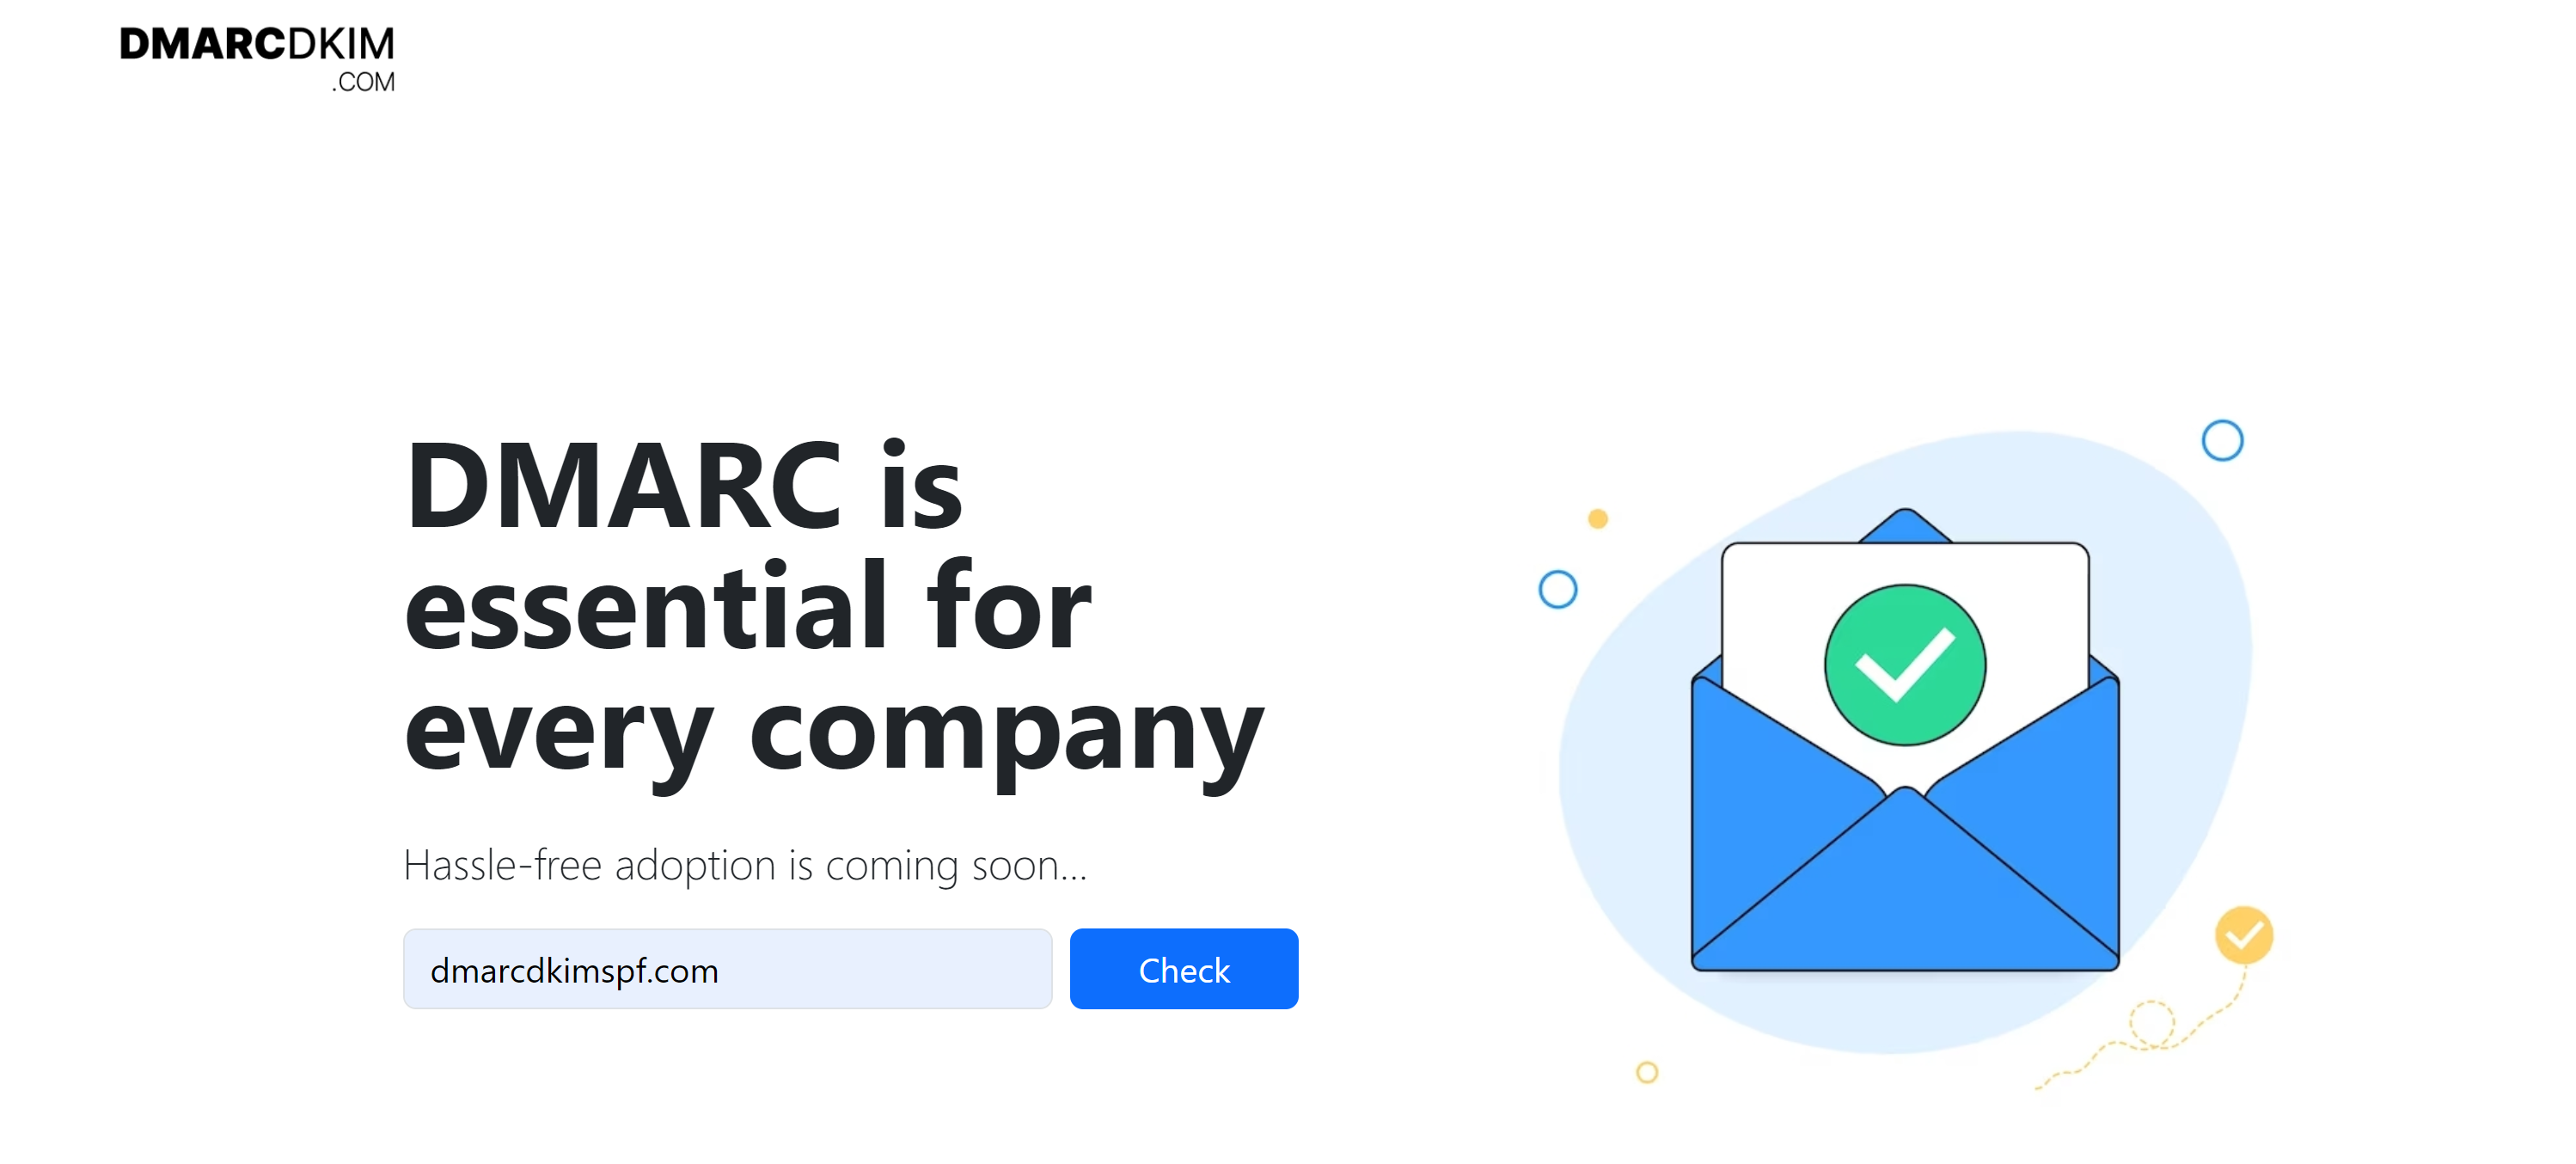
Open the DMARC tool, write your domain name here, and click Check.
-
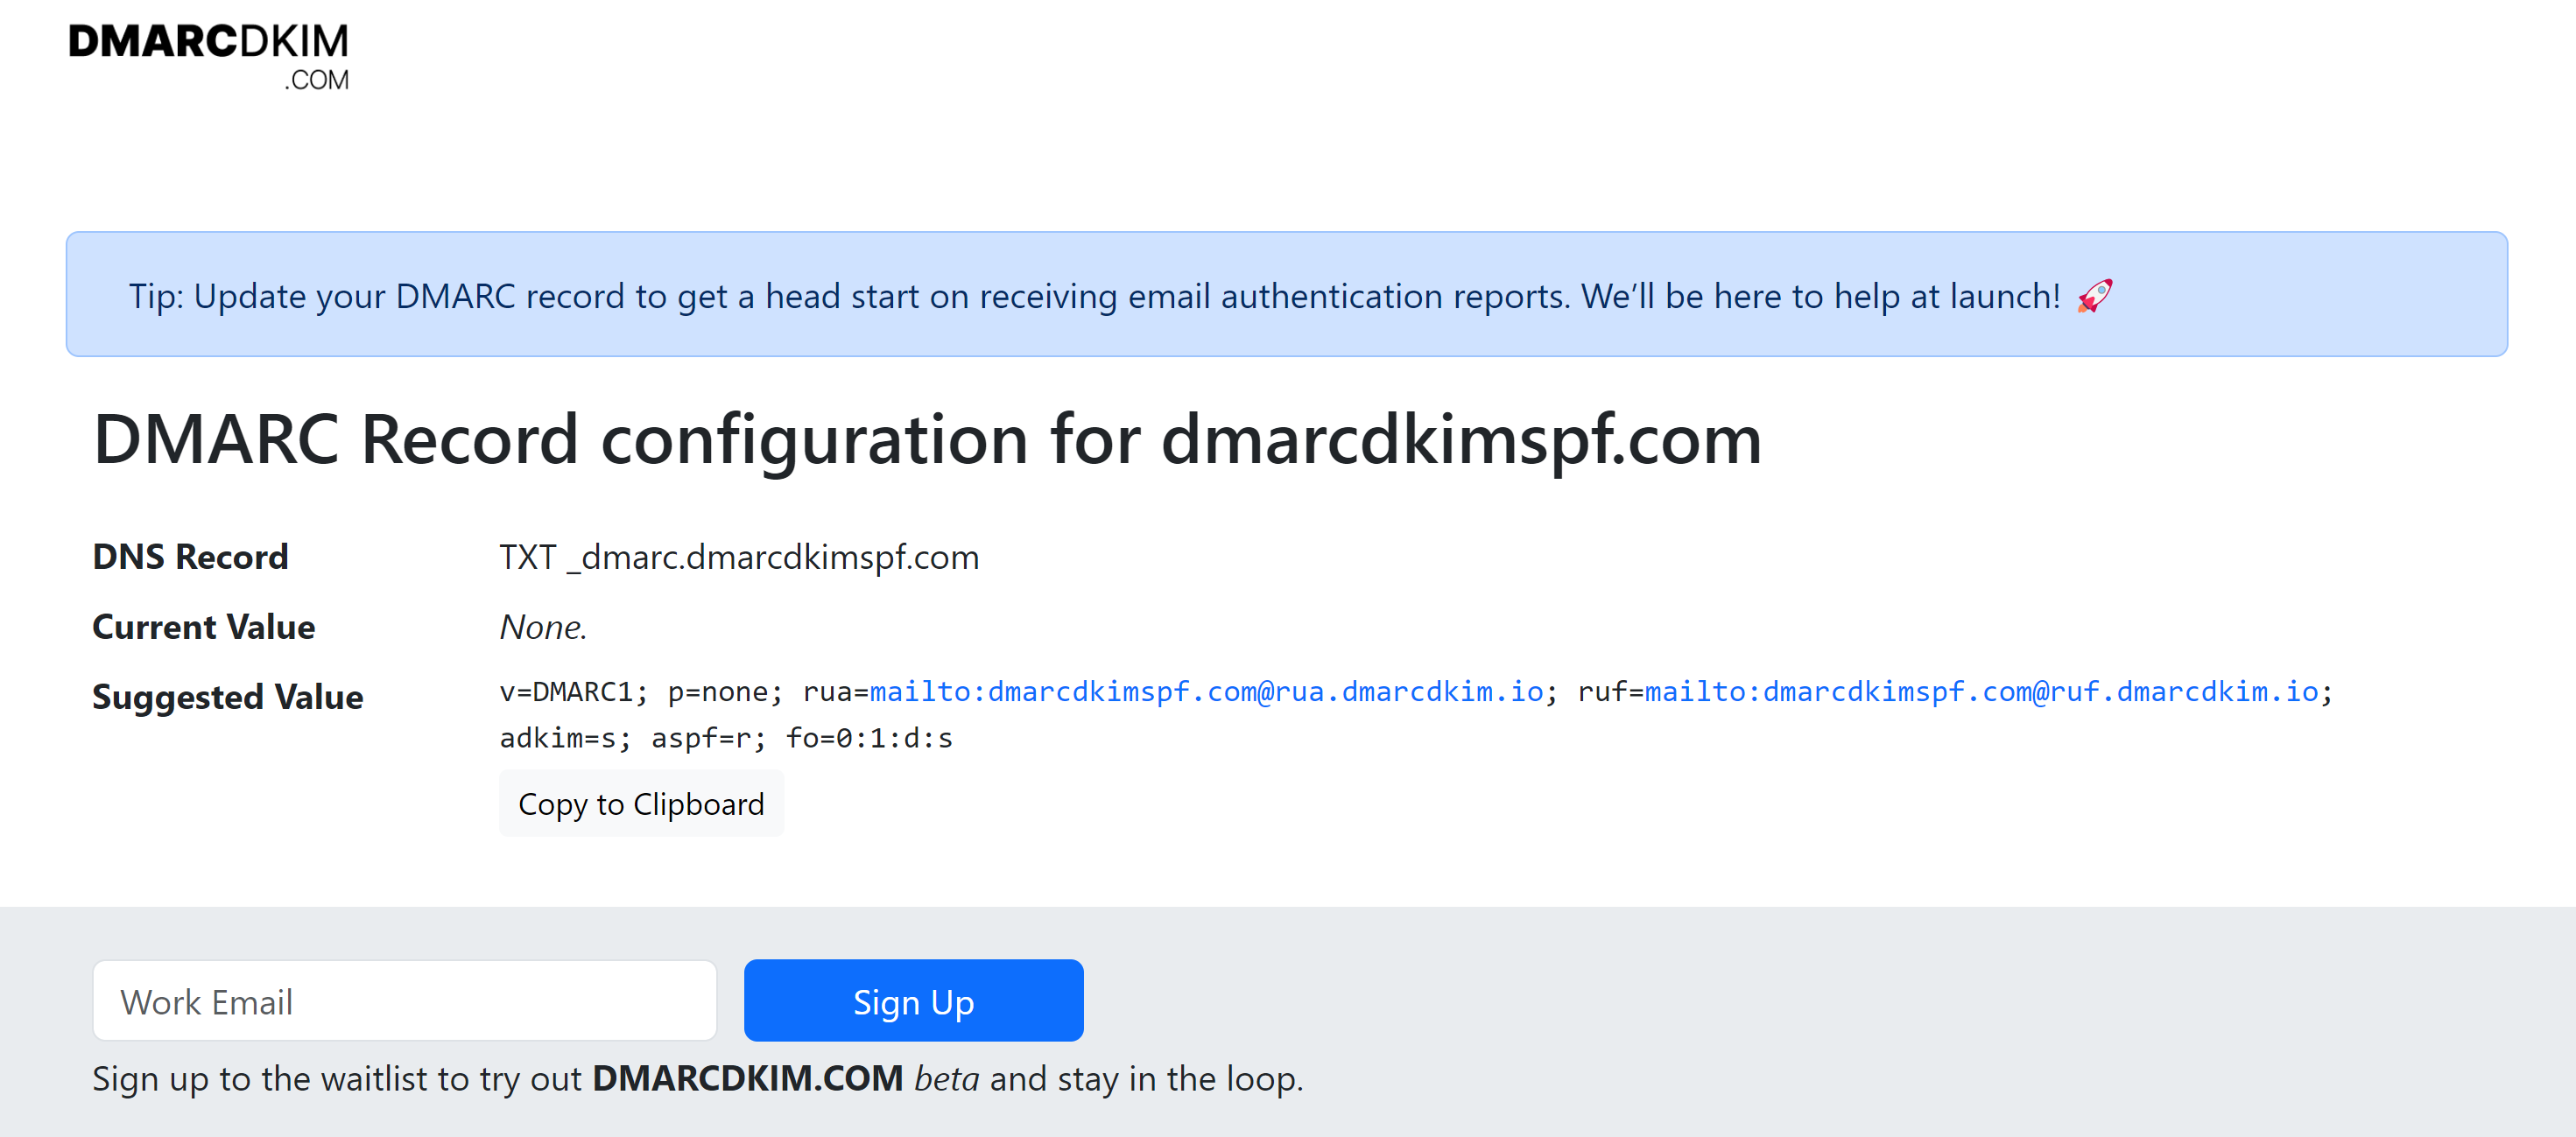
The tool gives you a suggested value. Copy the record name and value and paste them into the DNS provider.
When all records are added, go back to HubSpot and click Verify button at the right bottom of your screen.
After first refreshing, you may see a message saying there was a problem verifying your domain connection. In this case, refresh again, and again. You'll see authentication success message after 2-3 tries.
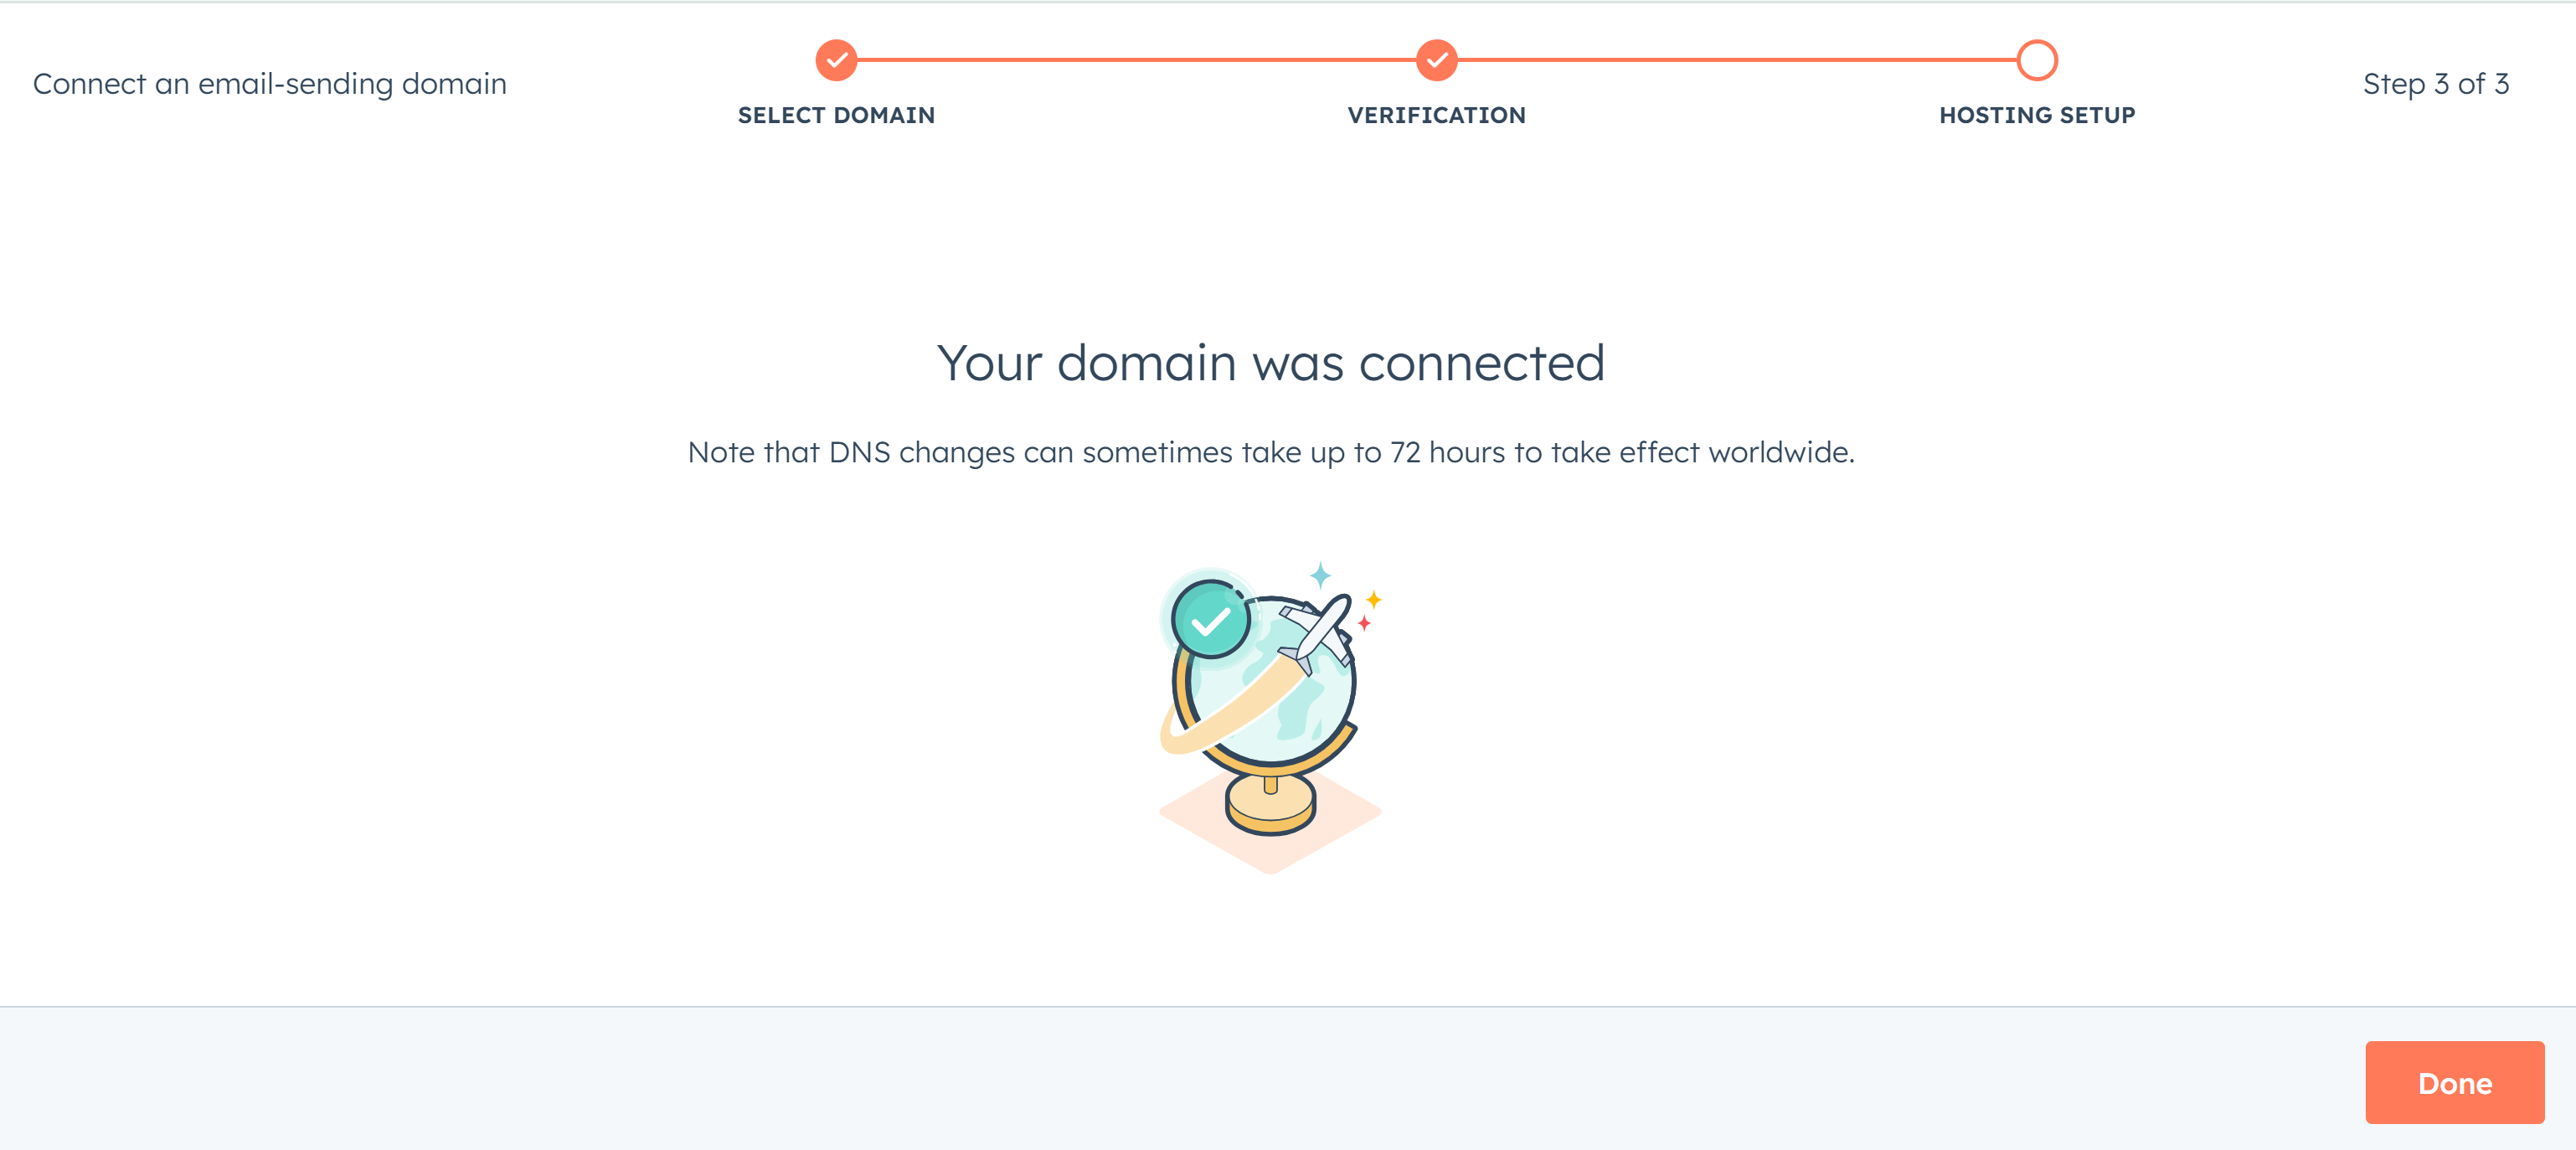
Sometimes the verification process completes immediately but it may take up to an hour to authenticate records. If you don't see your DNS records authenticated after an hour, contact the DNS provider or HubSpot support service for further assistance.
Check domain and follow the instructions to nail down your DMARC configuration.
No expert knowledge needed!


