How to configure DMARC, DKIM, SPF records in Elastic Email for domain authentication?
Check your domain for DMARC, DKIM, SPF and MX records. Get a free report.
- The impact of Business Email Compromise
- A quiet Google update just made SPF more forgiving
- Cyber Insurance and DMARC Enforcement
- Email impersonation scams explained
- TLS-RPT Record
- SMTP Smuggling
- 🇩🇪 Welche Hosting Anbieter unterstützen DMARC
- Manual DMARC Monitoring vs Automated Monitoring
- Reverse Engineering Phishing
- DMARC Enforcement in 2026
- DMARC for non sending domains
Domain Authentication with Elastic Email - DKIM, SPF, DMARC Configuration
Elastic Email provides DNS records for domain authentication. You can add these records to your DNS provider and secure emails against spamming and spoofing. The DKIM, DMARC, SPF, and other records are crucial for proving your email domain's legitimacy. Setting up DNS records can get you lost along the way. That's where we come to help you. In this guide post, you'll find easy-to-follow steps for configuring domain authentication.
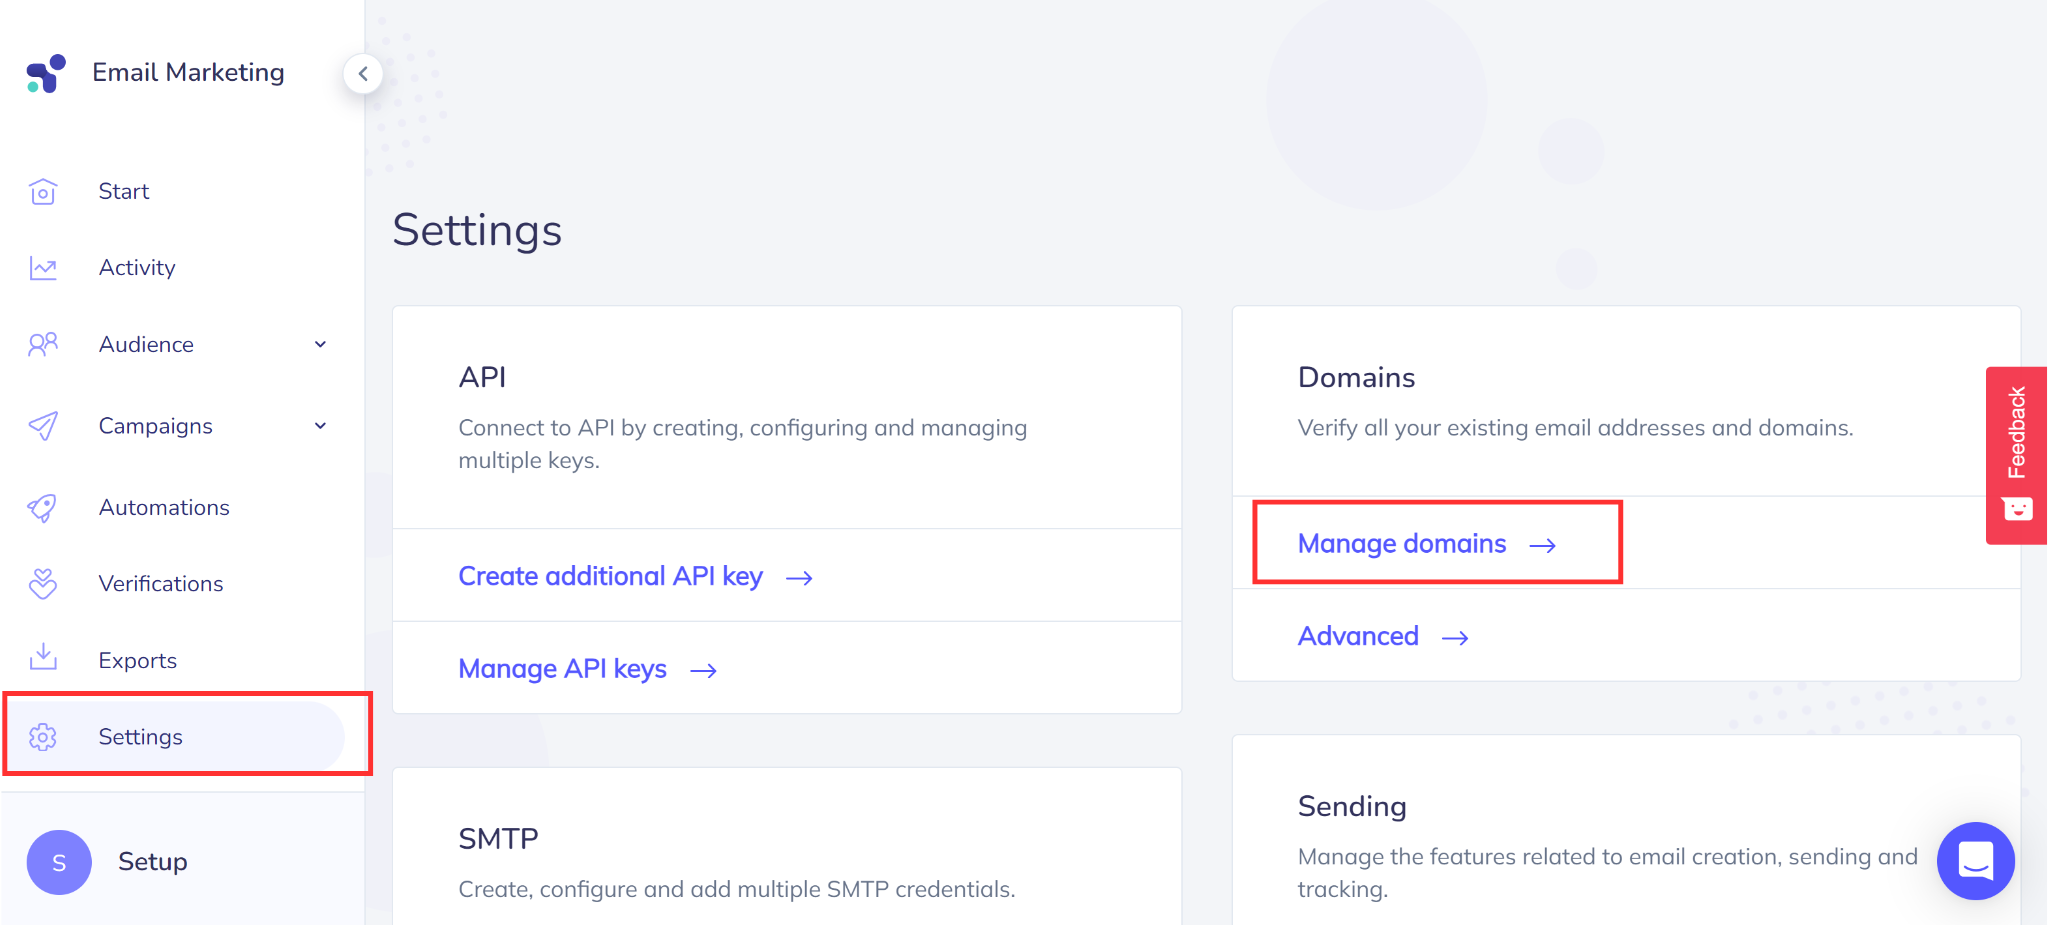
Open Elastic Email and go to Settings.
-
In the Domains tab, click on Manage Domains.
-
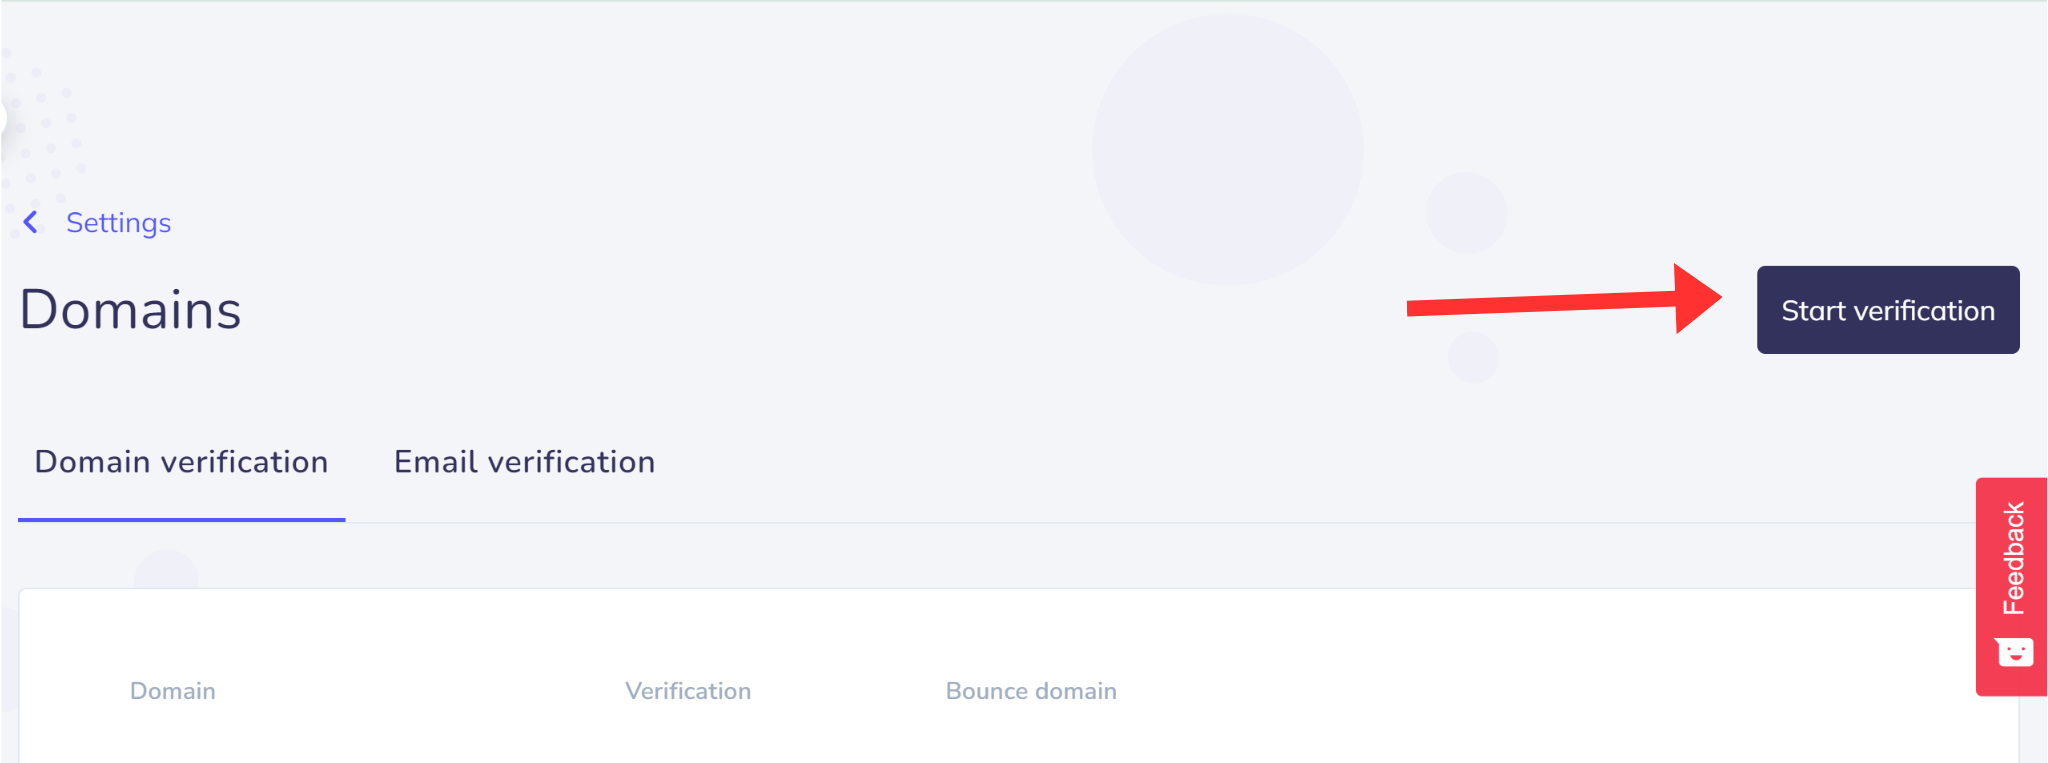
Click Start Verification in the Domain Verification tab.
-
Choose the option Verify Domain if you own a domain.

-
In step 1, write your domain name and click Continue.

-
In step 2, read the instructions for adding DNS records and click Continue.
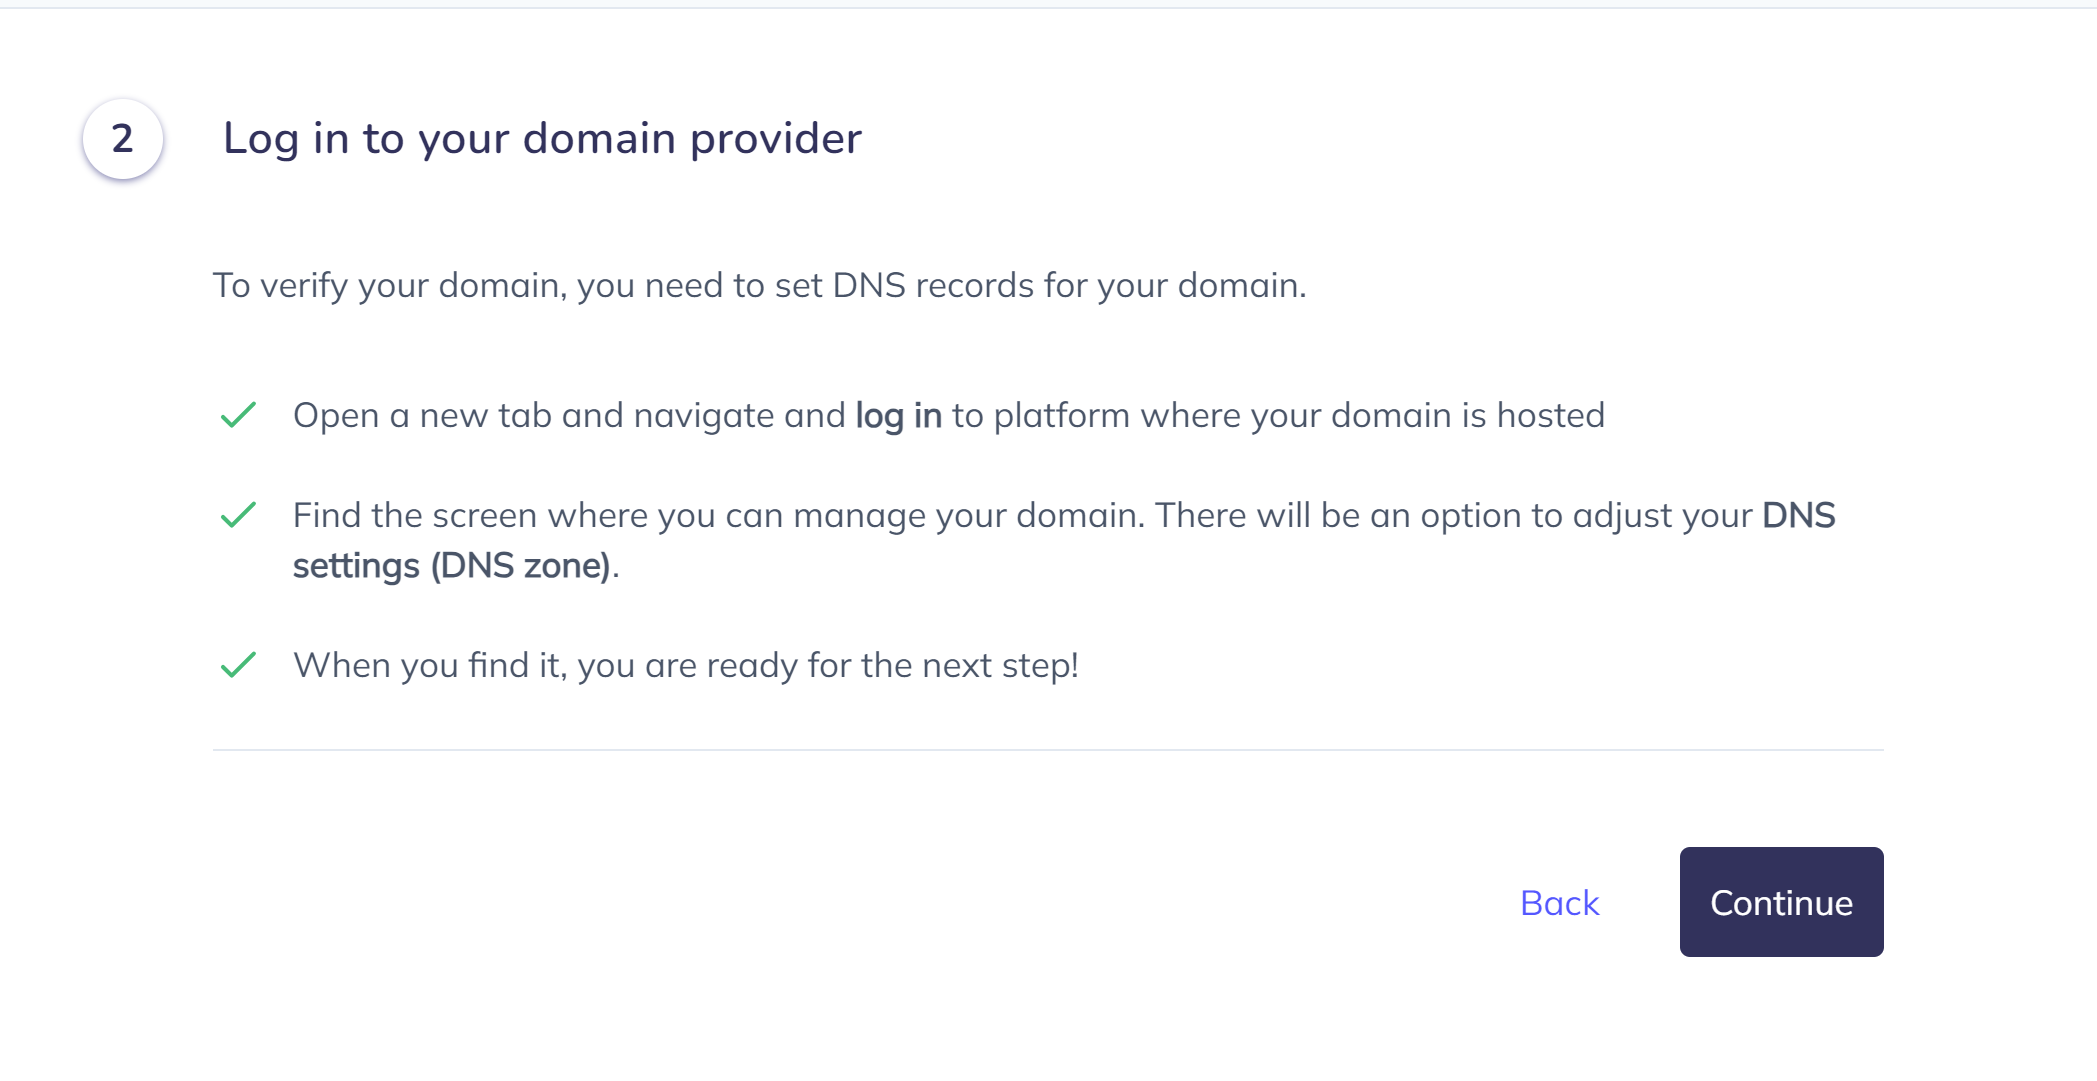
In step 3, You'll be asked to check for pre-existing SPF records in your DNS provider. If it already exists, merge Elastic Email SPF with previously added SPF to avoid conflicts.
Use the SPF Merge Tool to combine the values of both SPFs.
-
Add both records, one in each line, and click Submit.

The tool will give you a merged value of multiple SPF records.
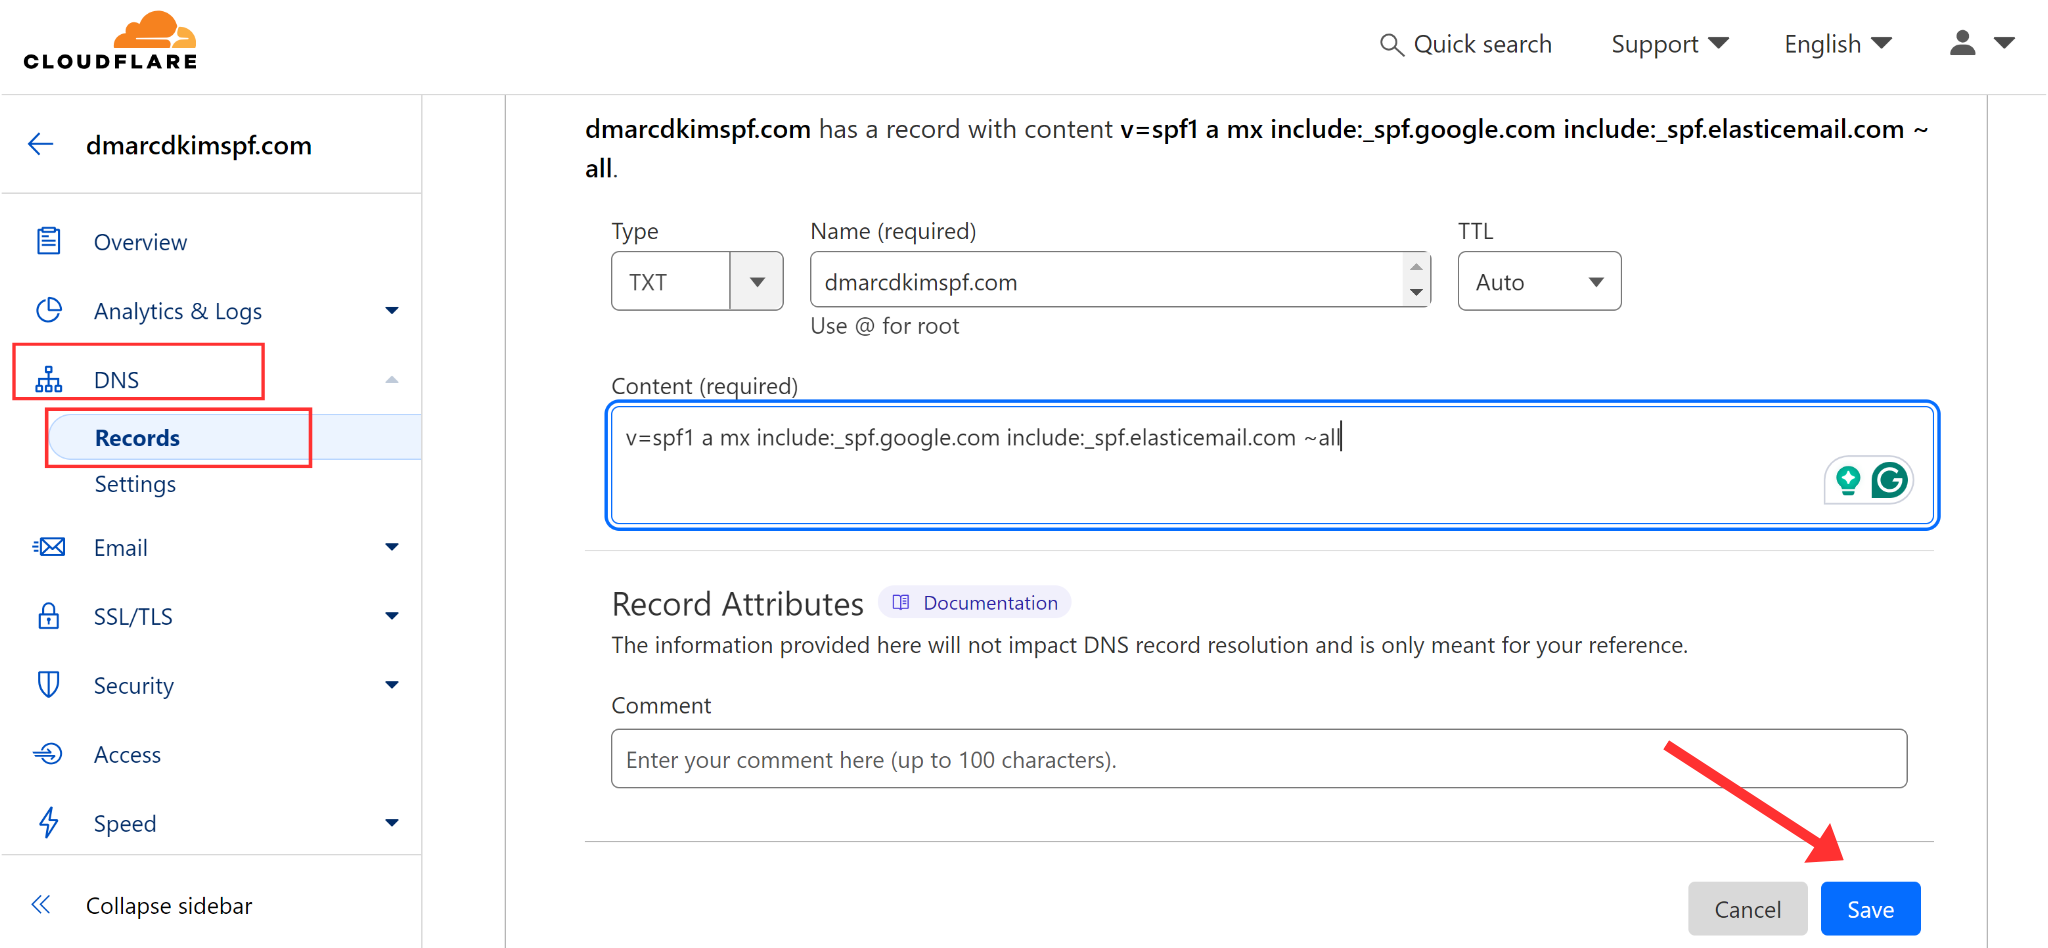
Open your DNS provider. We are using Cloudflare for demo purposes, but you can add these records to any DNS provider.
-
On the Cloudflare Home tab, click on your Website.
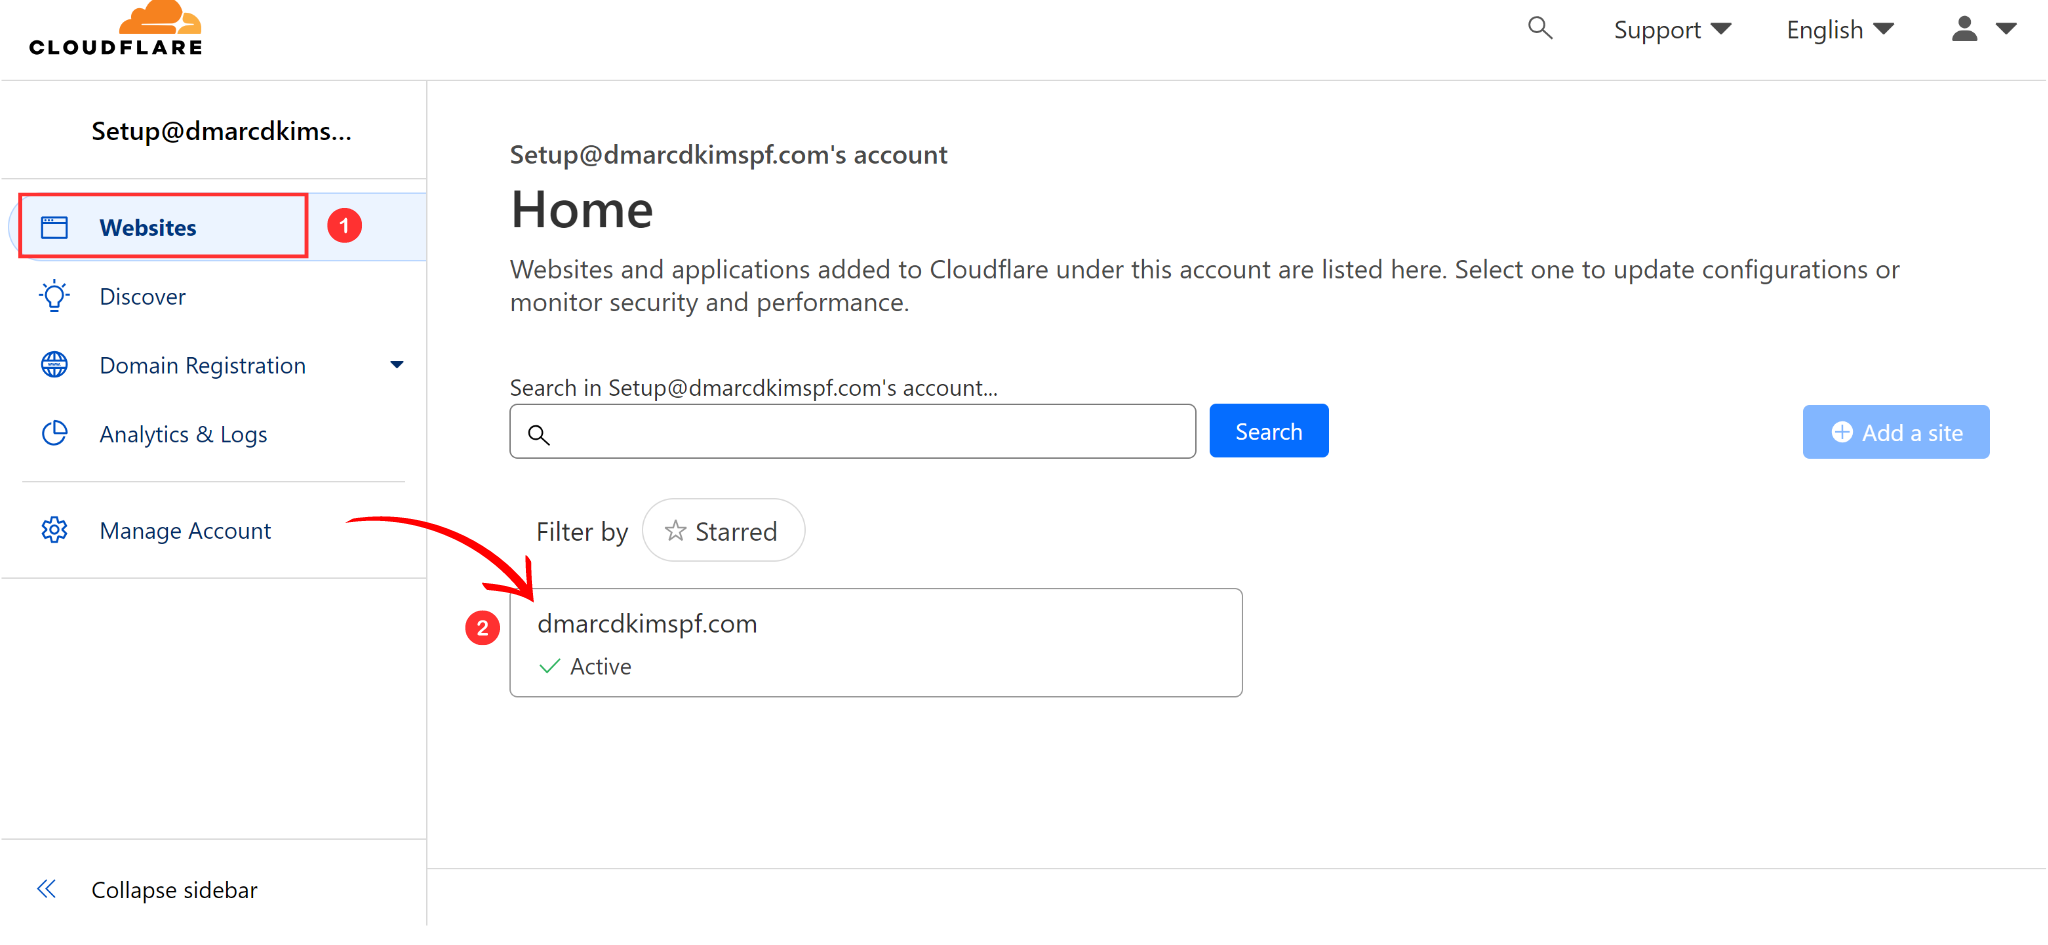
Click on DNS and go to Records, here, click Add Records.
-
Paste the Record Name and Merged Value copied from the SPF Merge Tool into designated fields and click Save.
-
If you don't have a pre-existing SPF record, then select the option "I did not find the record described above."

-
Copy Elastic Email SPF record name and value as it is and add it to the DNS provider.
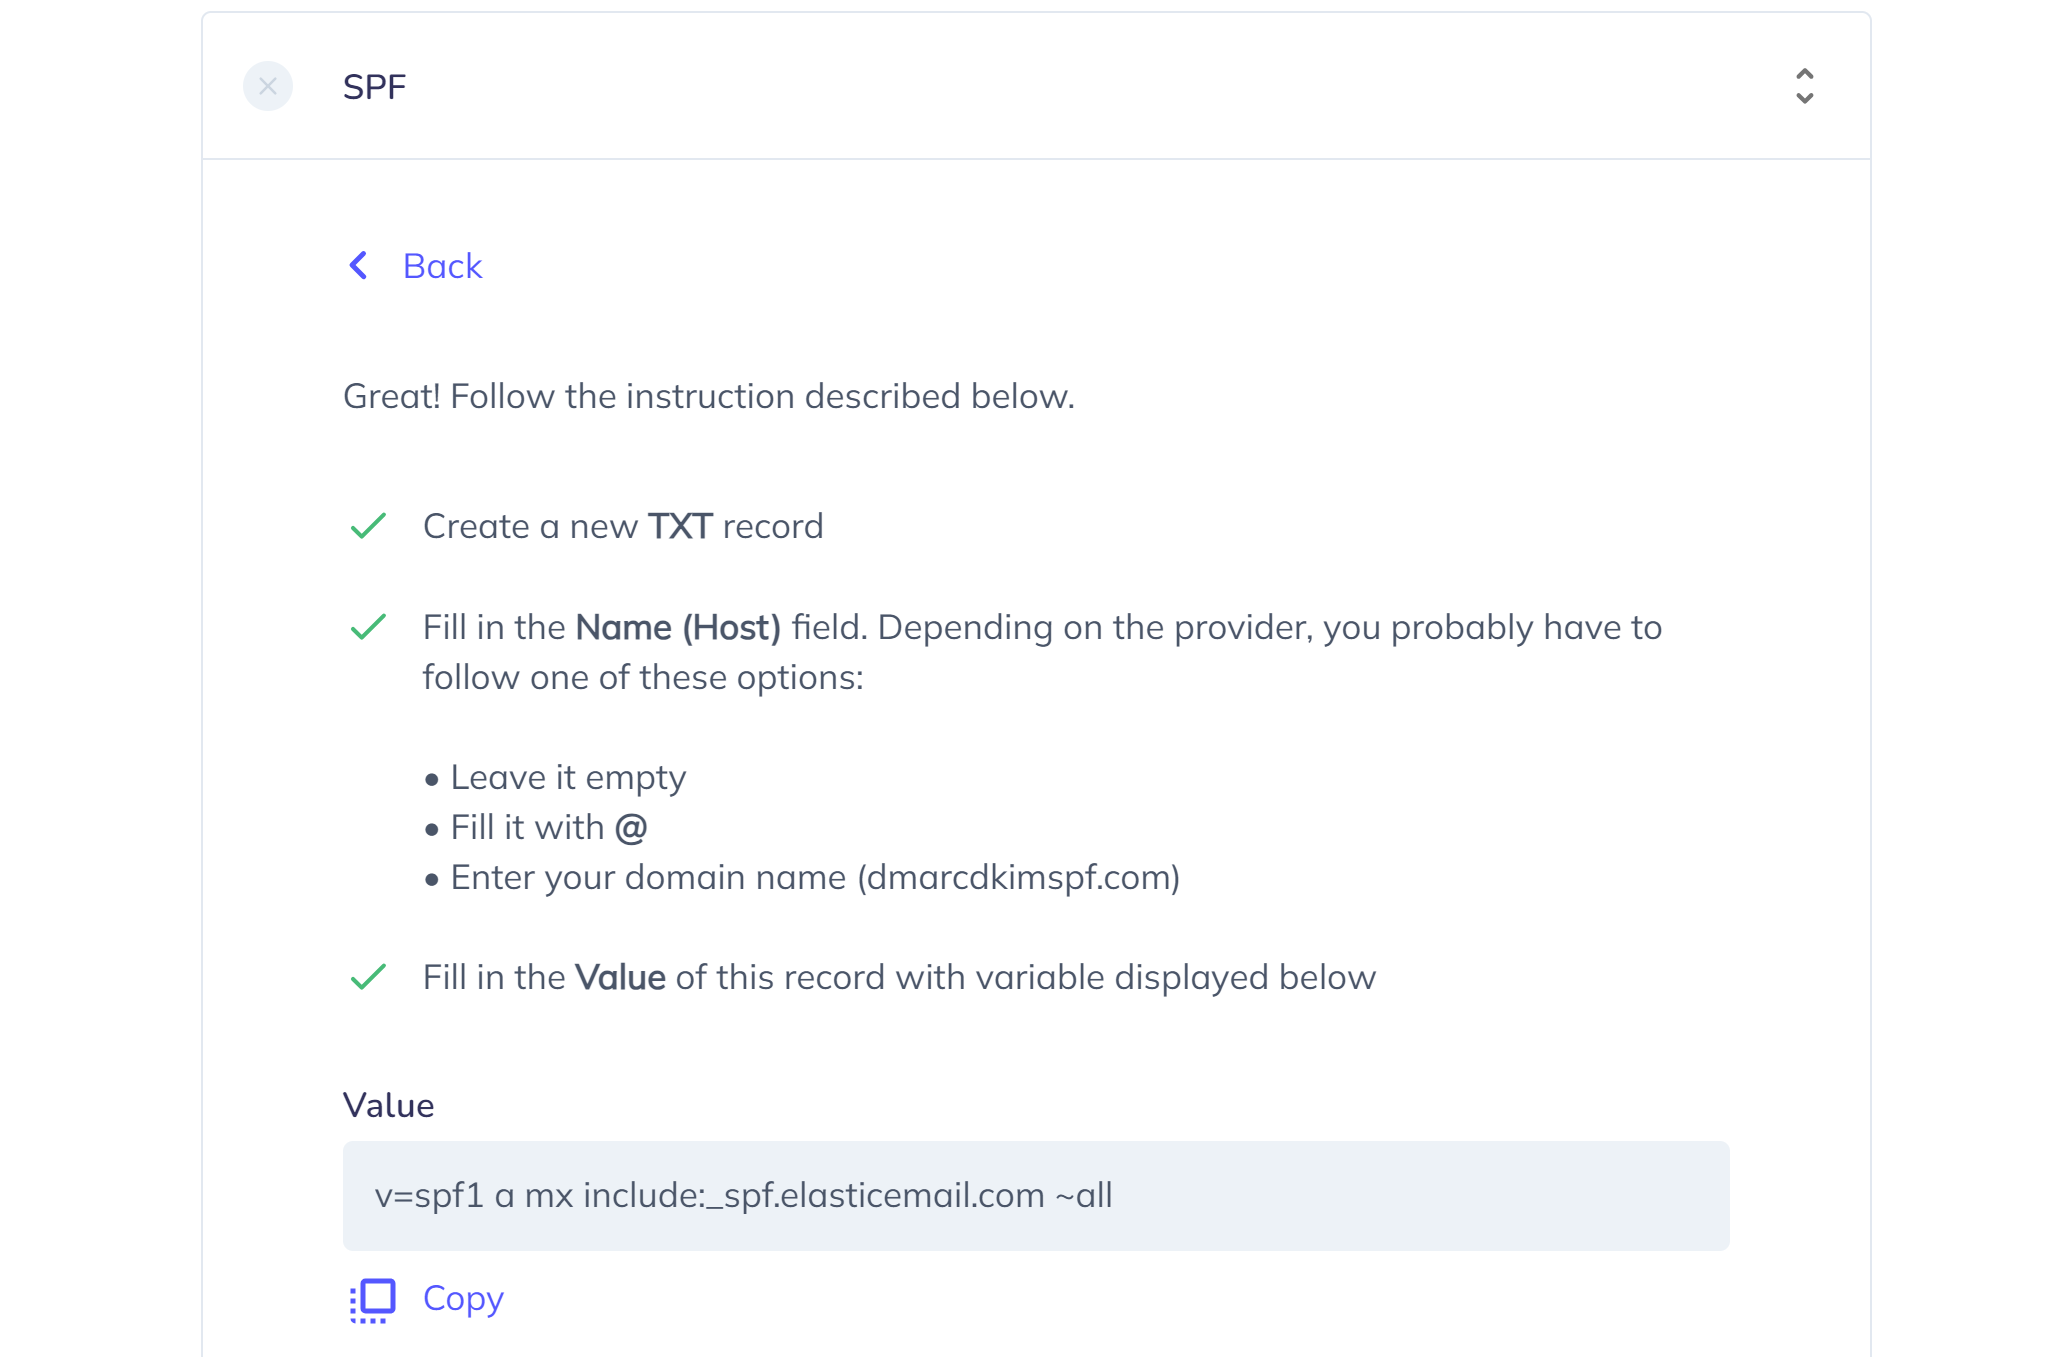
Now copy Elastic Email DKIM and CNAME records from Elastic Email and add them to the DNS provider one by one.
For the DMARC record, use DMARC Lookup Tool which analyzes data behind DMARC reports and acts on it to deploy strict policy (p=reject). Only a strict DMARC policy provides better deliverability and protection from email spoofing.
-
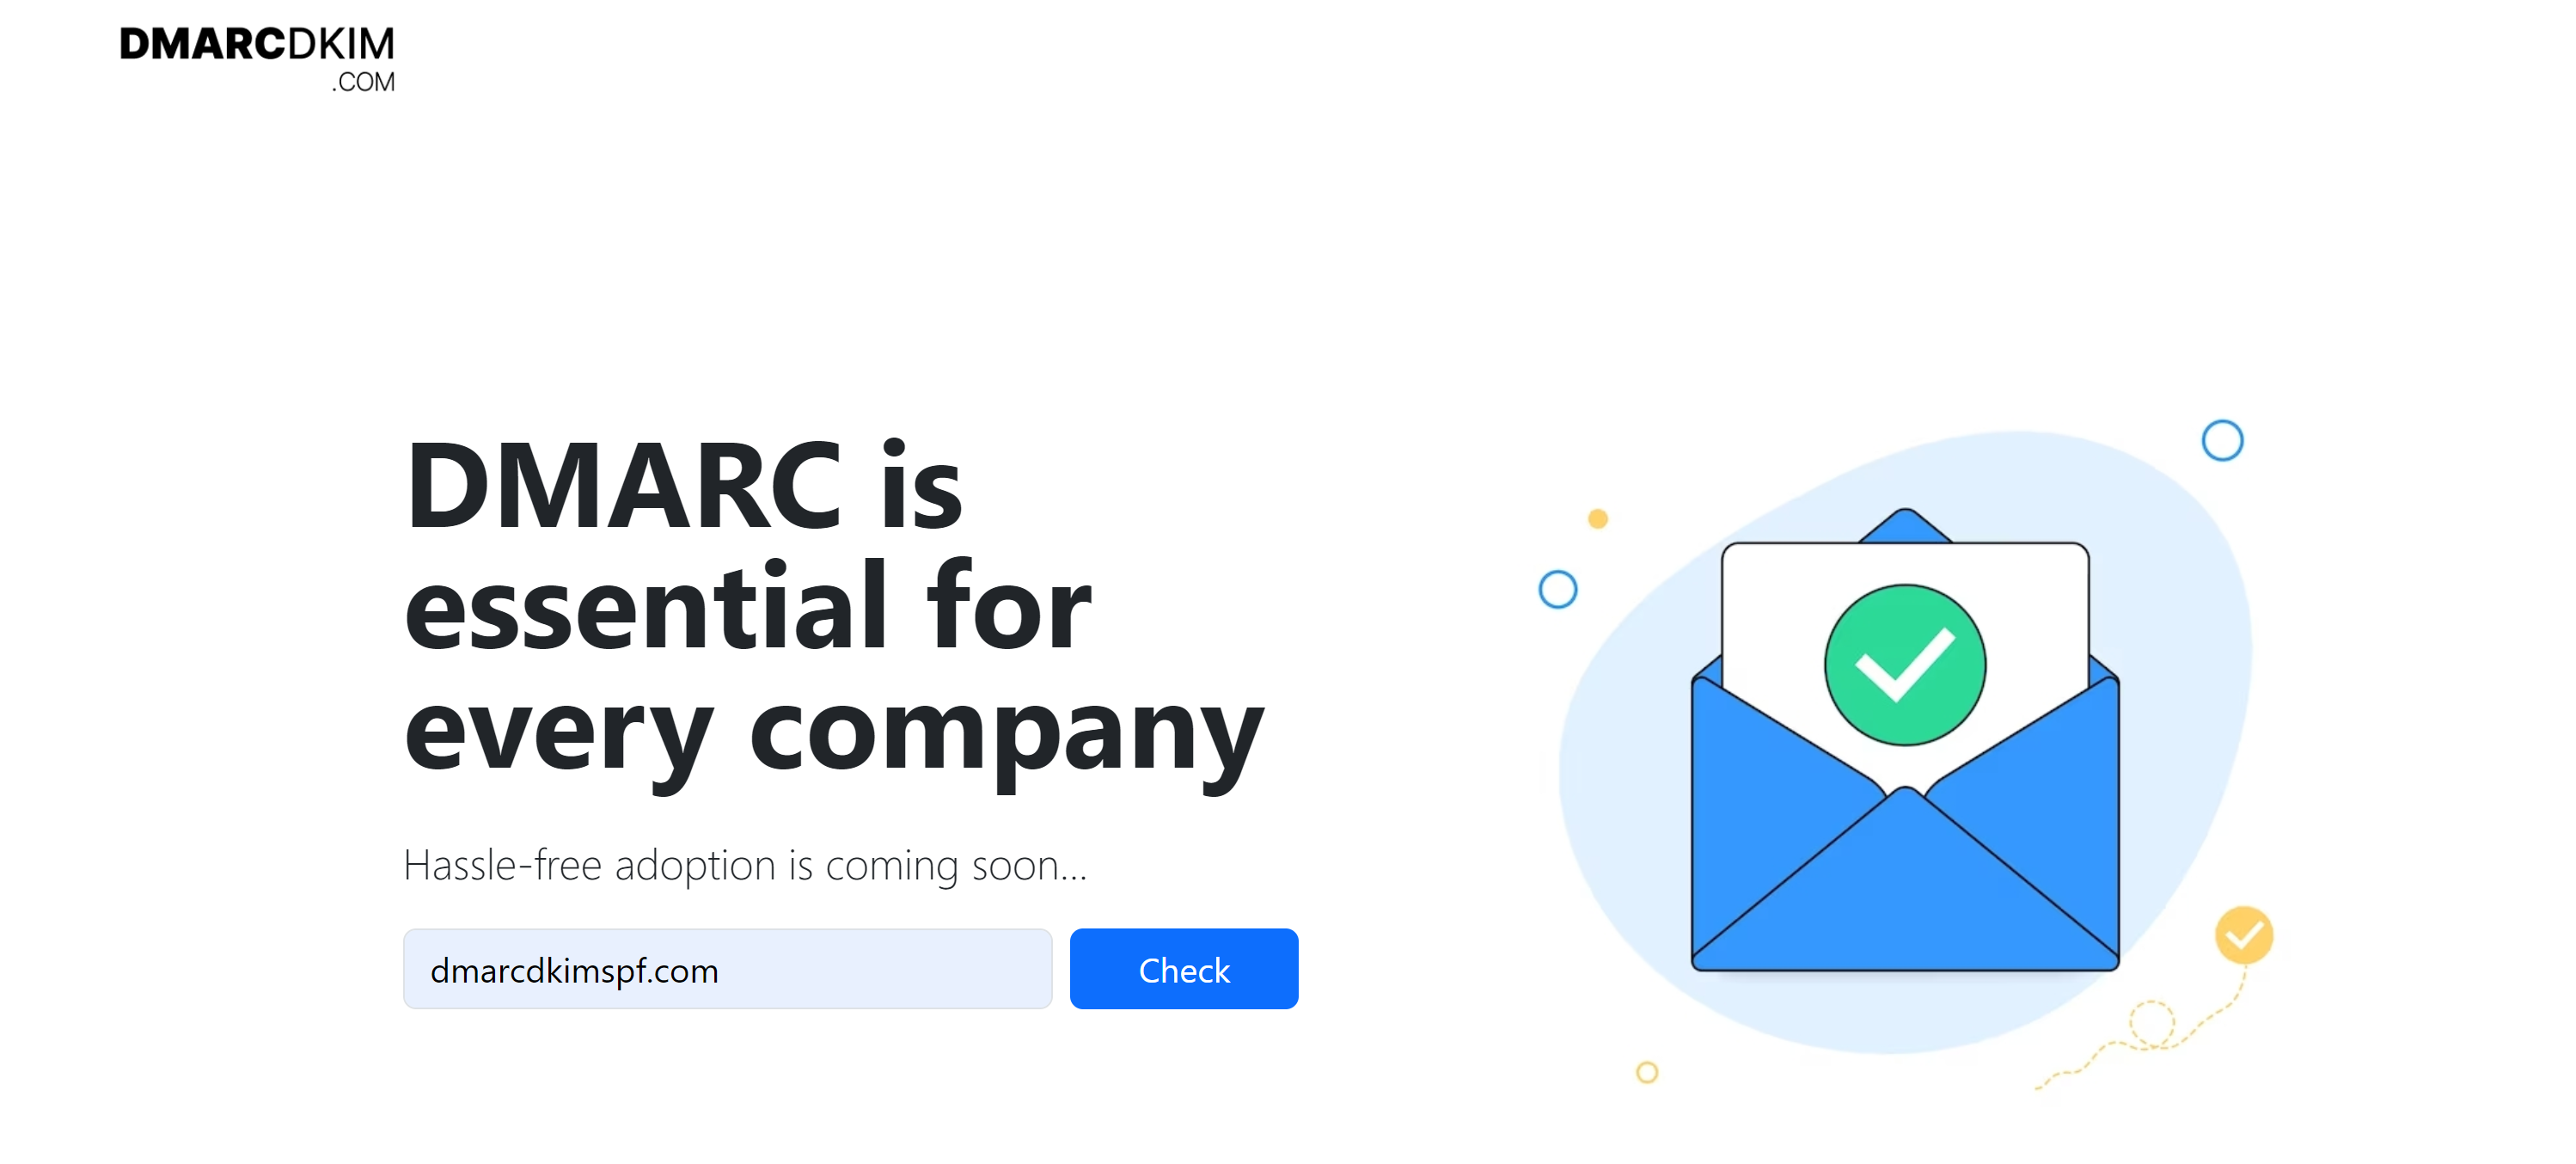
Open the DMARC tool, write your domain name here, and click Check.
-
The tool gives you a suggested value. Copy the record name and value and paste them into the DNS provider.
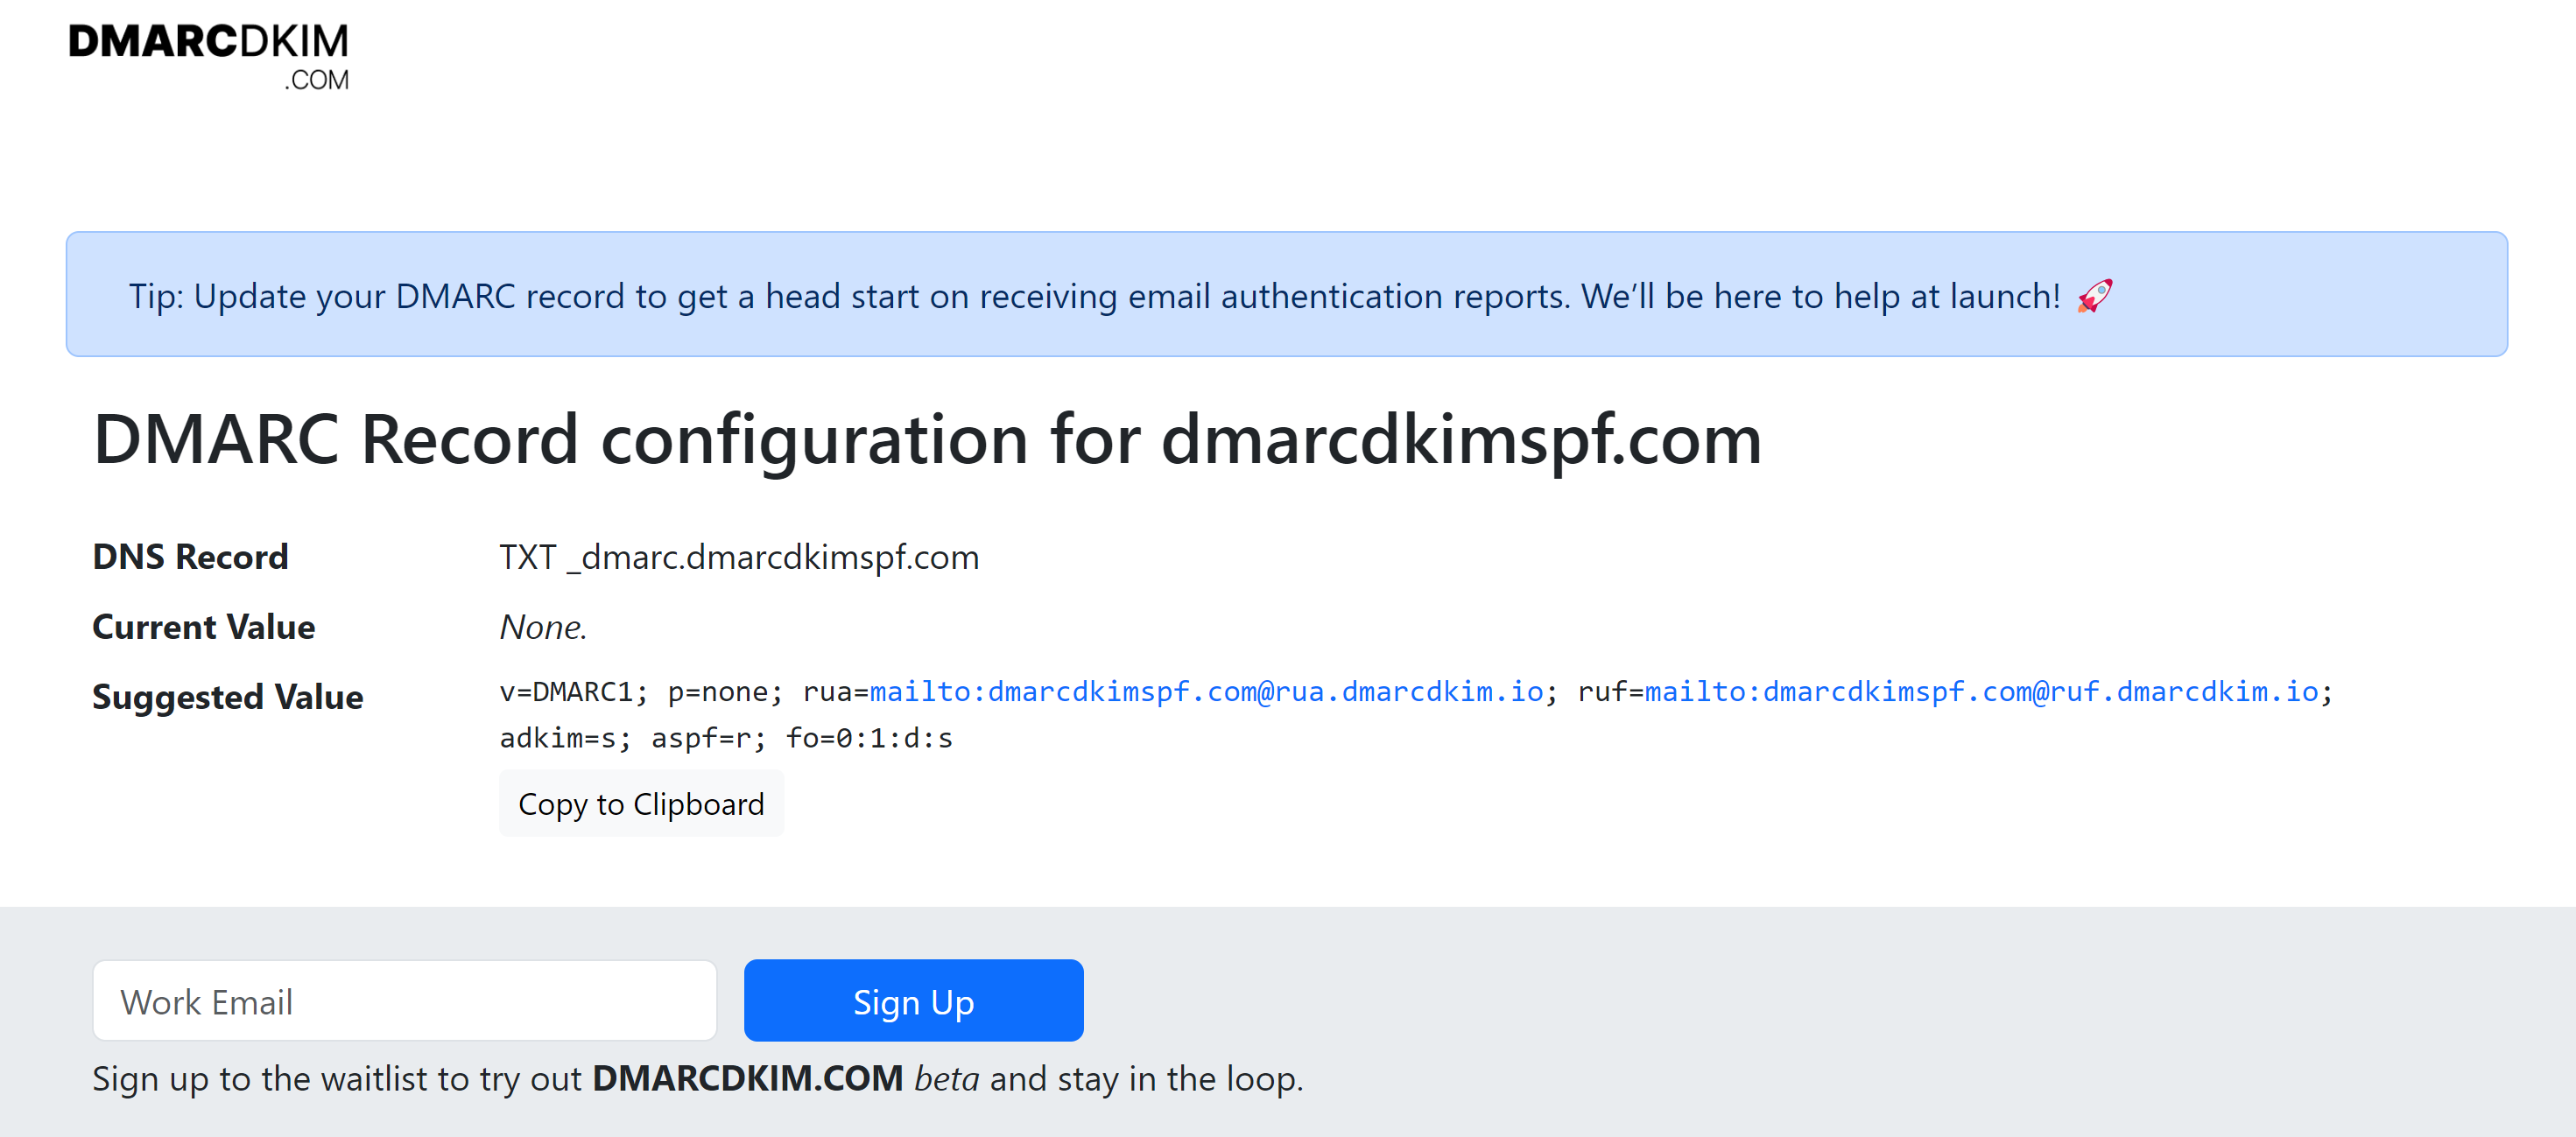
Once all records are added, return to Elastic Email and click Verify Records.
-
Now you'll see a big tick mark and small green check marks with each record. This means DNS records were added successfully and your domain is now authenticated.

-
Moving to step 5, write the email you want to select as the default sender email.

Lastly, you have the option to set up a custom Bounce Domain.
-
Click Set Up Bounce Domain and select any of the options; default or custom. Enter the Bounce Domain and click Continue.

-
Now copy the CNAME record for your bounce domain and add it to the DNS provider.

-
Click Verify Record and you'll see a green check mark under Bounce domain, meaning the bounce domain has been added successfully.

Check domain and follow the instructions to nail down your DMARC configuration.
No expert knowledge needed!


