How to configure SPF, DKIM and DMARC records in ConvertKit?
Check your domain for DMARC, DKIM, SPF and MX records. Get a free report.
Domain Authentication with ConvertKit DMARC, DKIM and SPF DNS Records
Adding DNS records improves your email deliverability to a great extent. DKIM and SPF are the two common ways to authenticate your email domains. ConvertKit not only allows you to launch and manage email campaigns but also provides DNS records which you can add to your DNS provider to authenticate your sending domain.
In this article, we'll configure DKIM and SPF records in ConvertKit and add these records to the DNS provider. For this guide, we are using Cloudflare but you can add DNS records to whichever DNS provider you use.
Sign up for your ConvertKit account with your webmail which you want to authenticate.
-
Click your profile icon in the top right corner and go to Settings.

-
Select Emails from the left-side panel.

Your email, which you used to sign up for the account, will be already added here.
-
Go to your email inbox and click the Verification link sent by ConvertKit. This link will take you back to ConvertKit. Here, the email status will be shown as Confirmed.

-
Scroll down to click "Set up your Verified Sending Domain."

-
Now enter your root domain in the pop-up window and click Next.

-
ConvertKit will give you DKIM, SPF, and DMARC records. Add these records to your DNS provider.

To automatically add these records to your DNS provider, click "Set this up for me."
-
Next, click Continue > Authorize with Cloudflare, and ConvertKit will start detecting your DNS provider and open the DNS dashboard.

-
Here you'll see SPF, DKIM, and DMARC already added. Just click on Authorize to confirm your action.

However
p=noneDMARC record withoutrua=destination is useless. Use DMARC Lookup Tool which analyzes data behind DMARC reports and allow you to act on it to deploy strict policy (p=reject). Only a strict DMARC policy provides better deliverability and protection from email spoofing.-
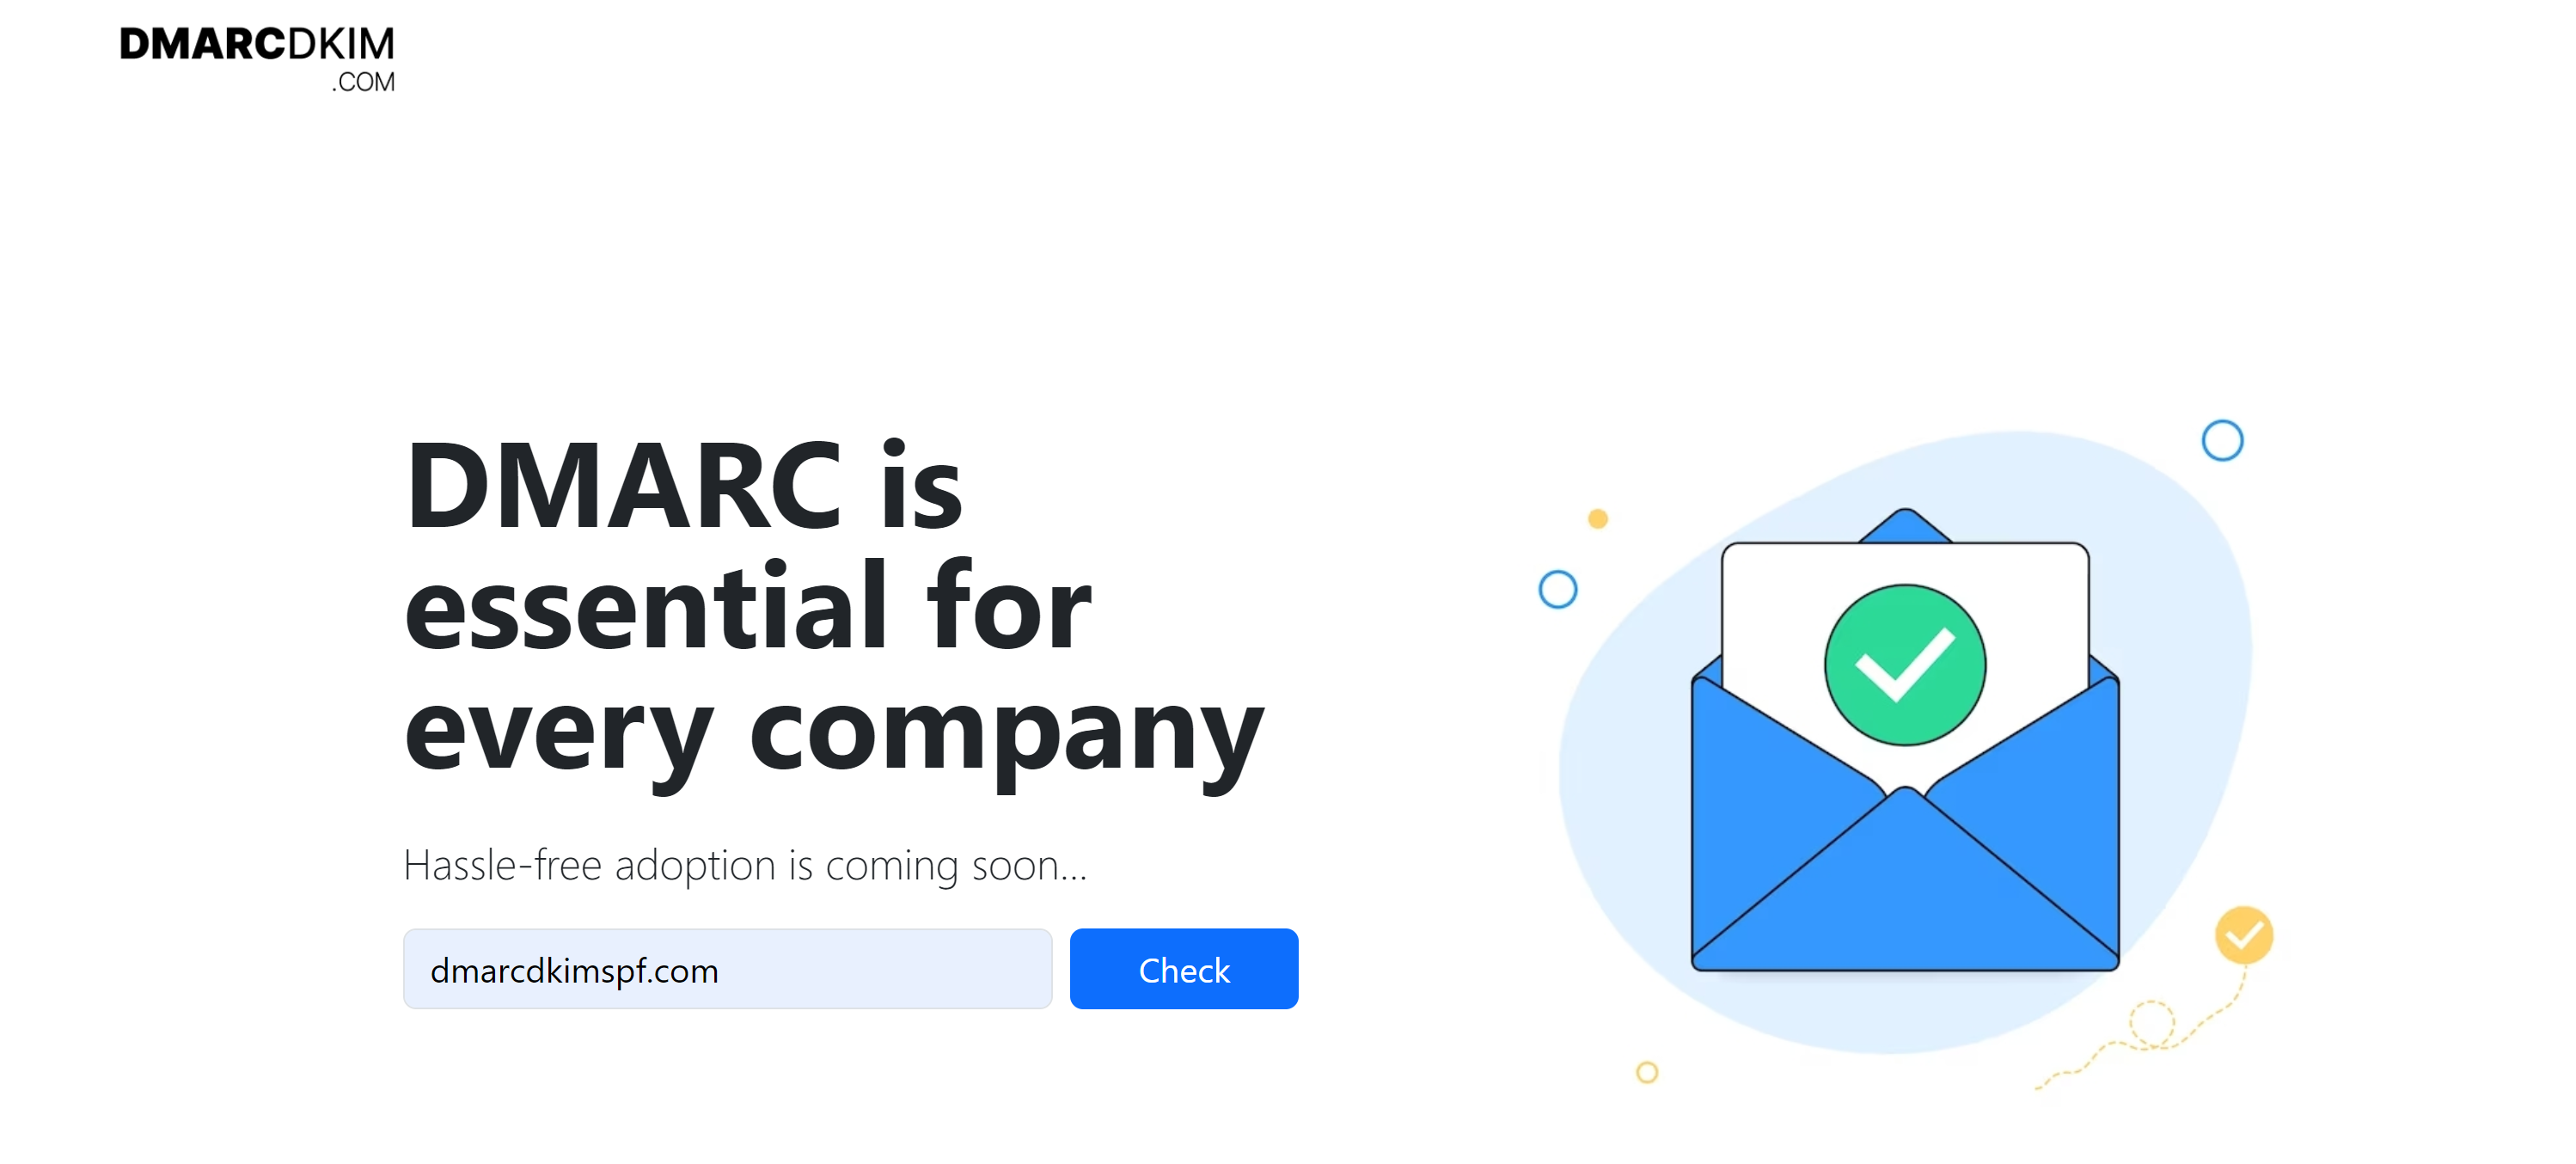
Open the DMARC tool, write your domain name here, and click Check.

-
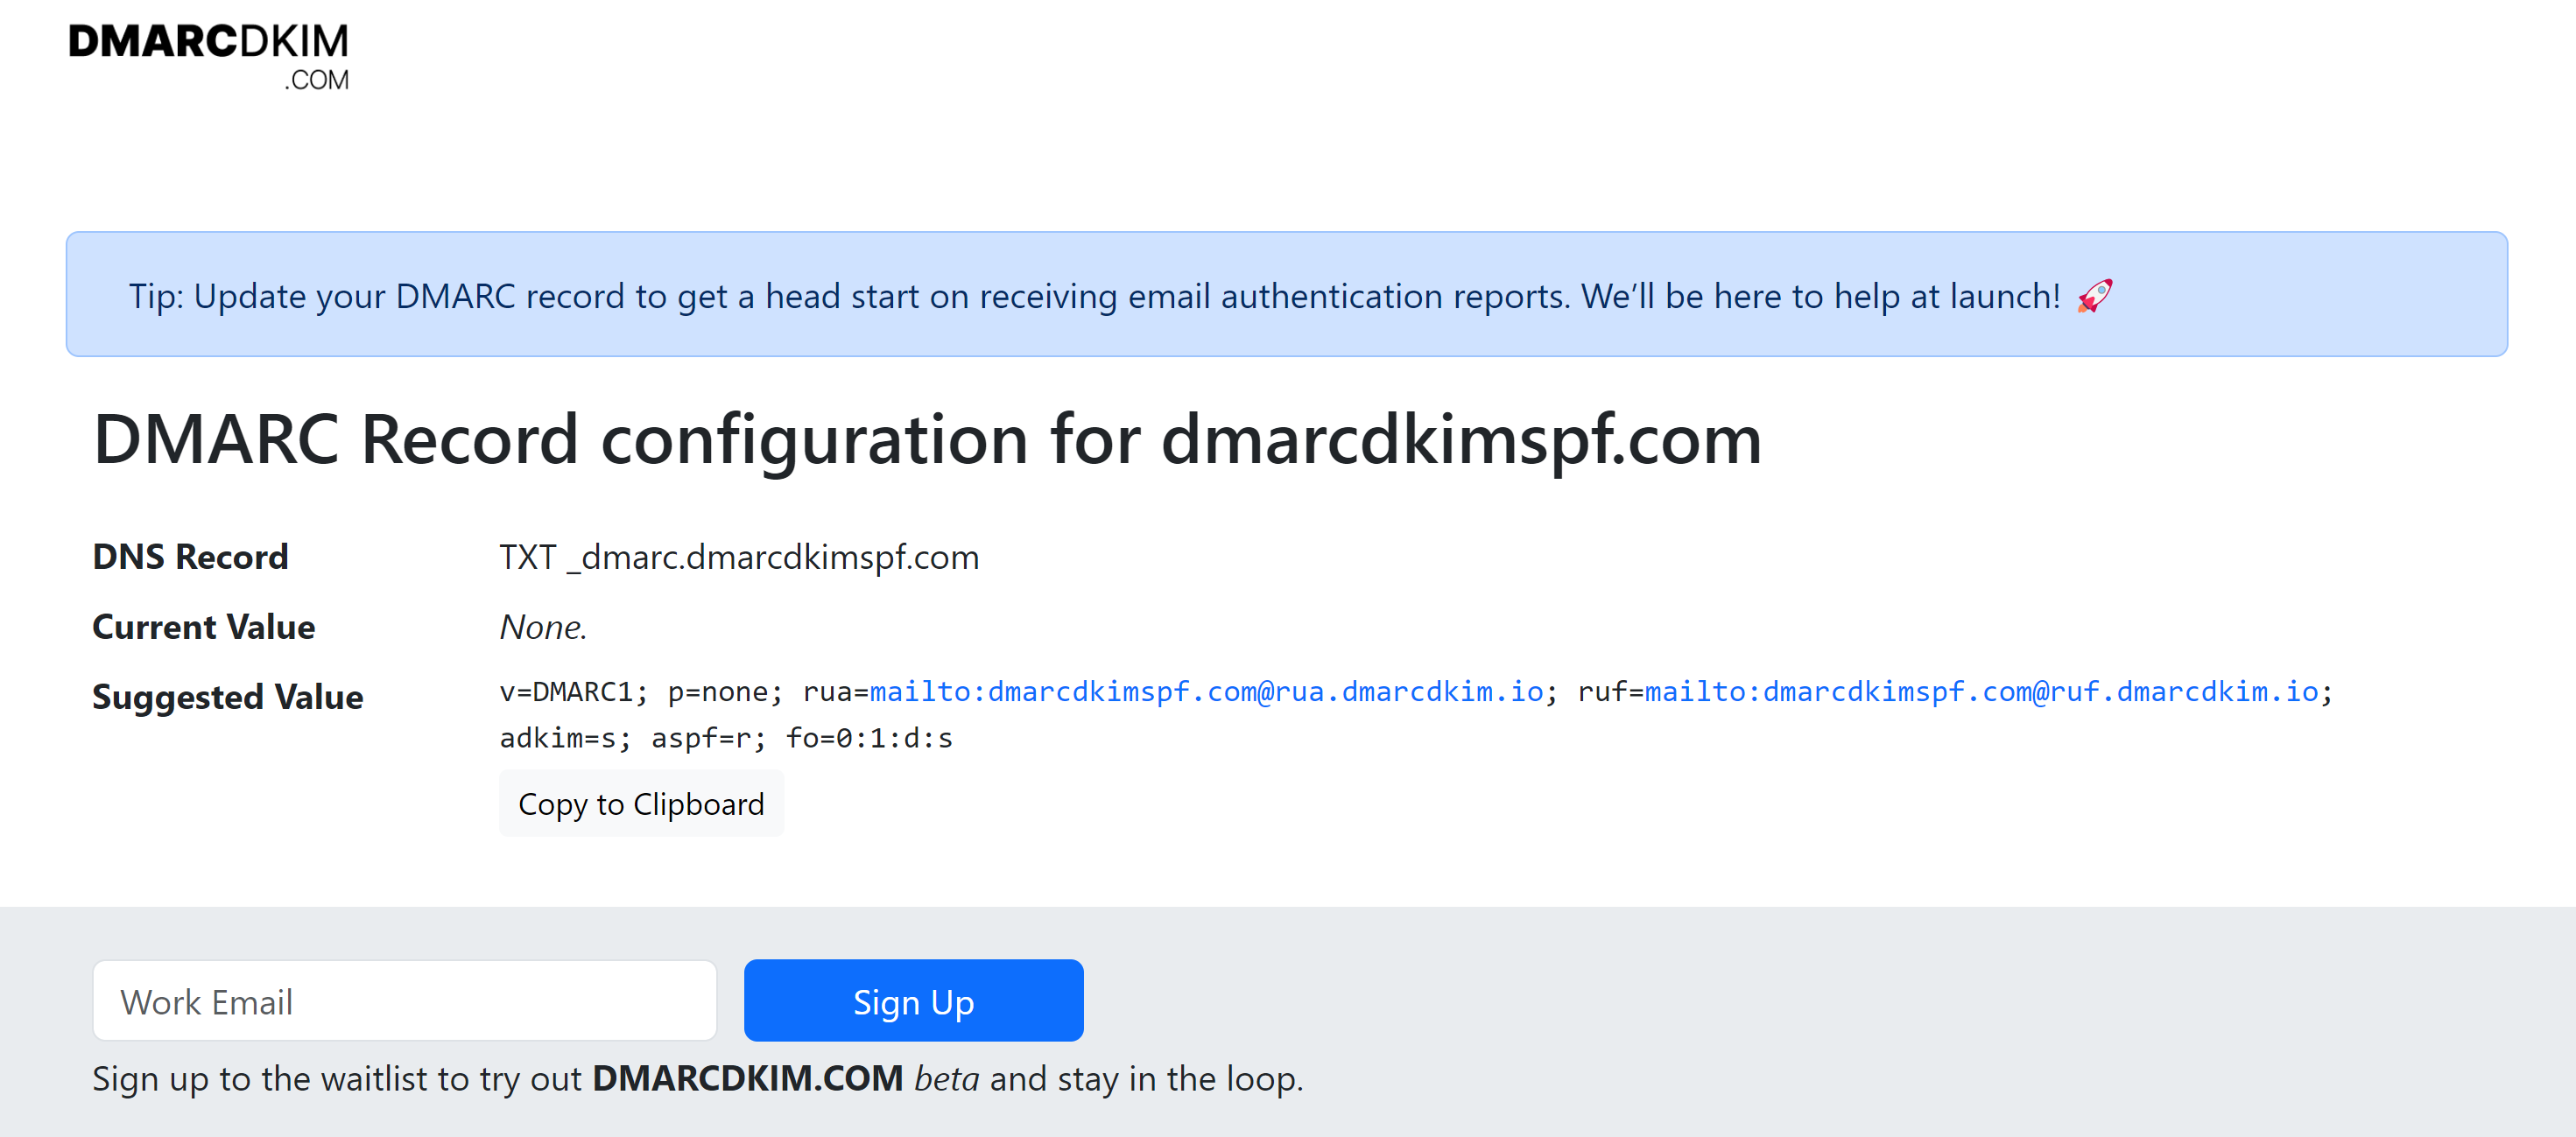
The tool gives you a suggested value. Copy the record name and value and paste them into the DNS provider.

If you wish to add records manually, copy each and paste them into the DNS provider one by one.
We are using Cloudflare as our DNS provider but you can add these records to any DNS provider.
-
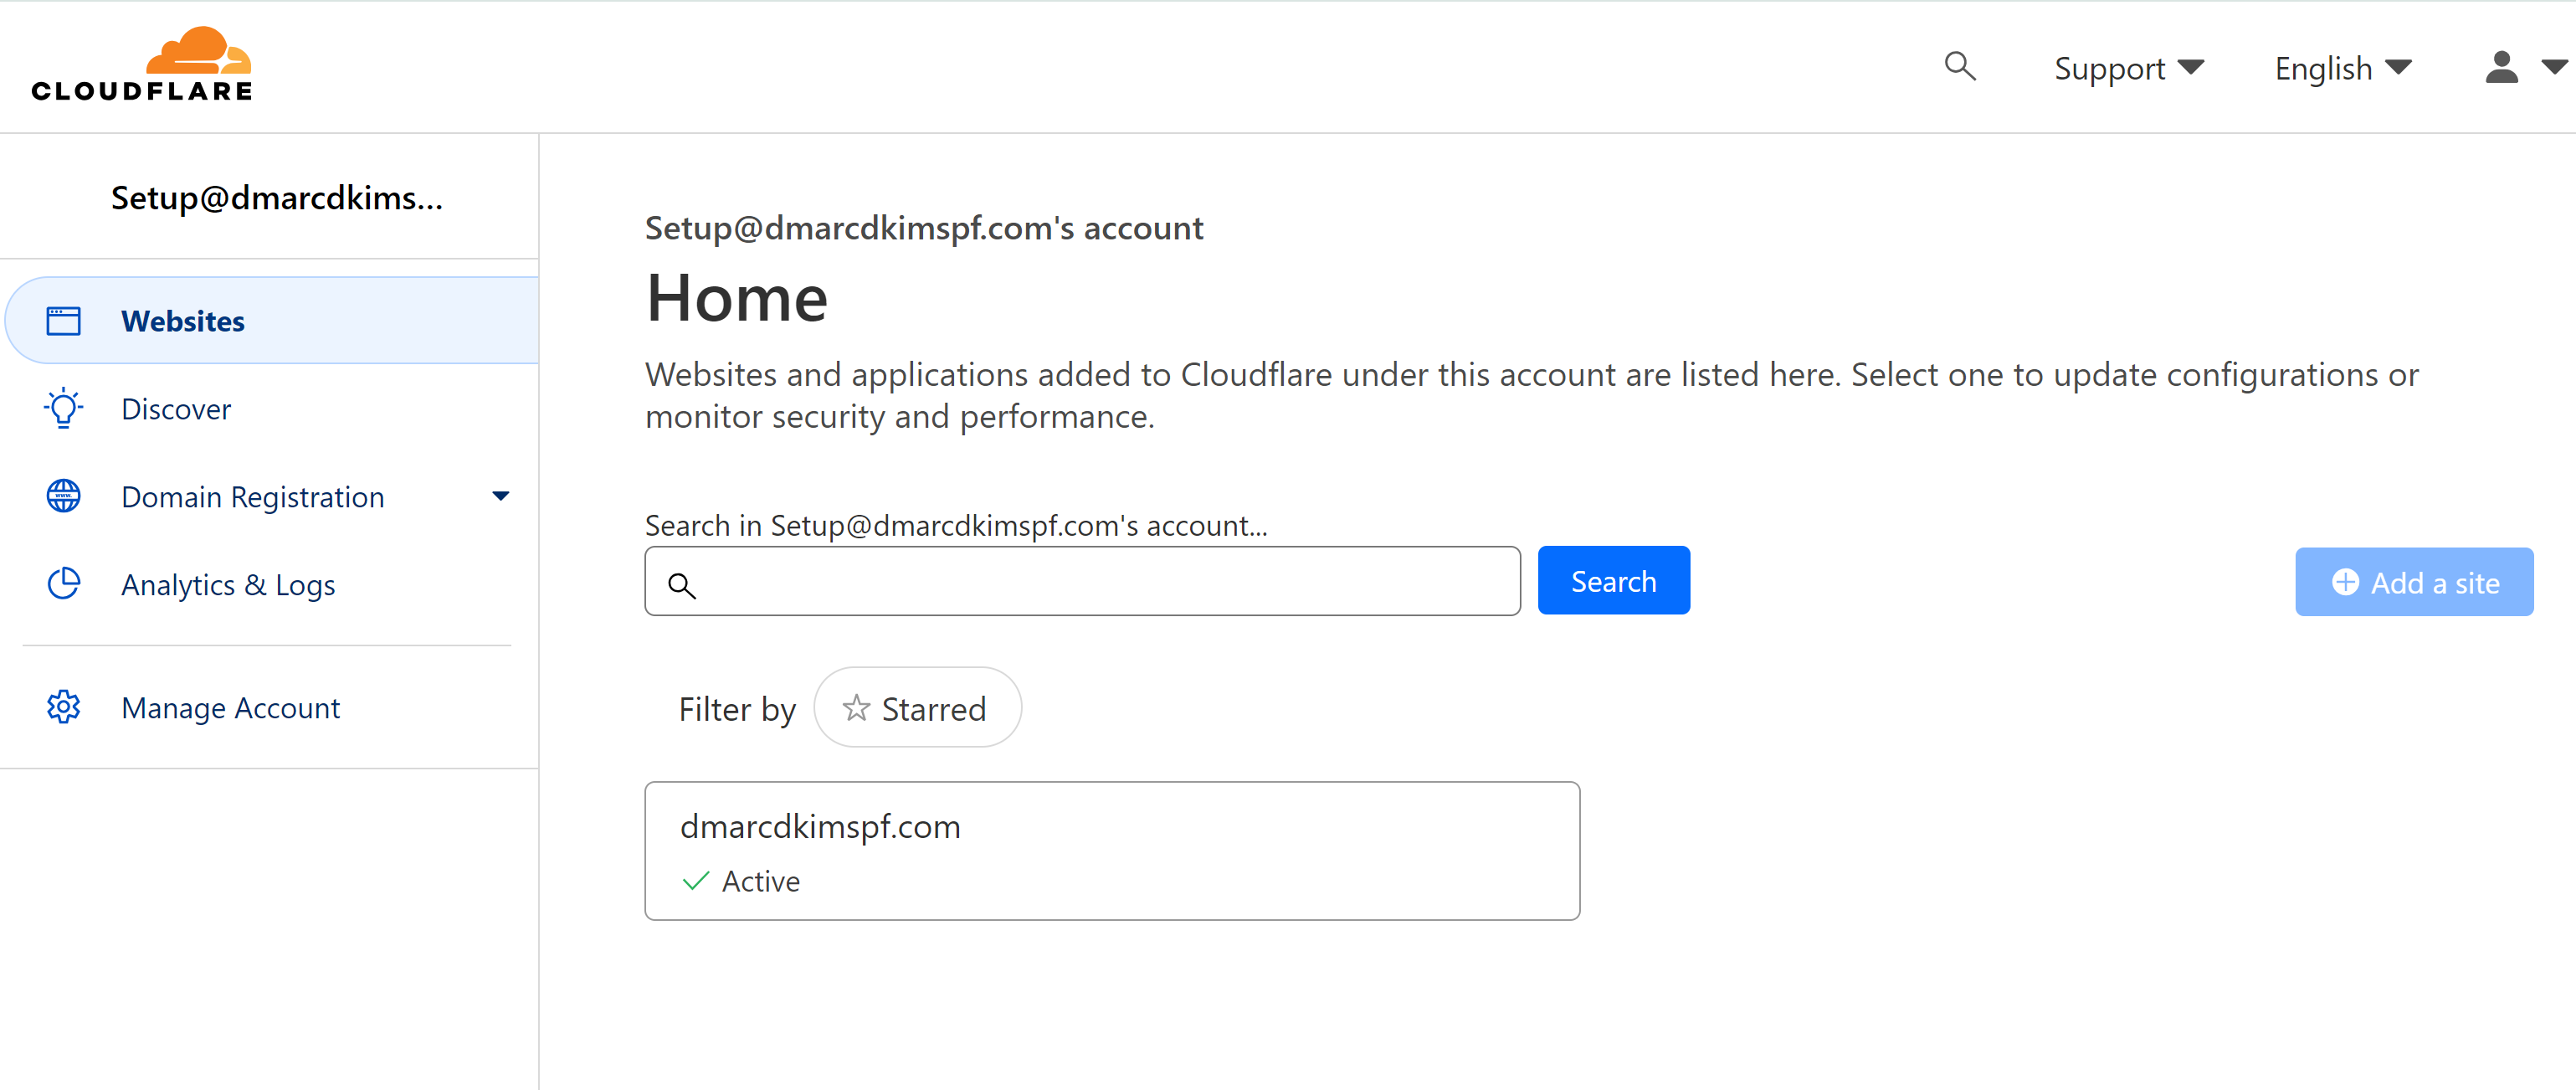
Go to the Cloudflare dashboard and click your domain in the Website tab.

-
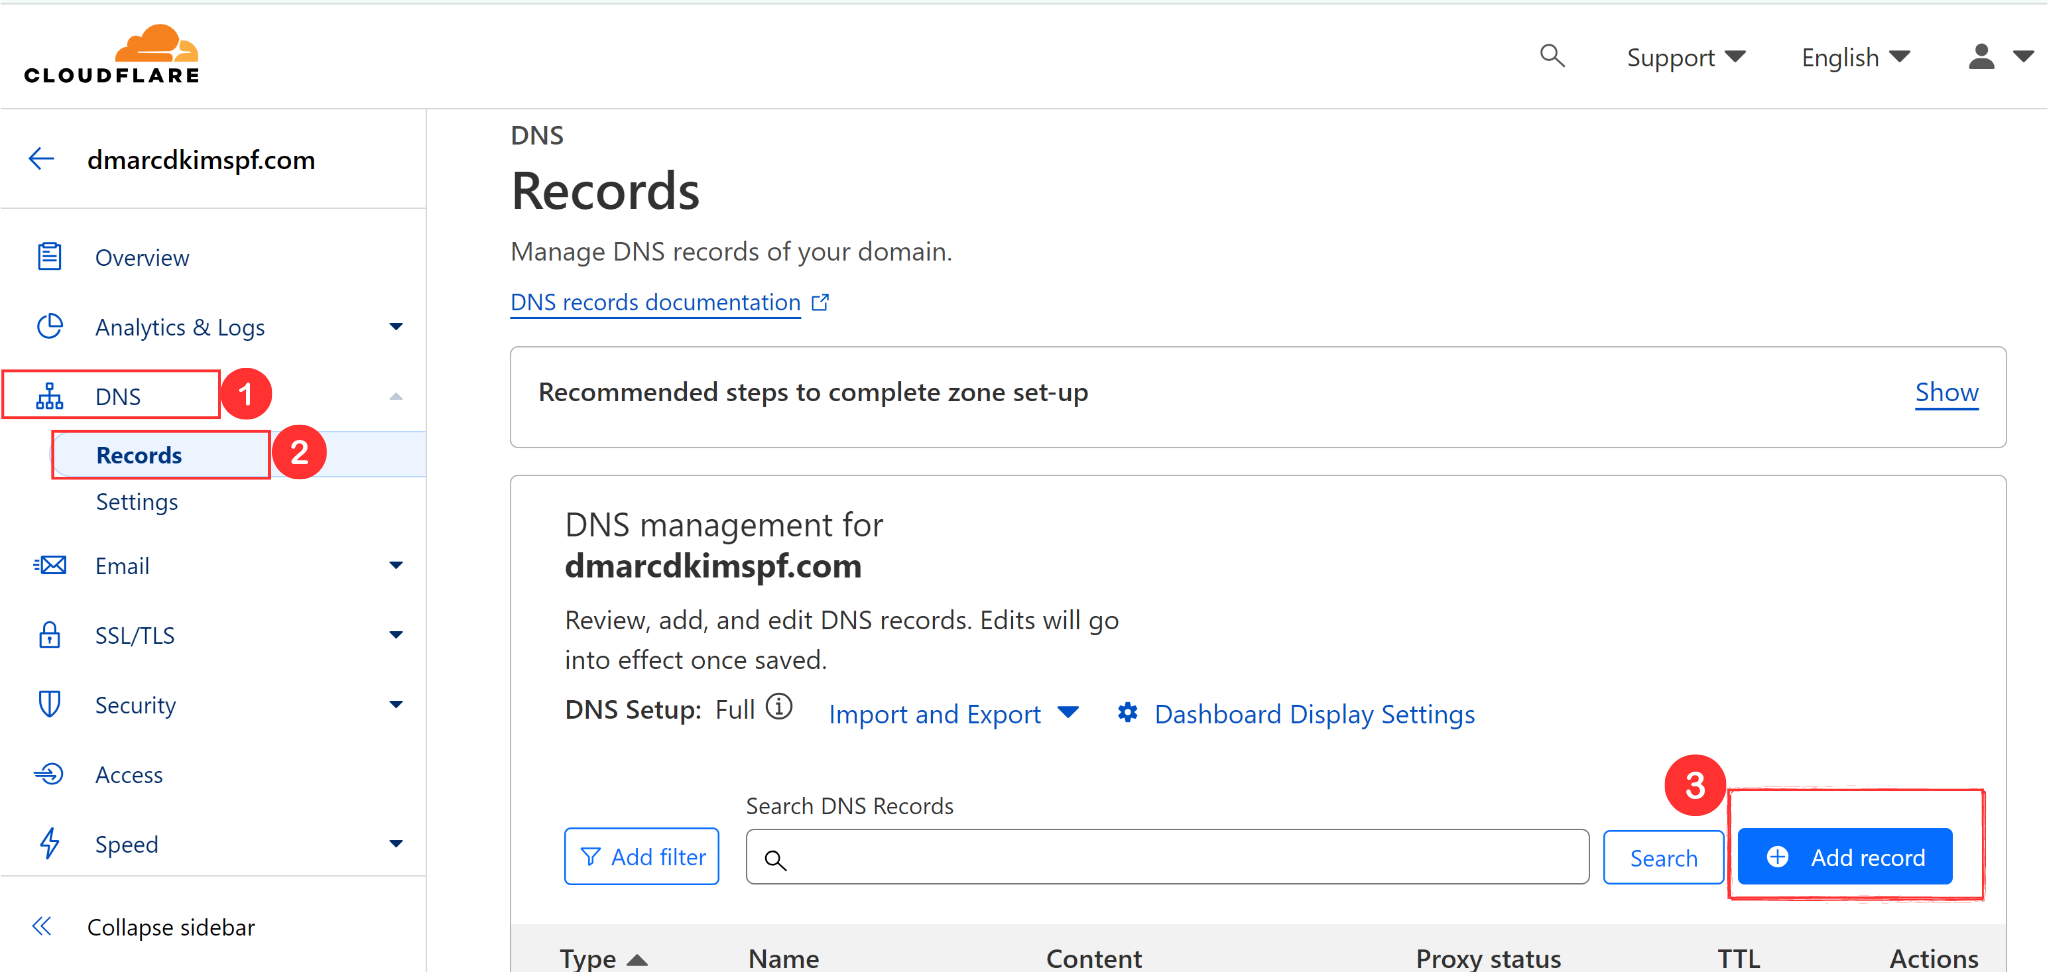
Then go to DNS, select Records, and click Add Record.

Select the record type as mentioned with the record value, copy the hostname and value, paste it into the DNS provider, and click Save.
After adding all records, go back to ConvertKit and click Validate.
Check step 12 for ConvertKit DMARC configuration.
Check domain and follow the instructions to nail down your DMARC configuration.
No expert knowledge needed!


