Set up MailRelay DMARC, DKIM, SPF, and tracking DNS records
Check your domain for DMARC, DKIM, SPF and MX records. Get a free report.
- The impact of Business Email Compromise
- A quiet Google update just made SPF more forgiving
- Cyber Insurance and DMARC Enforcement
- Email impersonation scams explained
- TLS-RPT Record
- SMTP Smuggling
- 🇩🇪 Welche Hosting Anbieter unterstützen DMARC
- Reverse Engineering Phishing
- DMARC Enforcement in 2026
- DMARC for non sending domains
Configuring Domain Authentication - MailRelay DMARC, DKIM and SPF Records
Domain authentication requires configuring DNS records and adding them to the DNS provider. MailRelay generates DKIM, SPF, DMARC, and Tracking records to verify your sending email domain and prevent the risk of spoofing.
In this guide post, we will walk you through the process of authenticating your email domain for secure and smooth email communication. Follow the steps below to land emails straight to your customers' inboxes:
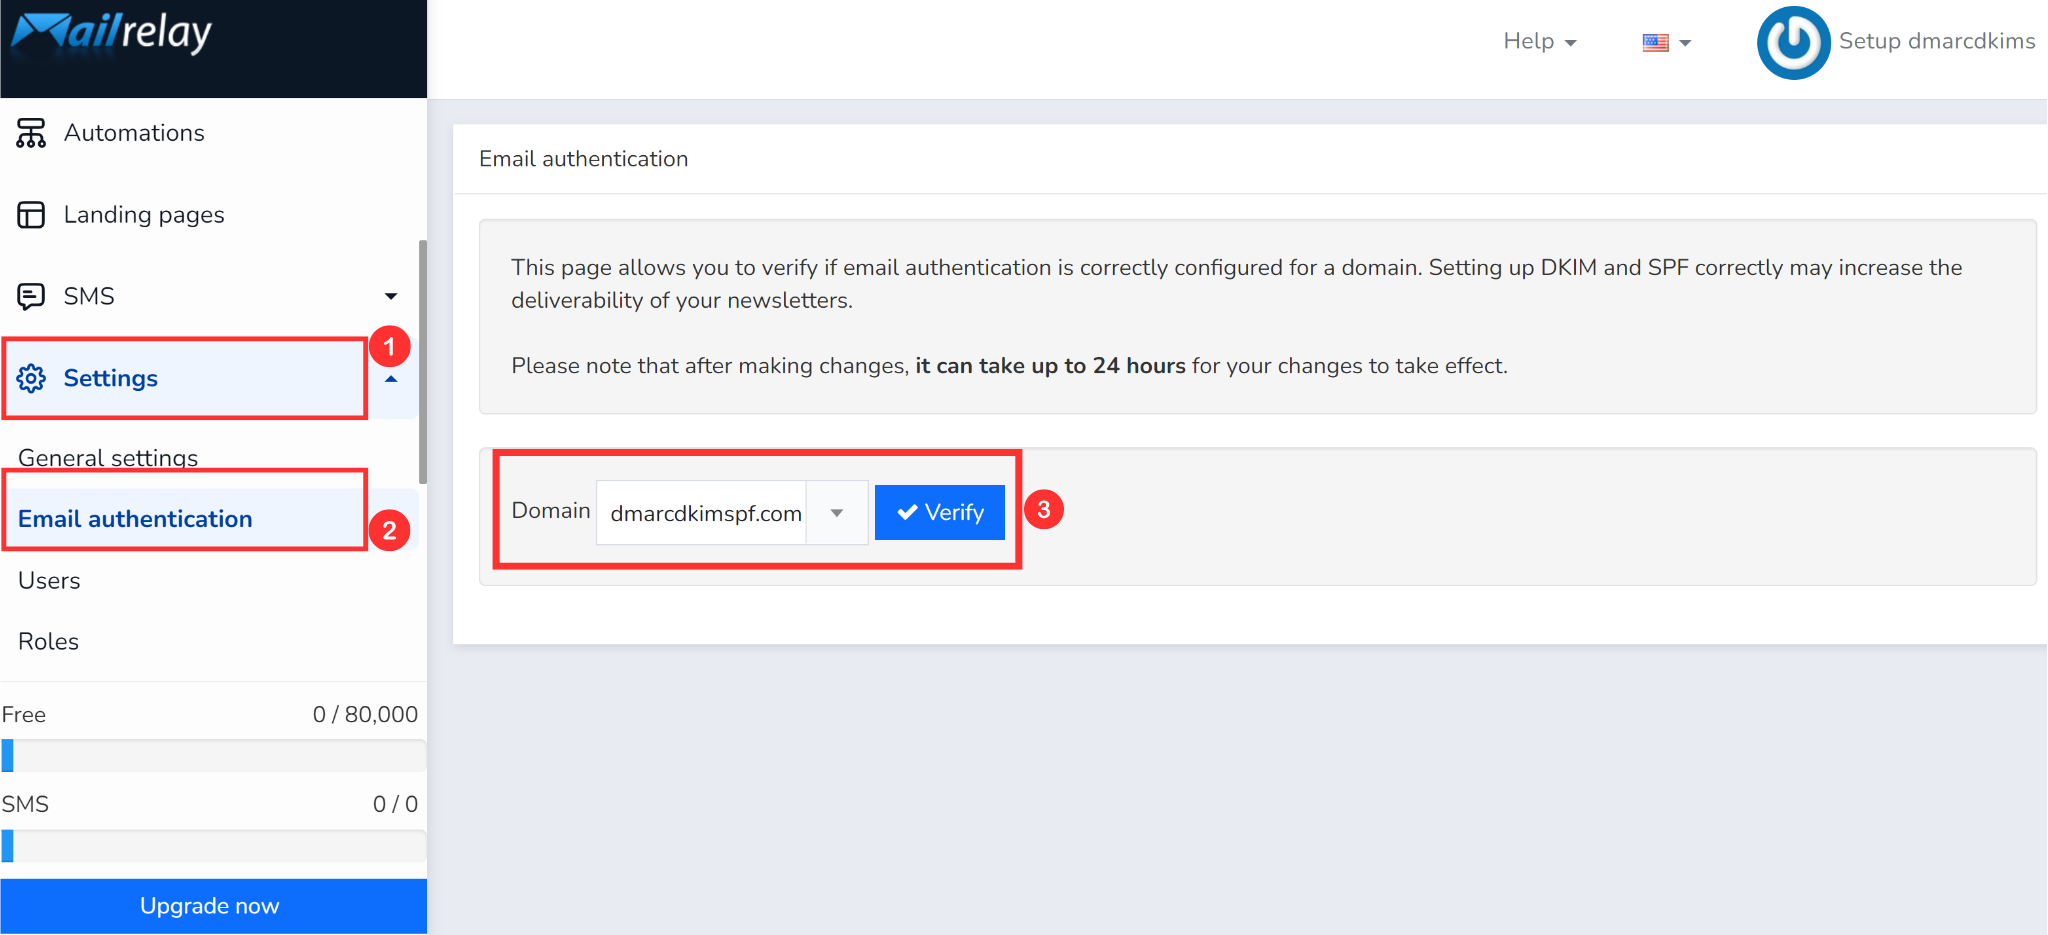
On your MailRelay account, click Settings in the left-hand panel and select Email Authentication.
-
If you have signed up for the MailRelay account with your webmail, you'll see the domain already added here. If you wish to add any other email domain, click the drop-down arrow, write the domain name, and click Verify.

-
Next, you'll see MailRelay DKIM, SPF, Tracking, and DMARC records on your screen.

Copy each record and add it to your DNS provider. We are using Cloudflare for this tutorial.
-
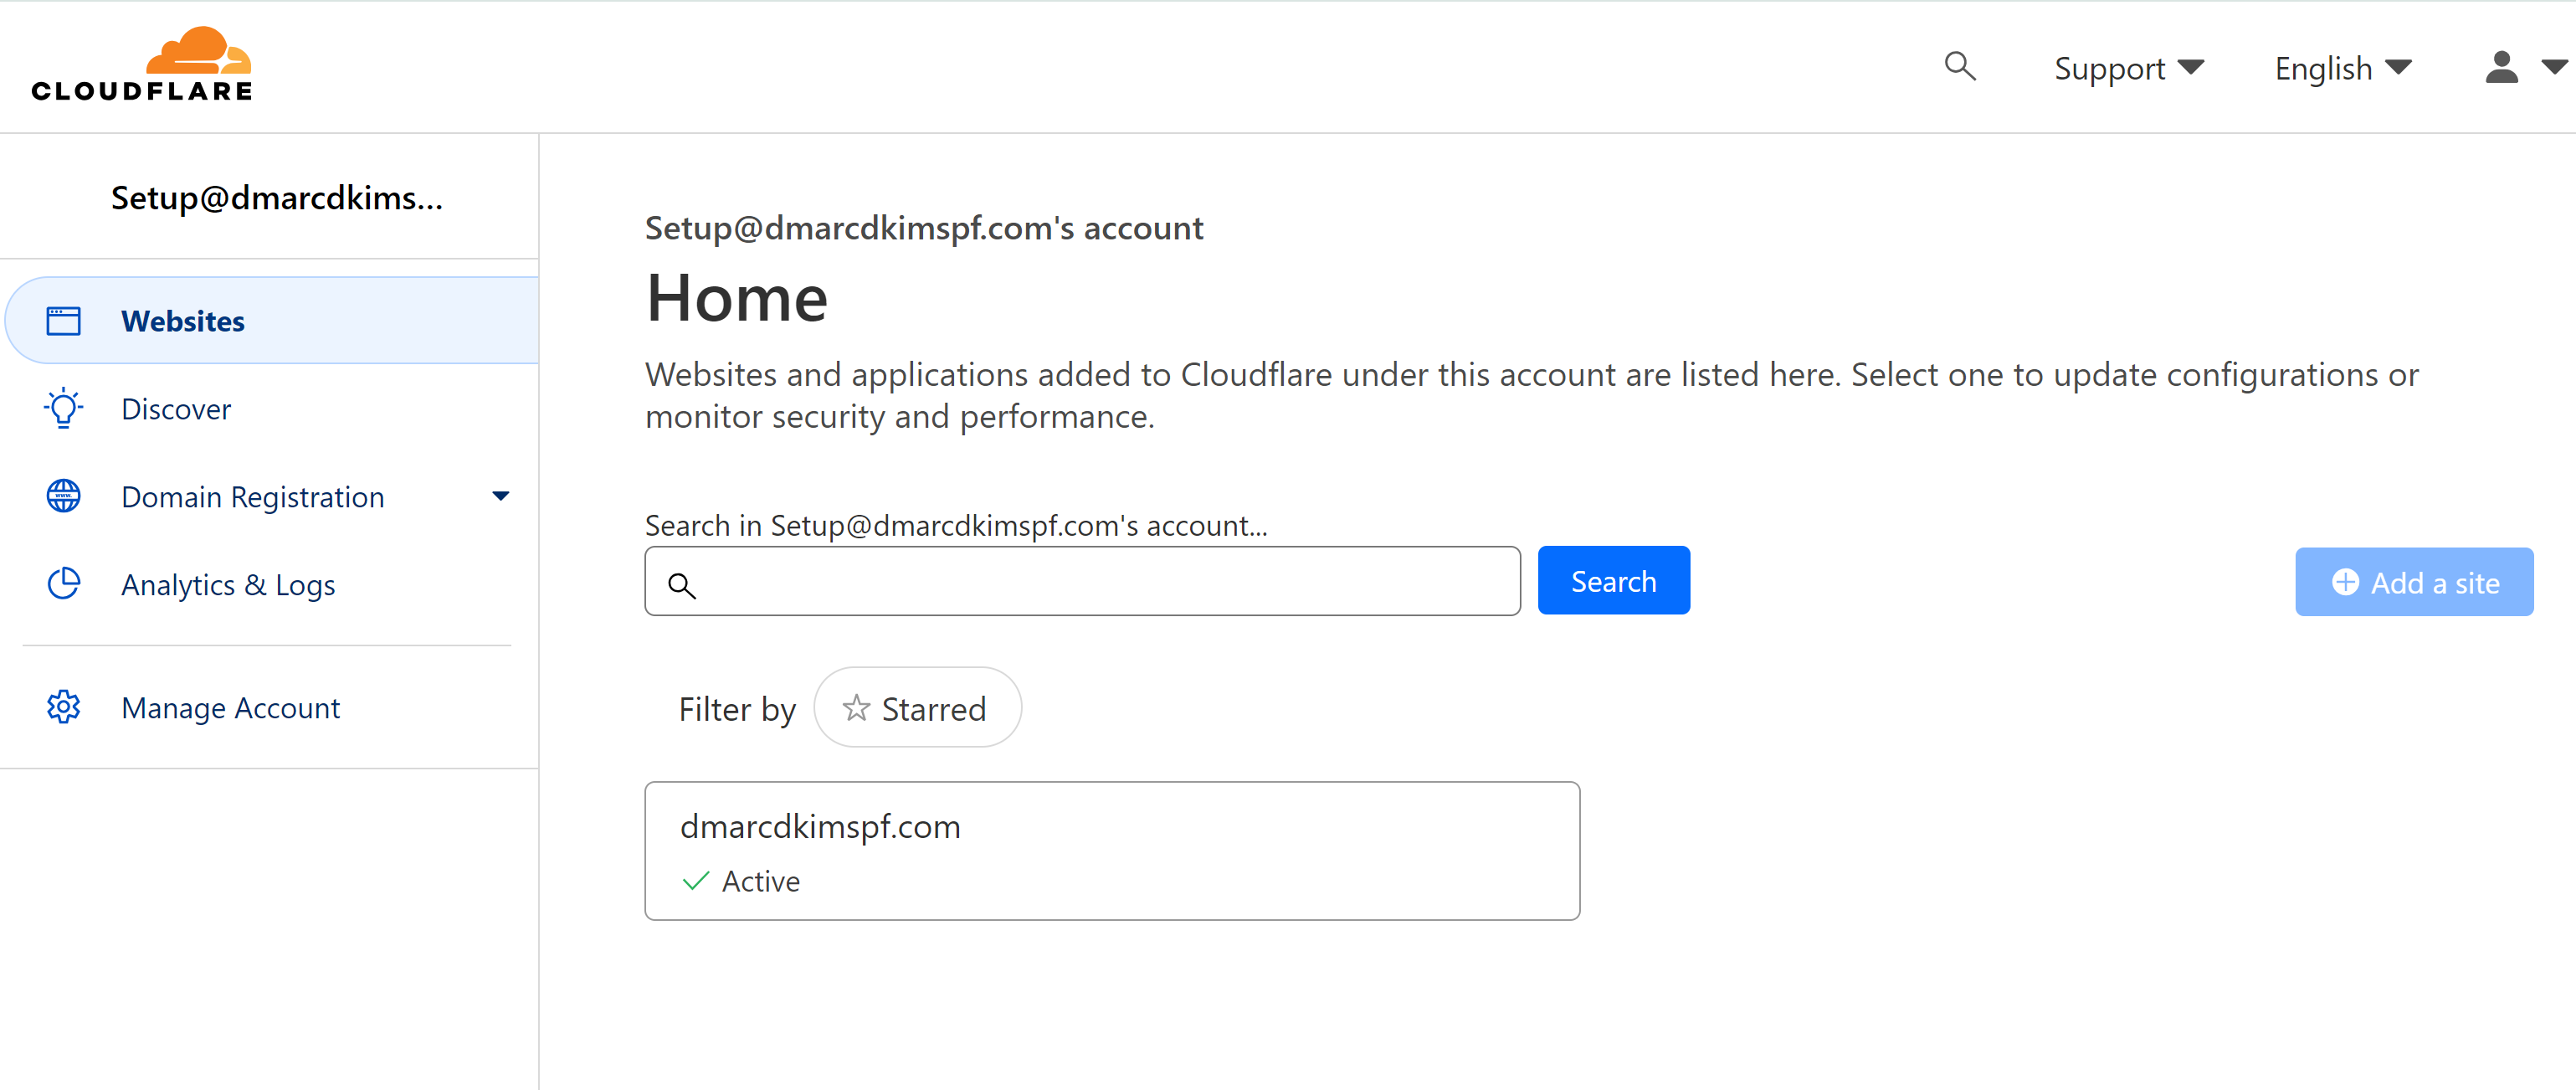
To add the SPF record, open your DNS provider Home tab and click on your Website.

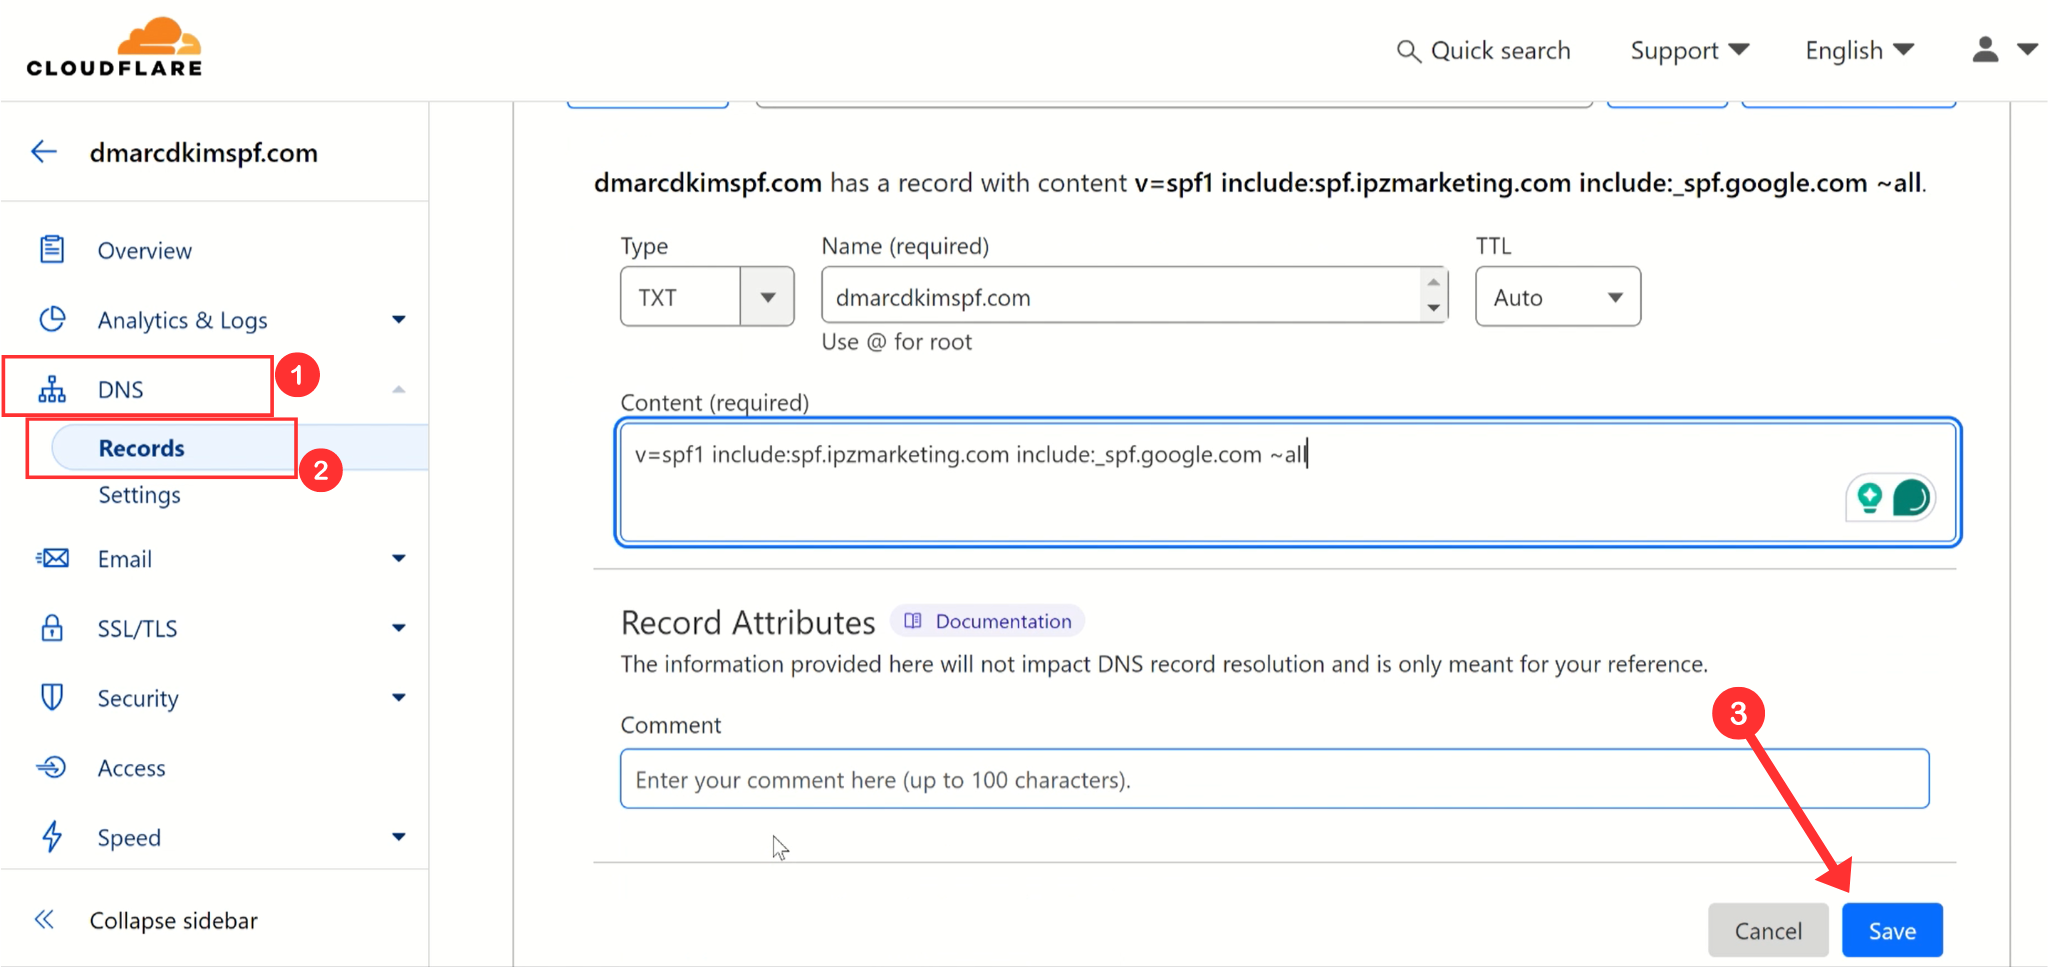
Click DNS in the left panel and go to Records.
-
Here, click Add Record, paste the record name and value in the designated fields, and click Save.

If you have a pre-existing SPF record in your DNS provider, adding the second SPF will cause conflicts, and one of them will stop working.
Use the SPF Merge Tool to combine multiple SPF records so that all work properly.
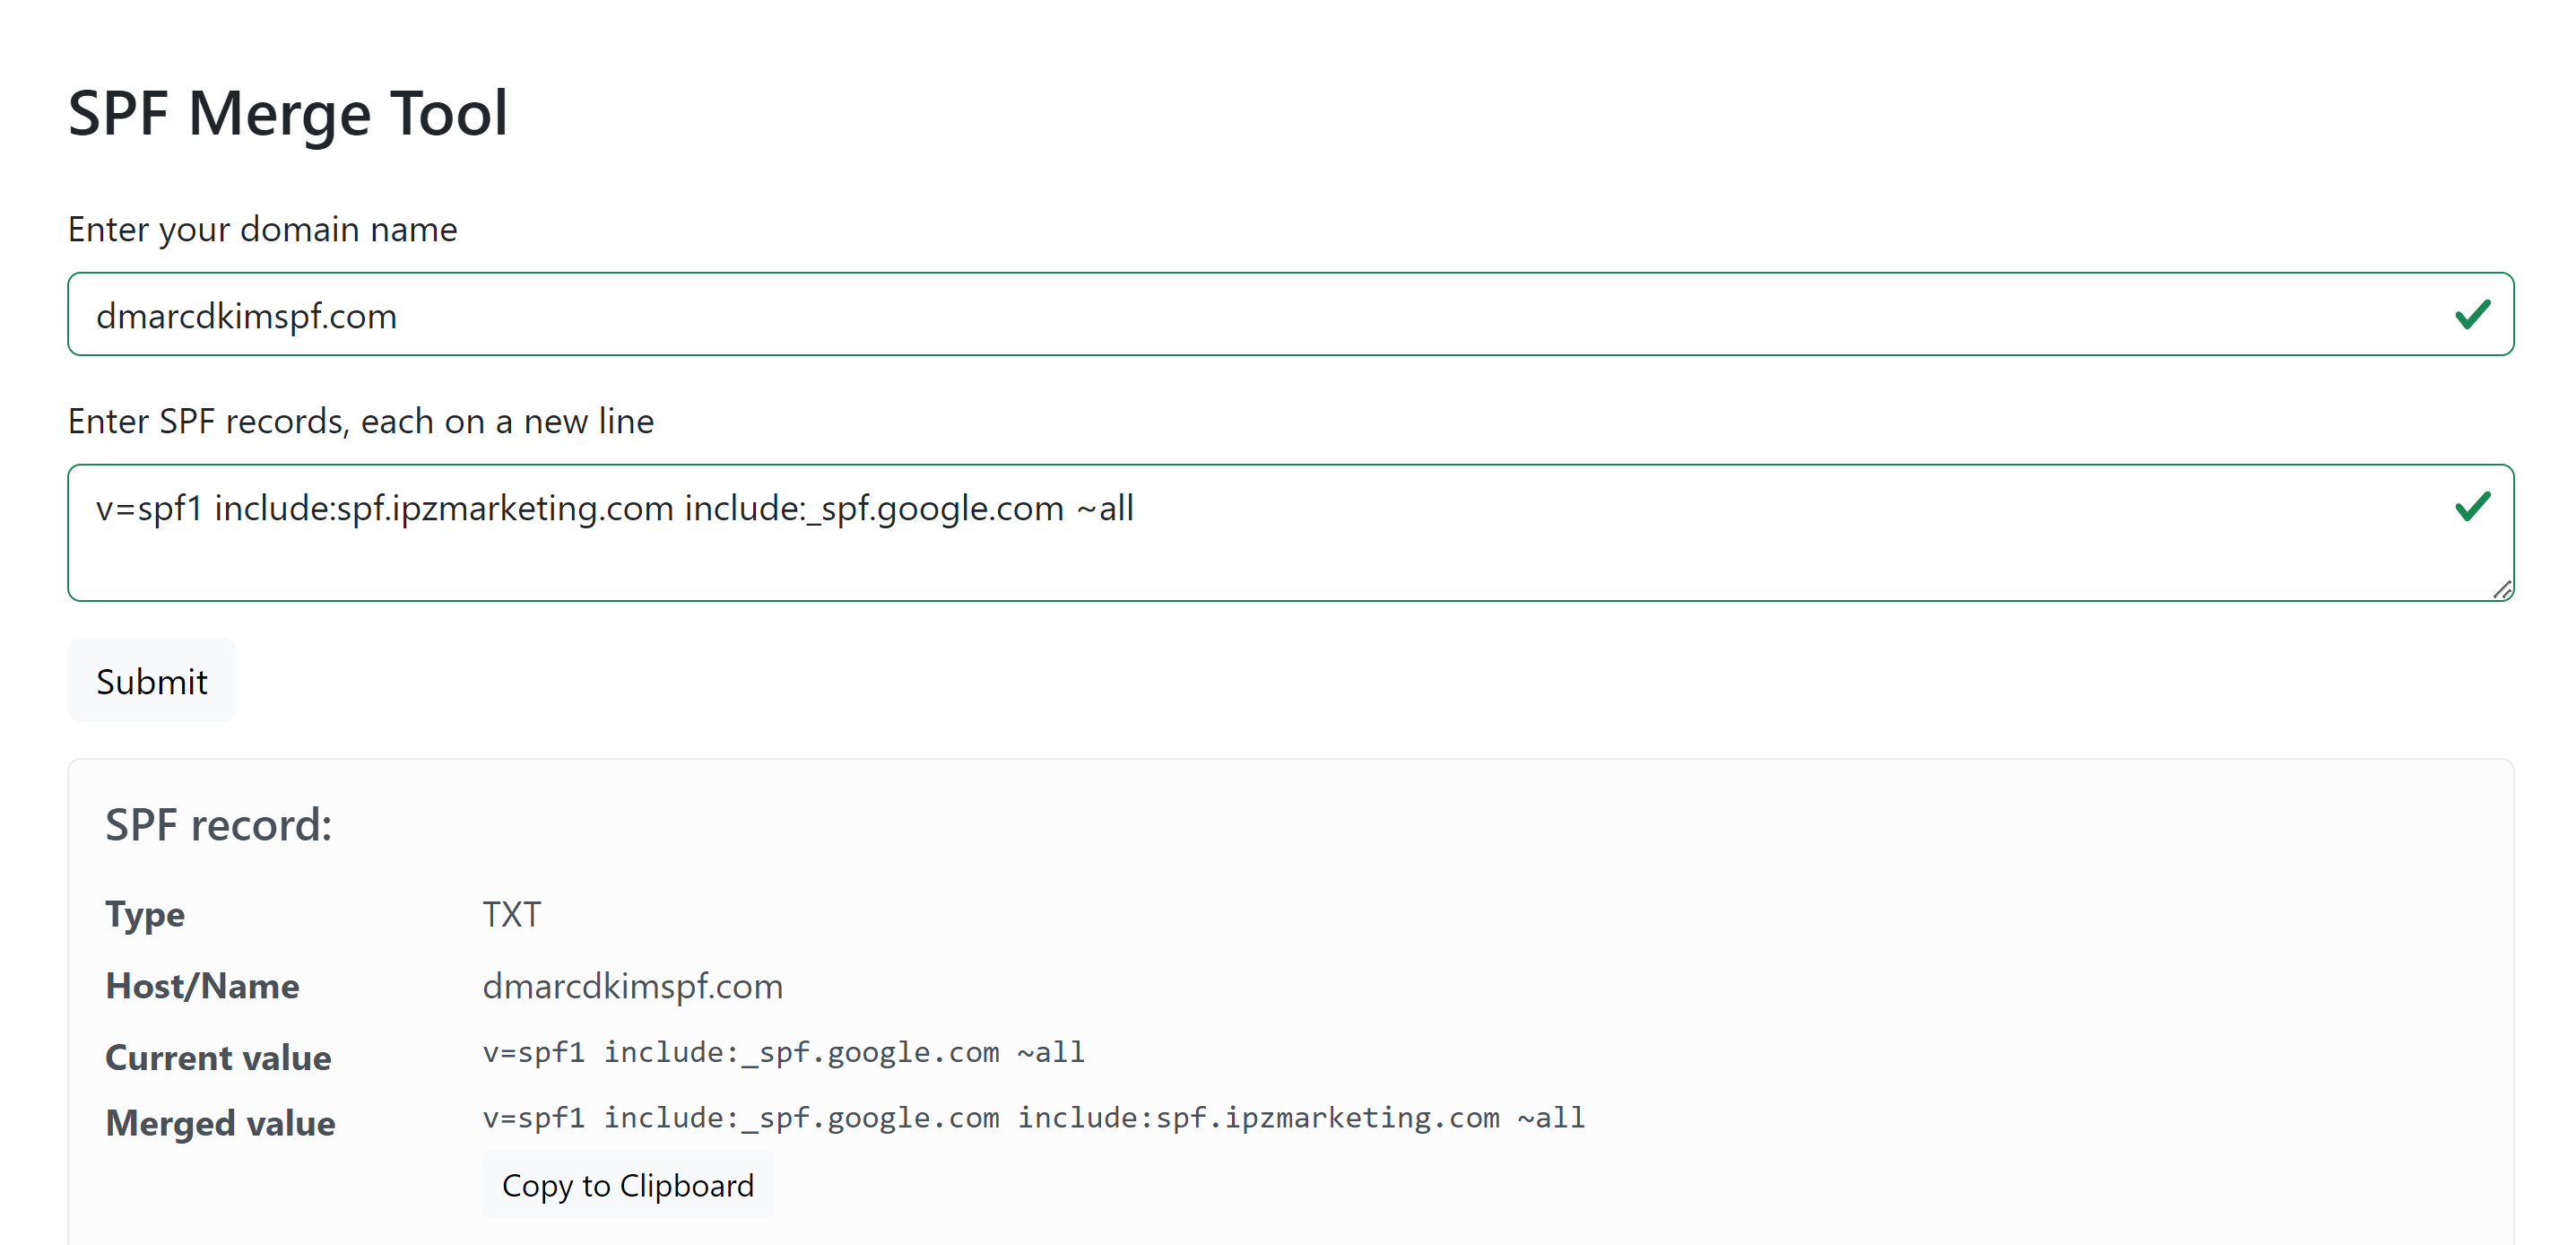
Write your domain name and MailRelay SPF record value in the in the merge tool and click Submit.
-
The tool will extract data from your domain and combine pre-existing SPF with MailRelay SPF to generate a single, merged record value. You can add this merged value to the DNS provider and delete the individual records.

Once SPF is added, copy the MailRelay DKIM and Tracking record name and value, and paste them into the DNS provider. NOTE: Turn off the proxy for CNAME records. If enabled, traffic is diverted to the Cloudflare server instead of reaching the desired destination.
Lastly, set up the MailRelay DMARC record. We recommend using the DMARC Check Tool for generating an effective DMARC value.
-
Open the DMARC tool, add your domain name, and click Check.

-
Copy the suggested DMARC value, and paste it into the DNS provider.

NOTE: The DMARC value provided by email marketing services does not provide any tools to leverage data from the DMARC report. The DMARC tool, on the other hand, analyses data behind DMARC reports and acts on it to deploy strict policy. Only strict DMARC policy provides better deliverability and protection from spoofing.
-
Once all records are added, return to MailRelay and click the Verify button next to your domain name.

-
If all records are added correctly, you should see green bars under each record, indicating the successful DNS record authentication.

If you don't see the authentication status right after adding DNS records, there is no need to worry. MailRelay suggests waiting up to 24 hours for domain authentication as it may take time for the server to update DNS records.
Check domain and follow the instructions to nail down your DMARC configuration.
No expert knowledge needed!


