How to configure Brevo DMARC, DKIM and SPF for email authentication?
Check your domain for DMARC, DKIM, SPF and MX records. Get a free report.
Brevo DMARC, DKIM, SPF - Custom Domain Authentication (2024 Guide)
Brevo generates DNS records which you can add in your hosting provider to authenticate your domains. Once your domain is authenticated, your webmail will have a unique signature which makes it safe against spoofing.
DKIM and SPF are two commonly used DNS records to protect email communication on Emai Service Providers (ESPs). In this article, we'll perform the configuring steps to add DNS records in your hosting provider for webmail authentication.
-
In Brevo Home tab, click on your account name and select Senders, Domains, and Dedicated IPs.

-
Now click on Domains > Add a Domain.

-
Write your domain name in the pop up window and click on "Save this email domain."

-
Next, you'll see Brevo DKIM and DMARC records. Copy these records and add in your DNS provider.

Brevo SPF value is
v=spf1 include:spf.brevo.com ~all. Use the SPF Merge Tool to combine the Brevo SPF value with your existing SPF value.-
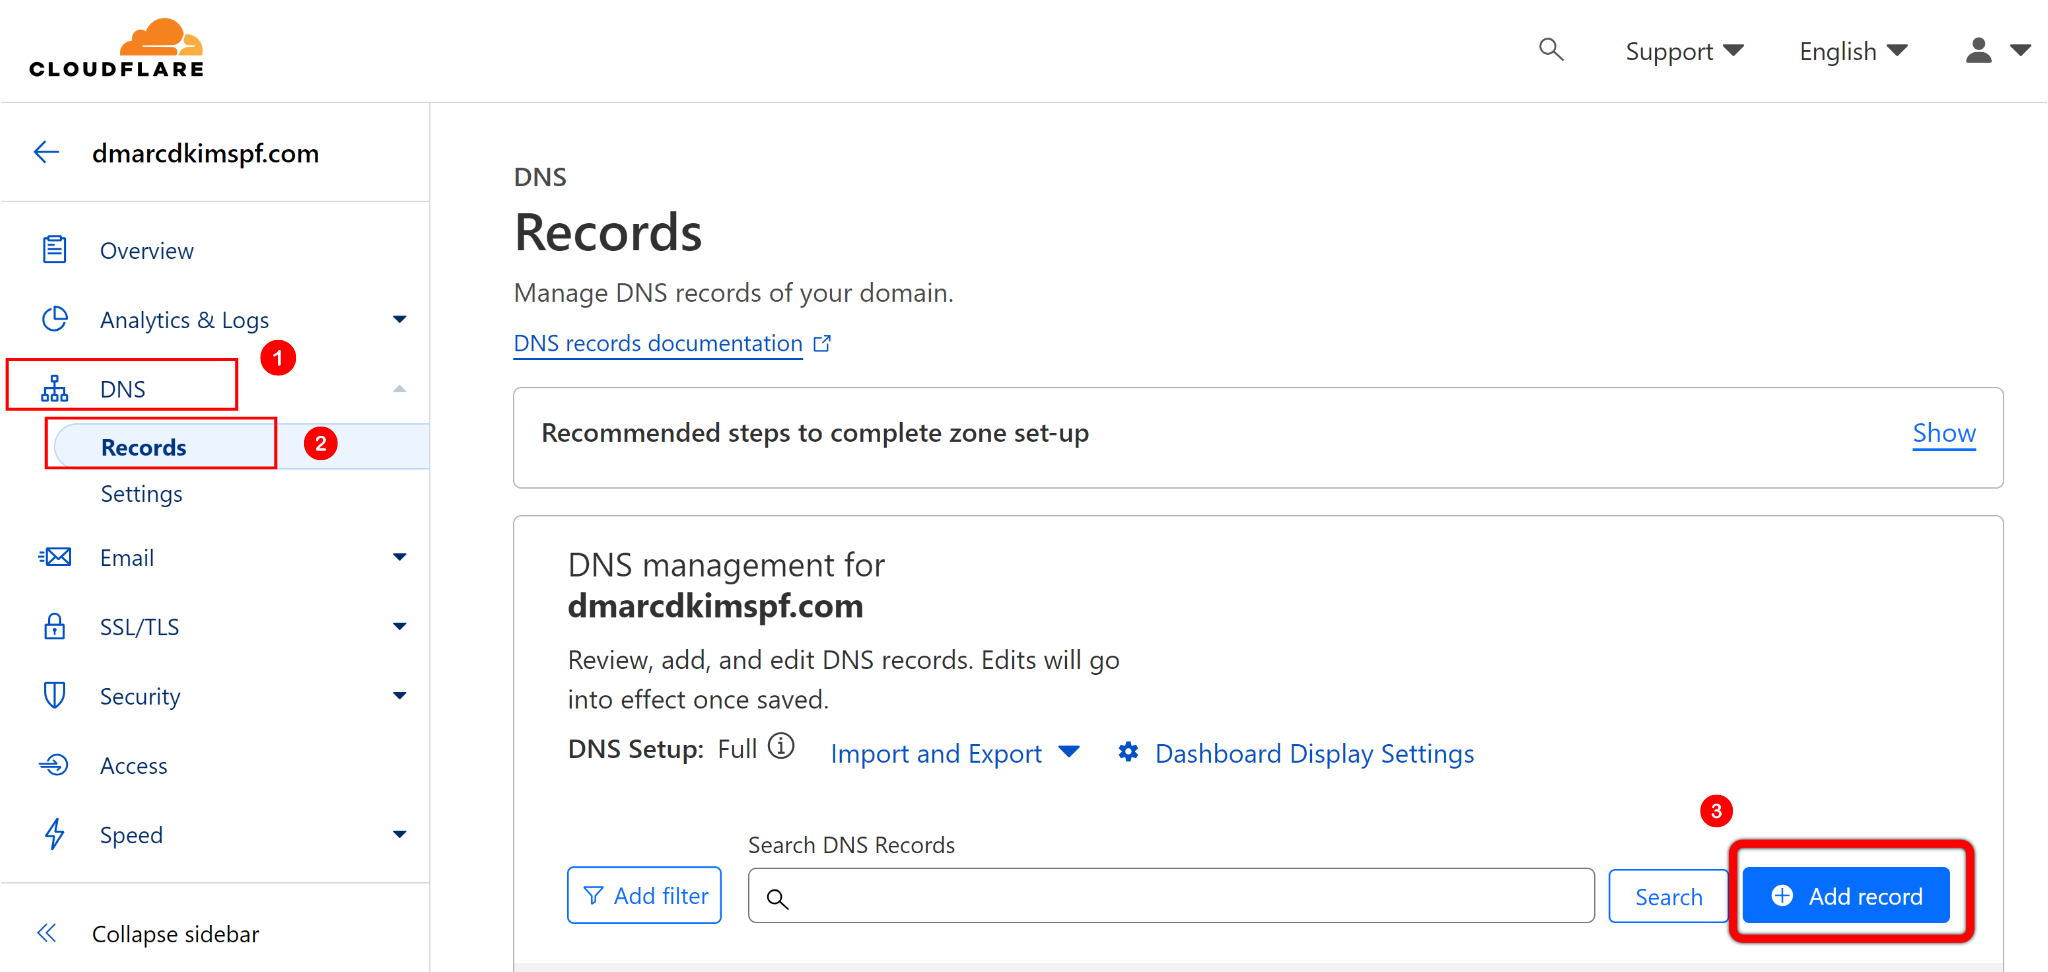
Head over to Cloudflare home tab, click on your Website > DNS > Records > Add record.

Add the values in required fields and click Save to add a new record.
However, Brevo DMARC record with
p=noneis just a placeholder. Use DMARC Lookup Tool which analyzes data behind DMARC reports and allow you to act on it to deploy strict policy. Only a strict DMARC policy provides better deliverability and protection from email spoofing.-
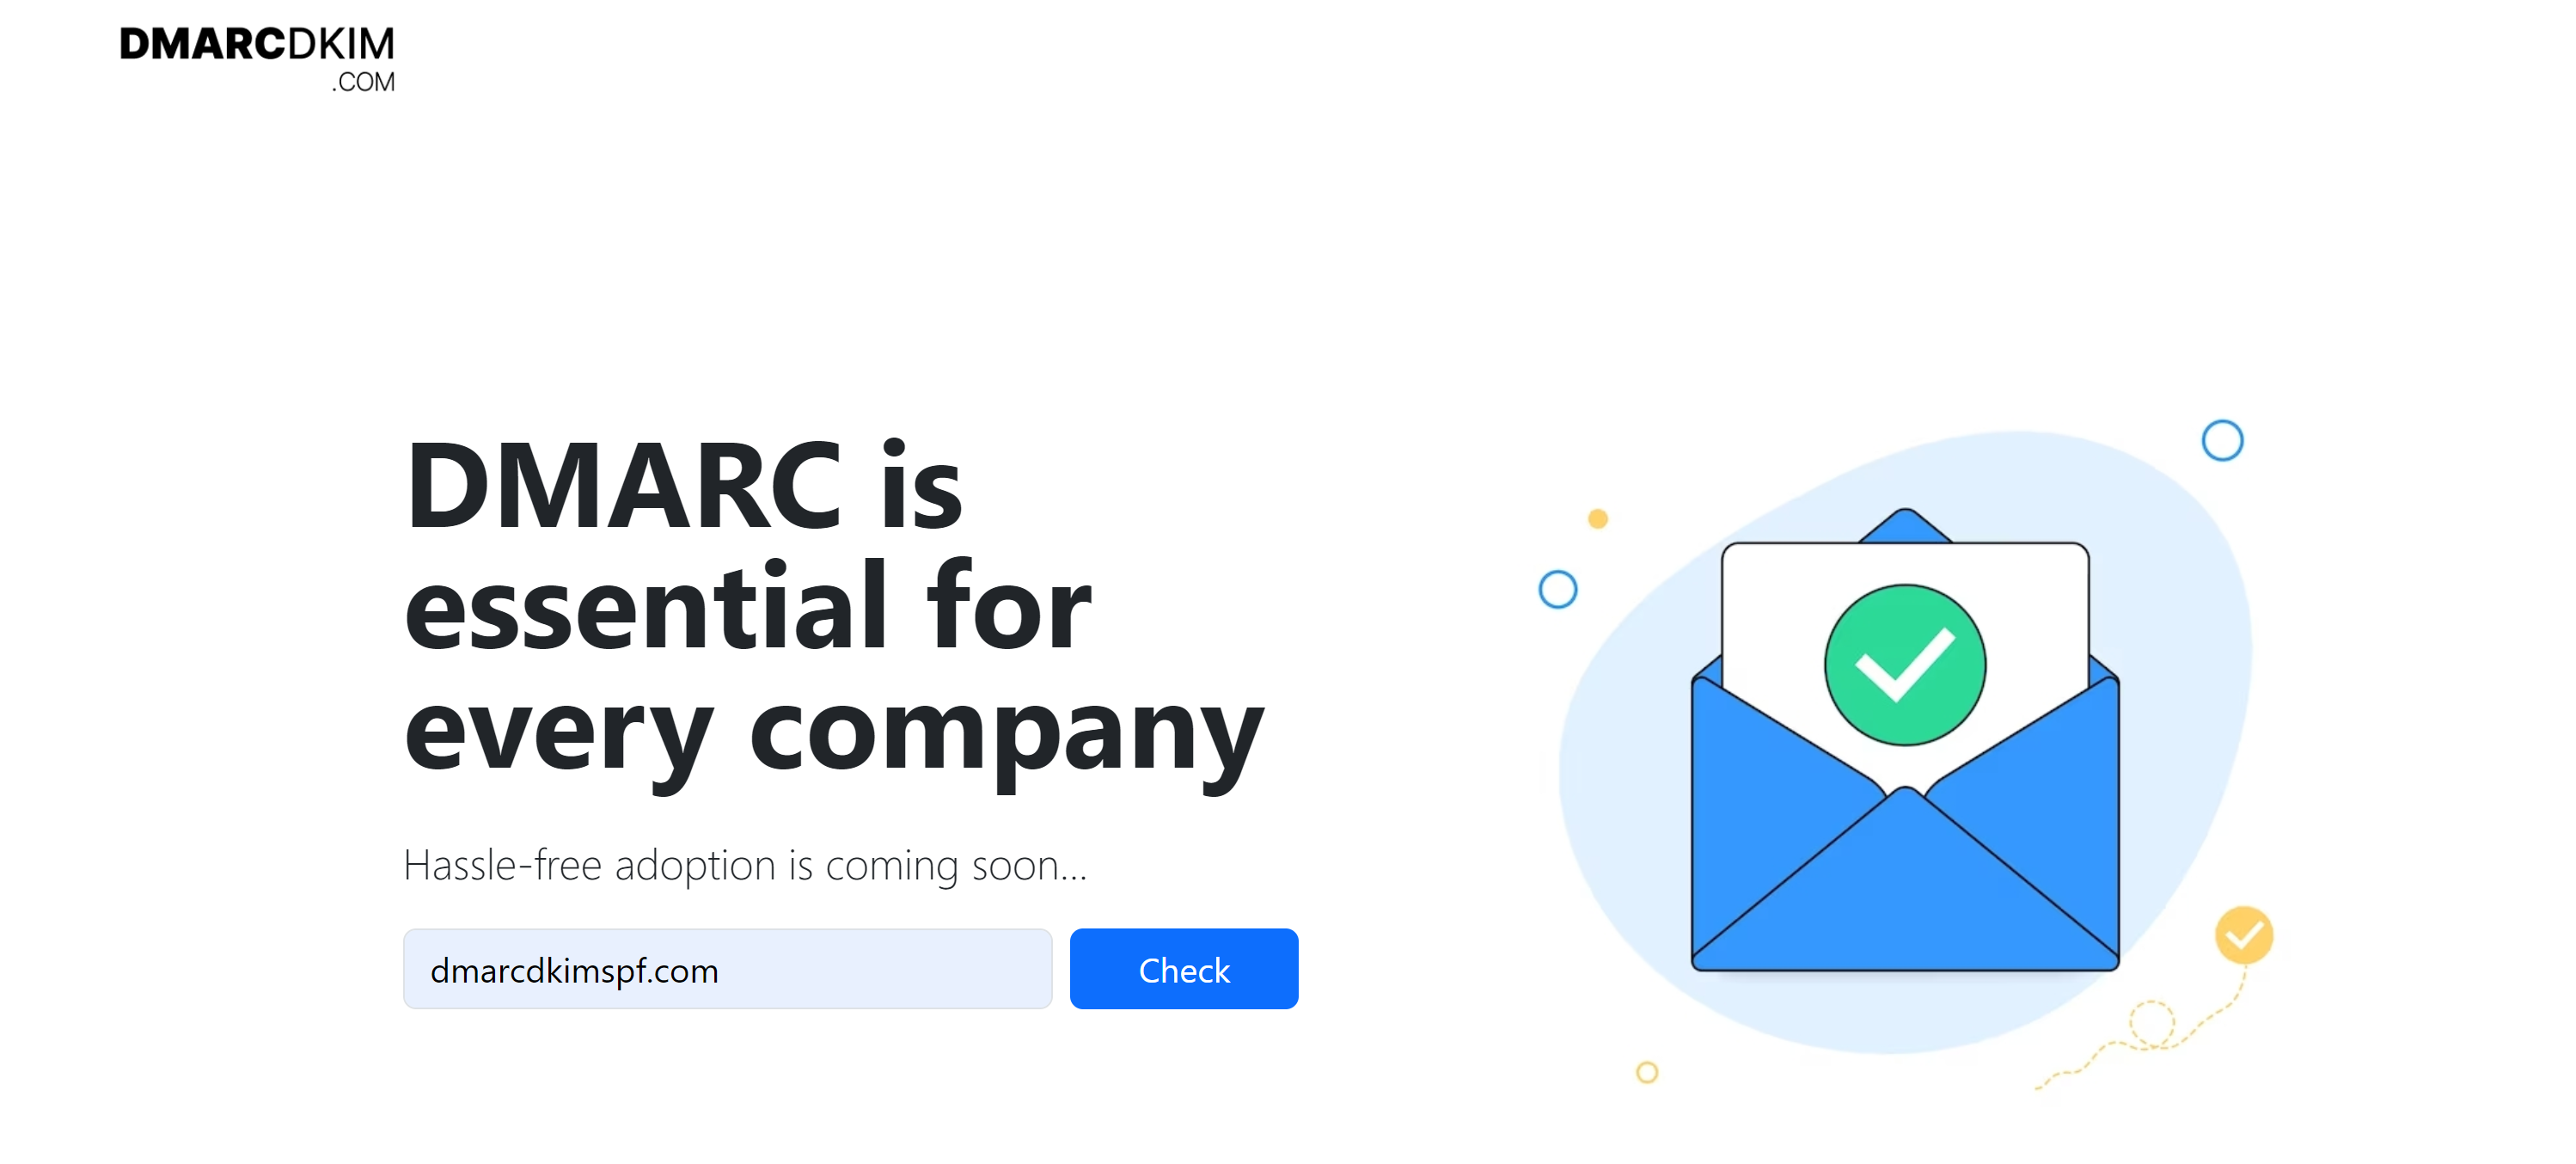
Open the DMARC tool, write your domain name here, and click Check.

-
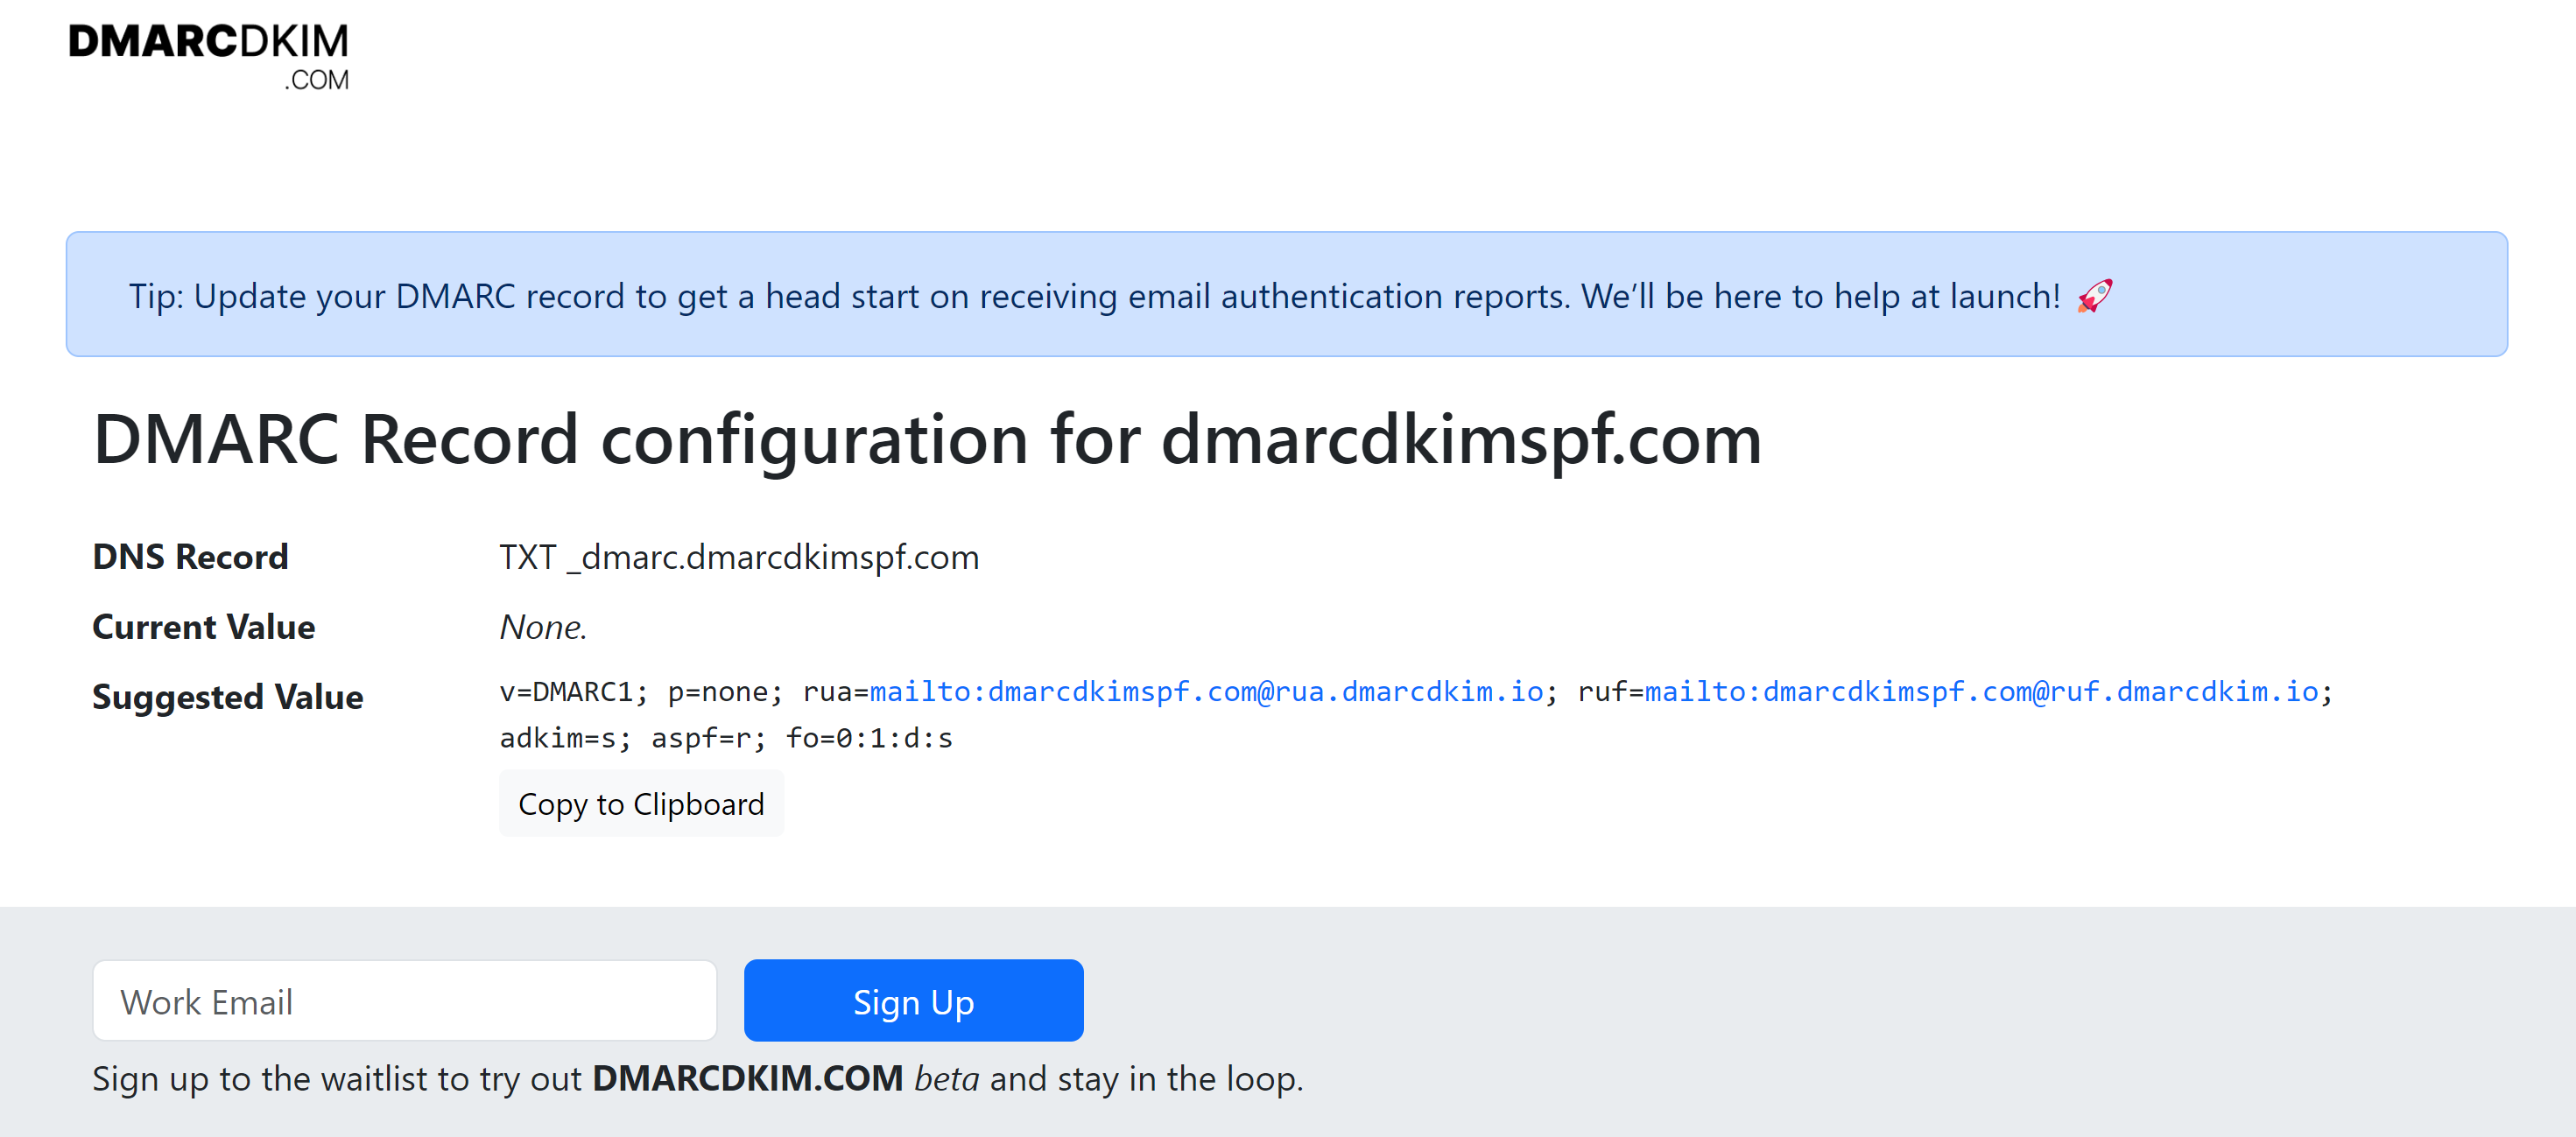
The tool gives you a suggested value. Copy the record name and value and paste them into the DNS provider.

-
Once records are added, go back to Brevo and click on Authenticate this email domain.

-
You'll see green check marks before each record, which means domain are successfully authenticated.

Check domain and follow the instructions to nail down your DMARC configuration.
No expert knowledge needed!


